
How to create custom reports and schedule reports
Custom Reports let you build tailored reports and schedule them for delivery. You can start from scratch or convert an existing dashboard into a report, then customize the report layout, pages, widgets, and delivery schedule.
Table of Contents
Section titled “Table of Contents”- Overview
- Important Notes
- How to Create a Custom Report
- Step 1: Access Custom Reports
- Step 2: Start from Scratch or Use an Existing Dashboard
- Step 3: Use the Report Builder
- Step 4: Customize the Cover Page
- Step 5: Add Widgets, Sections, and Themes
- Step 6: Manage Pages
- Step 7: Download the Report
- Step 8: Save, Send, or Schedule the Report
- Step 9: Configure Schedule and Delivery
Overview
Section titled “Overview”Custom Reports help you build and share tailored insights with your team or clients. You can design reports from scratch, convert dashboards into reports, and automate scheduled delivery.
Important Notes
Section titled “Important Notes”Keep these reporting details in mind:
- Report builder date ranges use the timezone set in your browser
- Scheduled email previews use the sub-account timezone
- Google Ads and Facebook Ads data follow the timezone configured in those ad accounts
- Supported plans include access to multiple dashboards and customizable reports
How to Create a Custom Report
Section titled “How to Create a Custom Report”Step 1: Access Custom Reports
Section titled “Step 1: Access Custom Reports”Go to Reporting and click Custom Reports. Then select New Report.
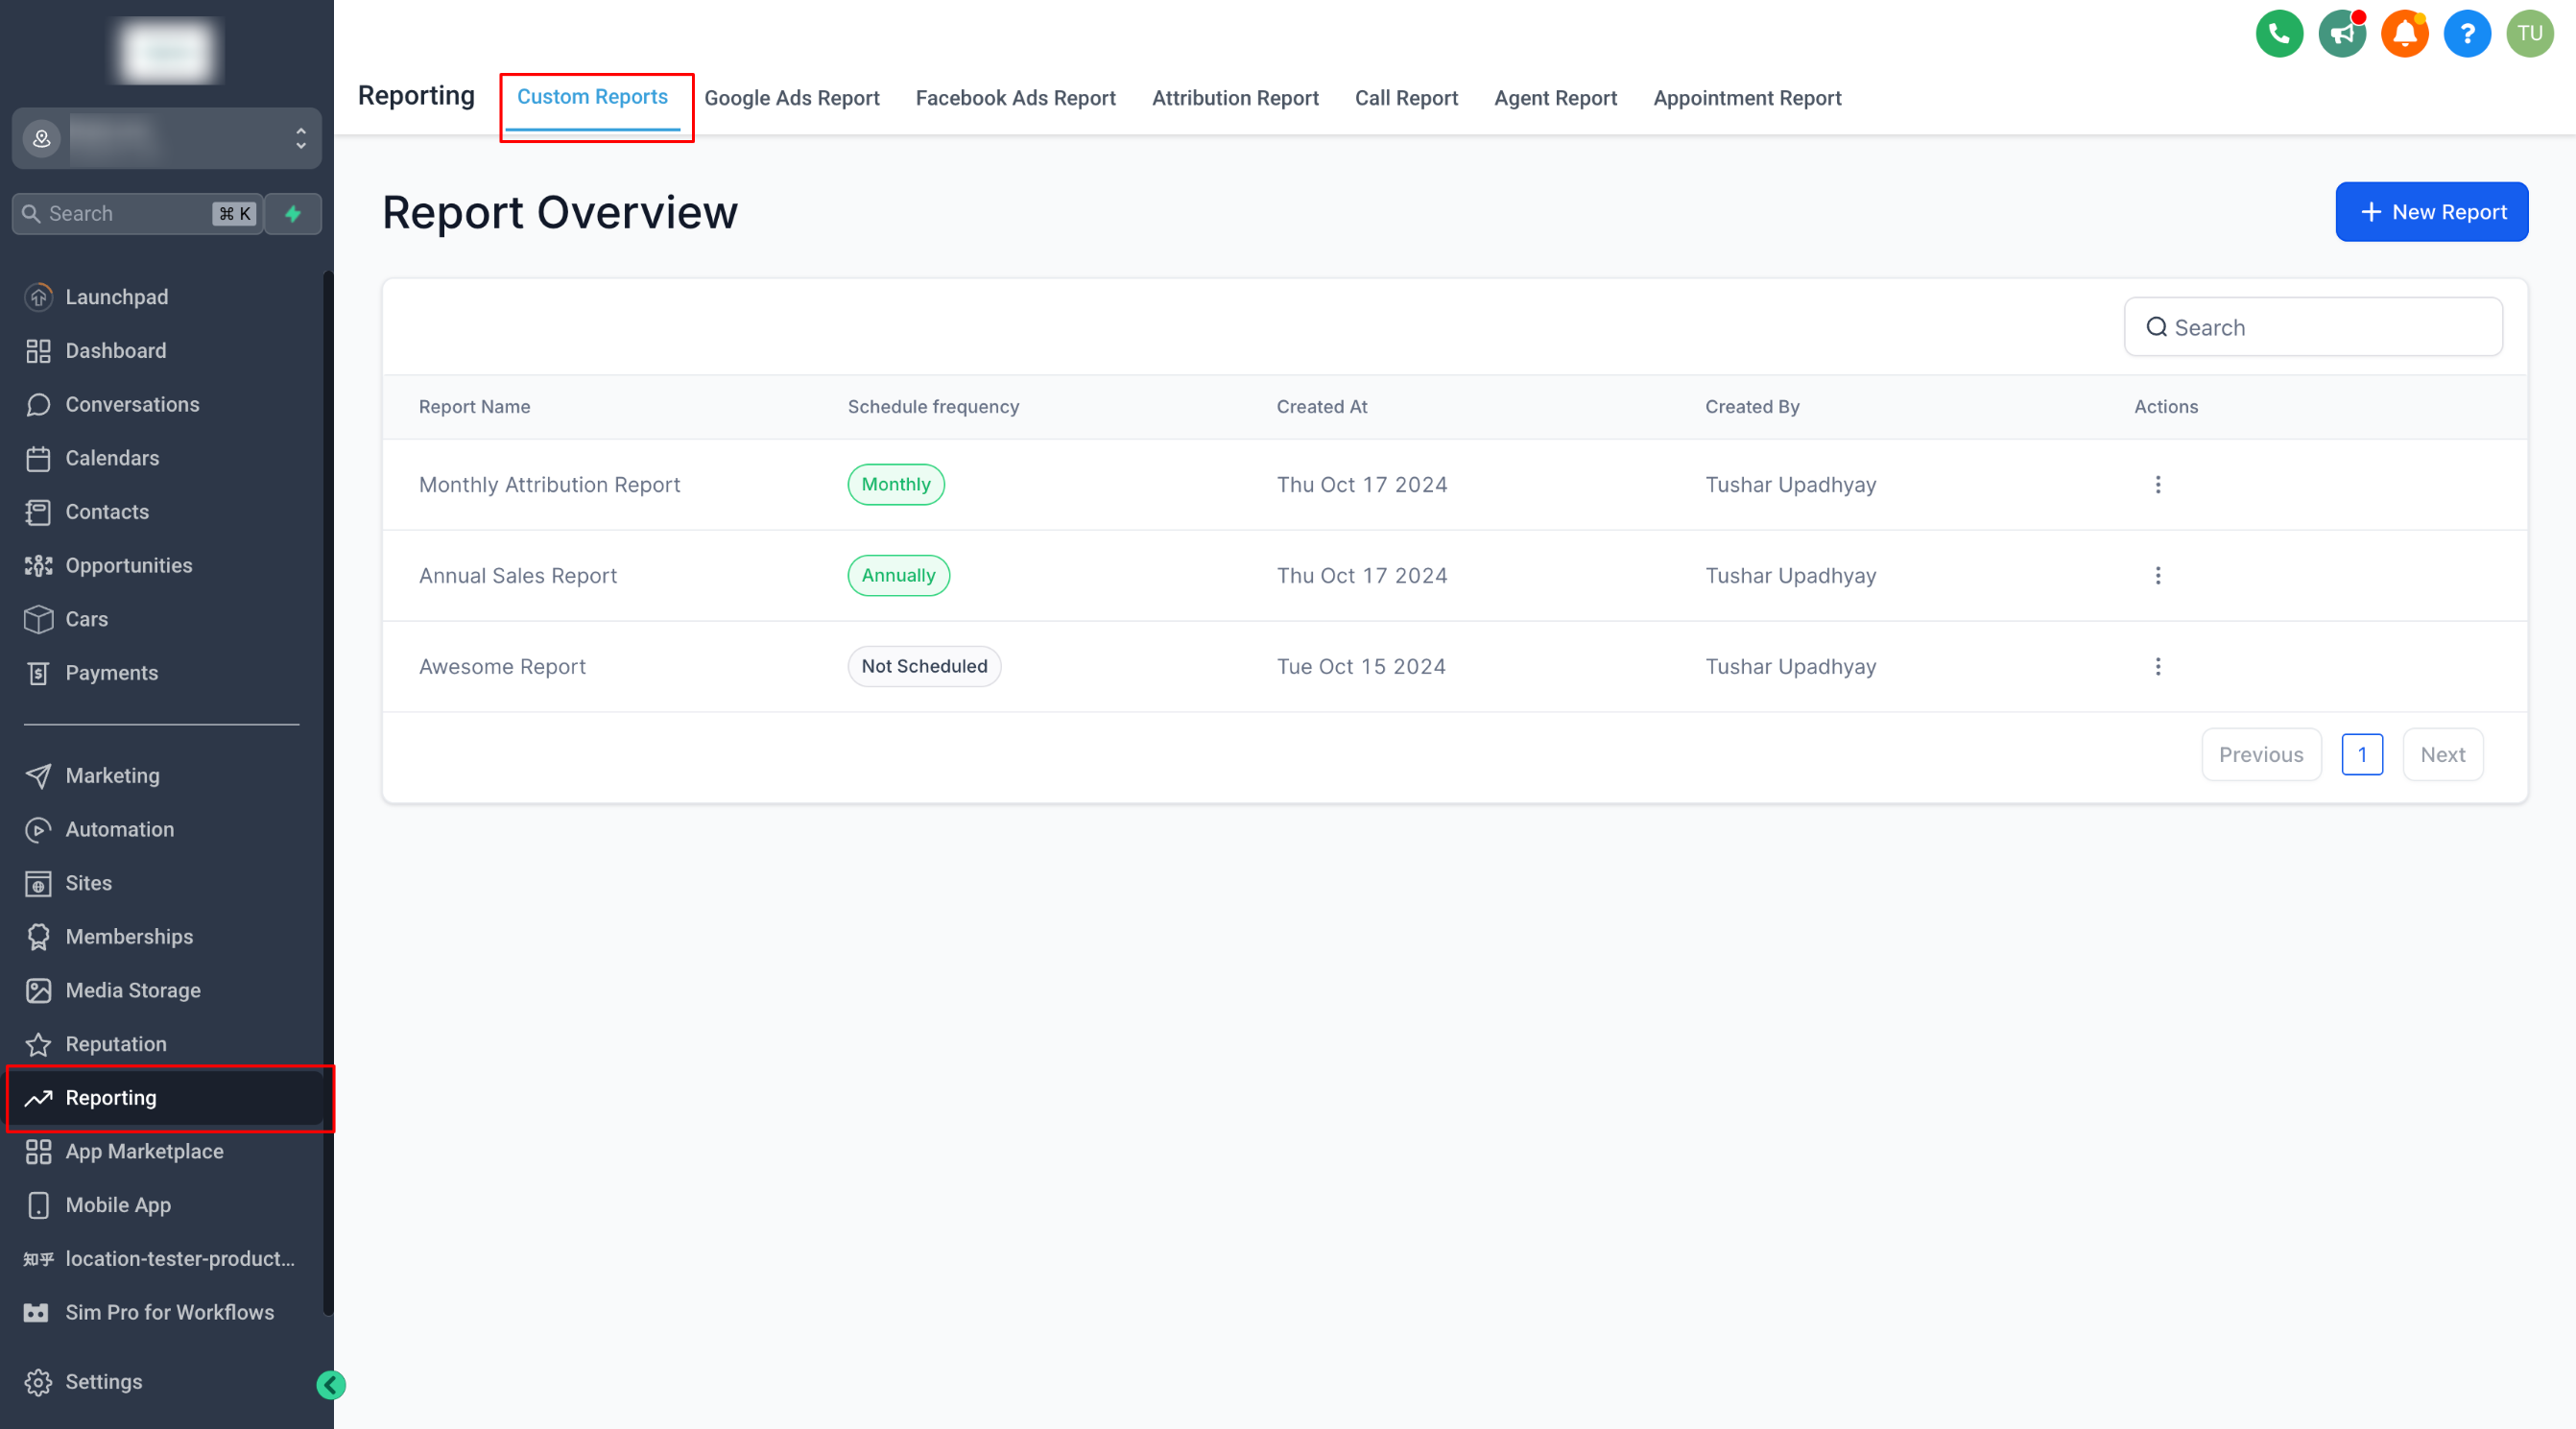
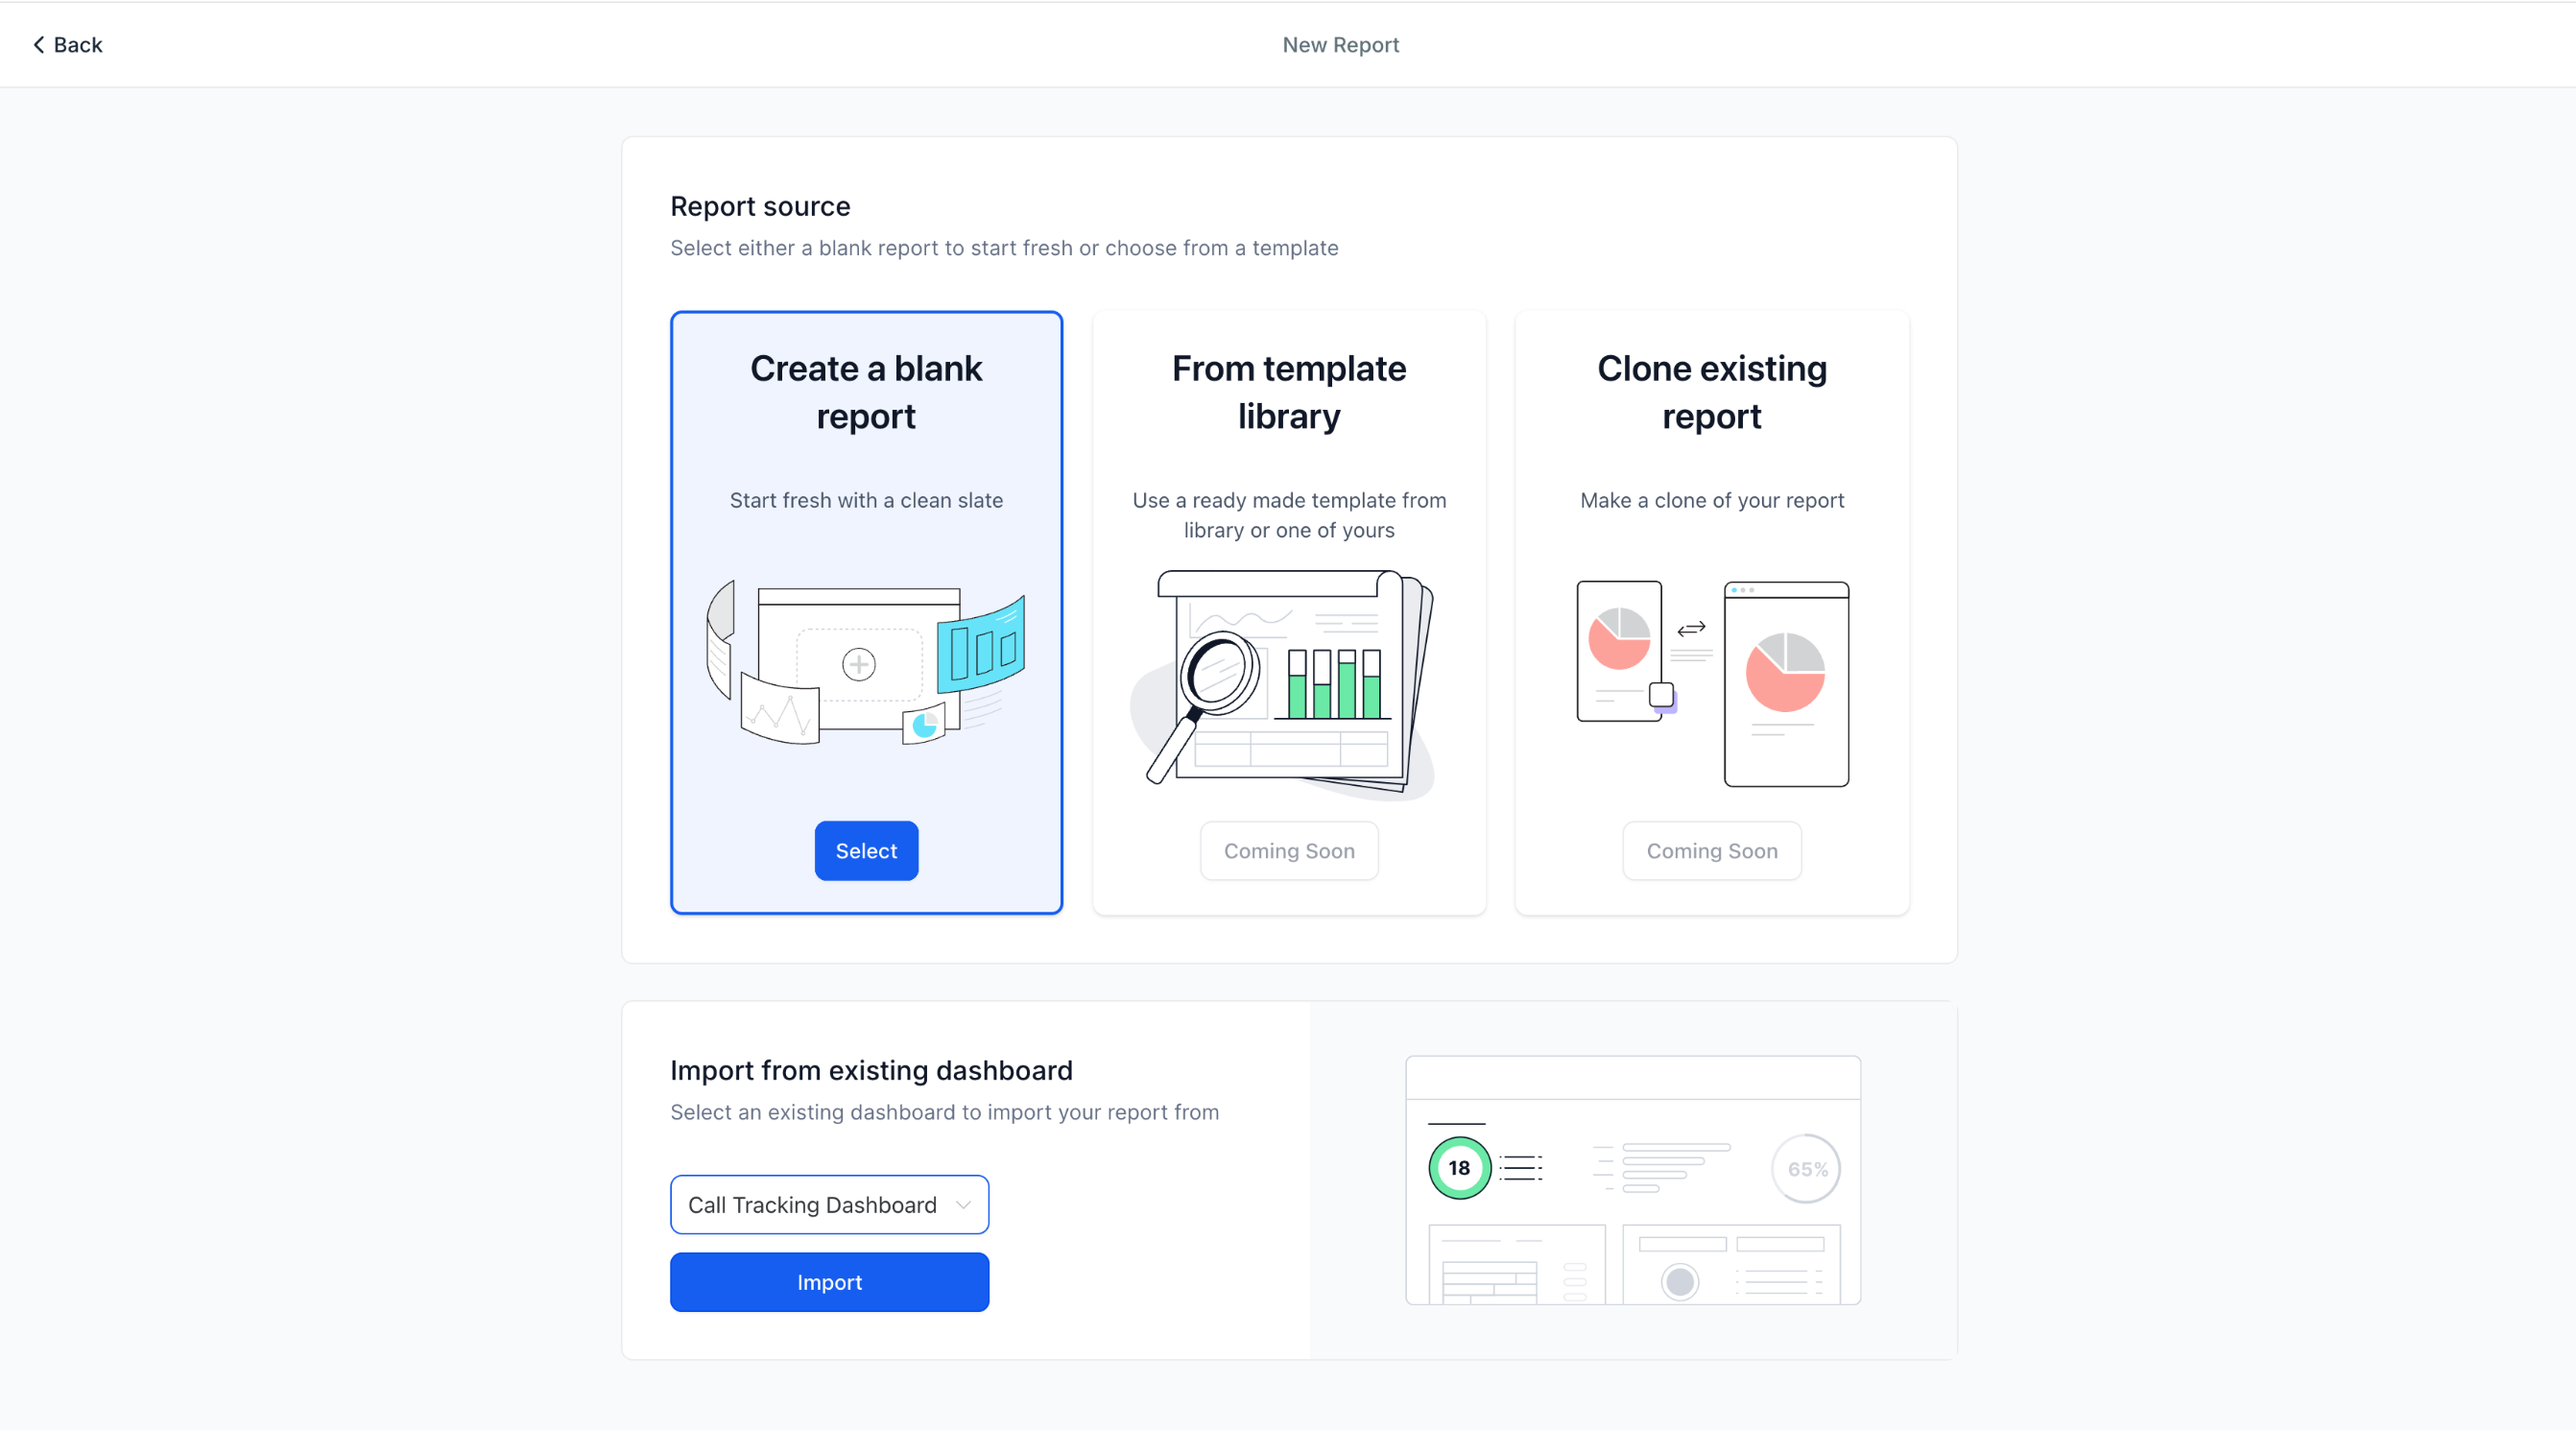
Step 2: Start from Scratch or Use an Existing Dashboard
Section titled “Step 2: Start from Scratch or Use an Existing Dashboard”Choose whether to create a report from scratch or convert an existing dashboard into a report.
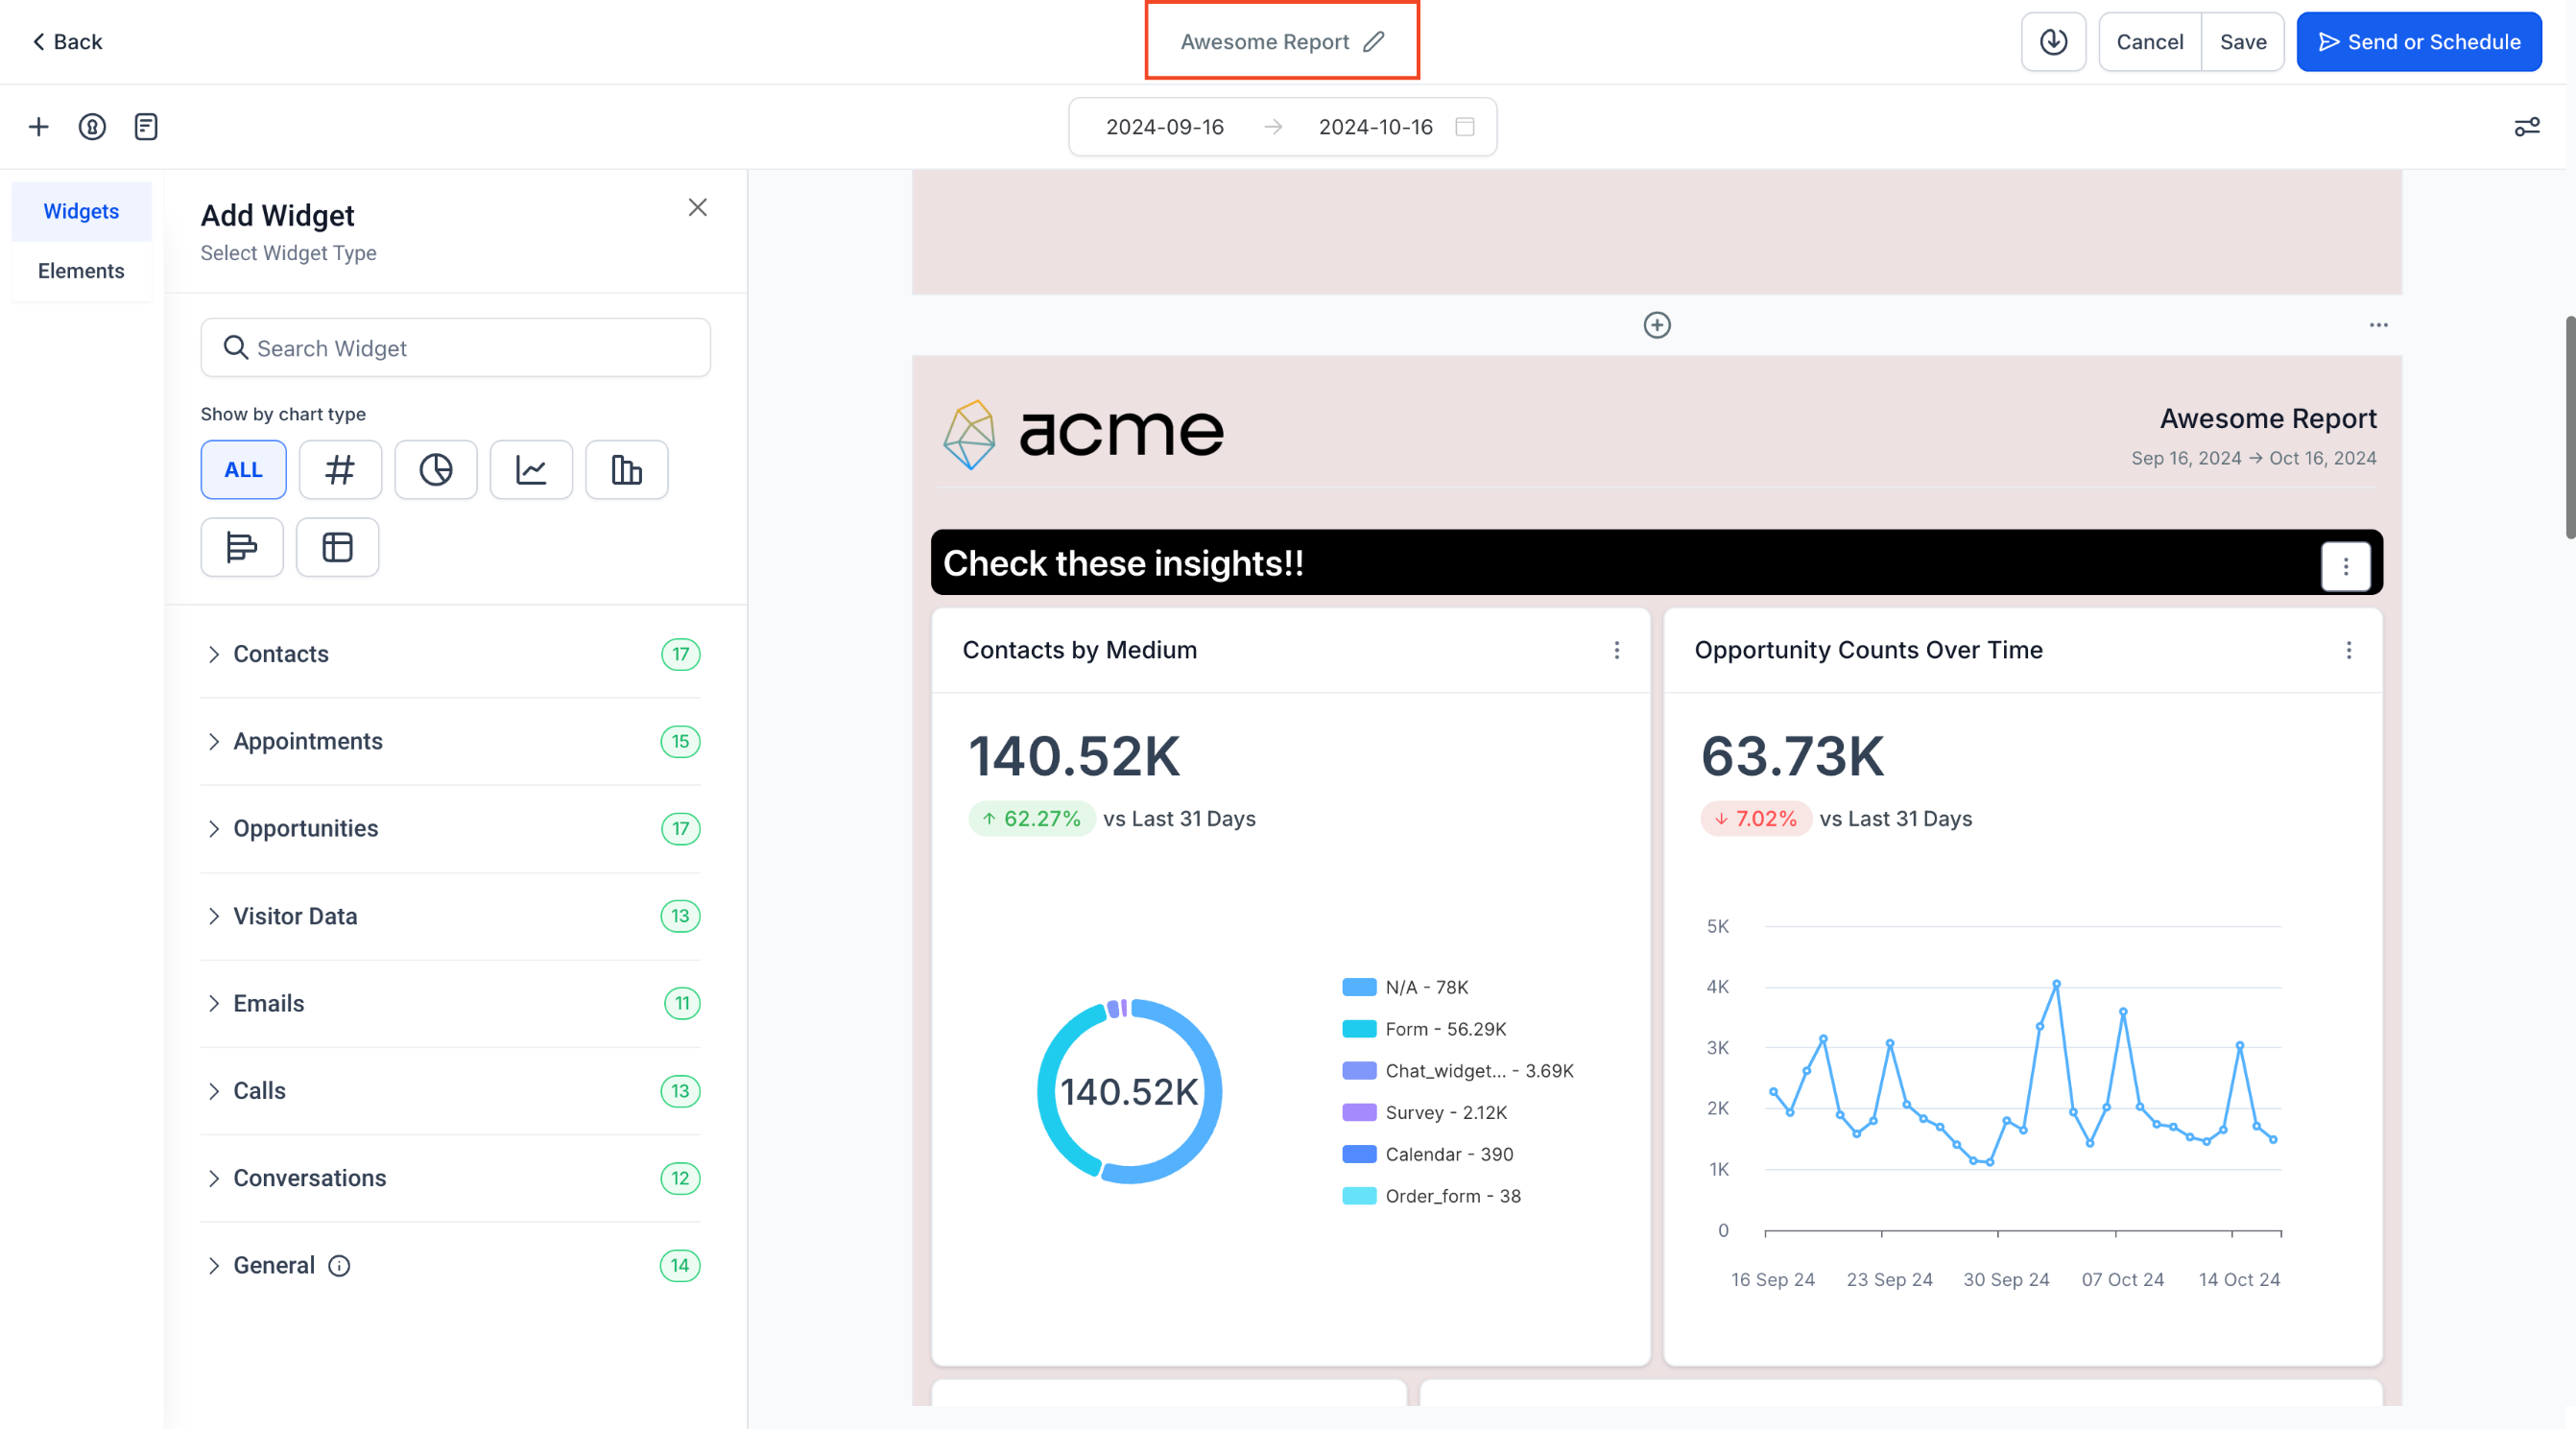
Step 3: Use the Report Builder
Section titled “Step 3: Use the Report Builder”If you start from scratch, the report builder opens. At the top, rename your report to reflect its purpose.
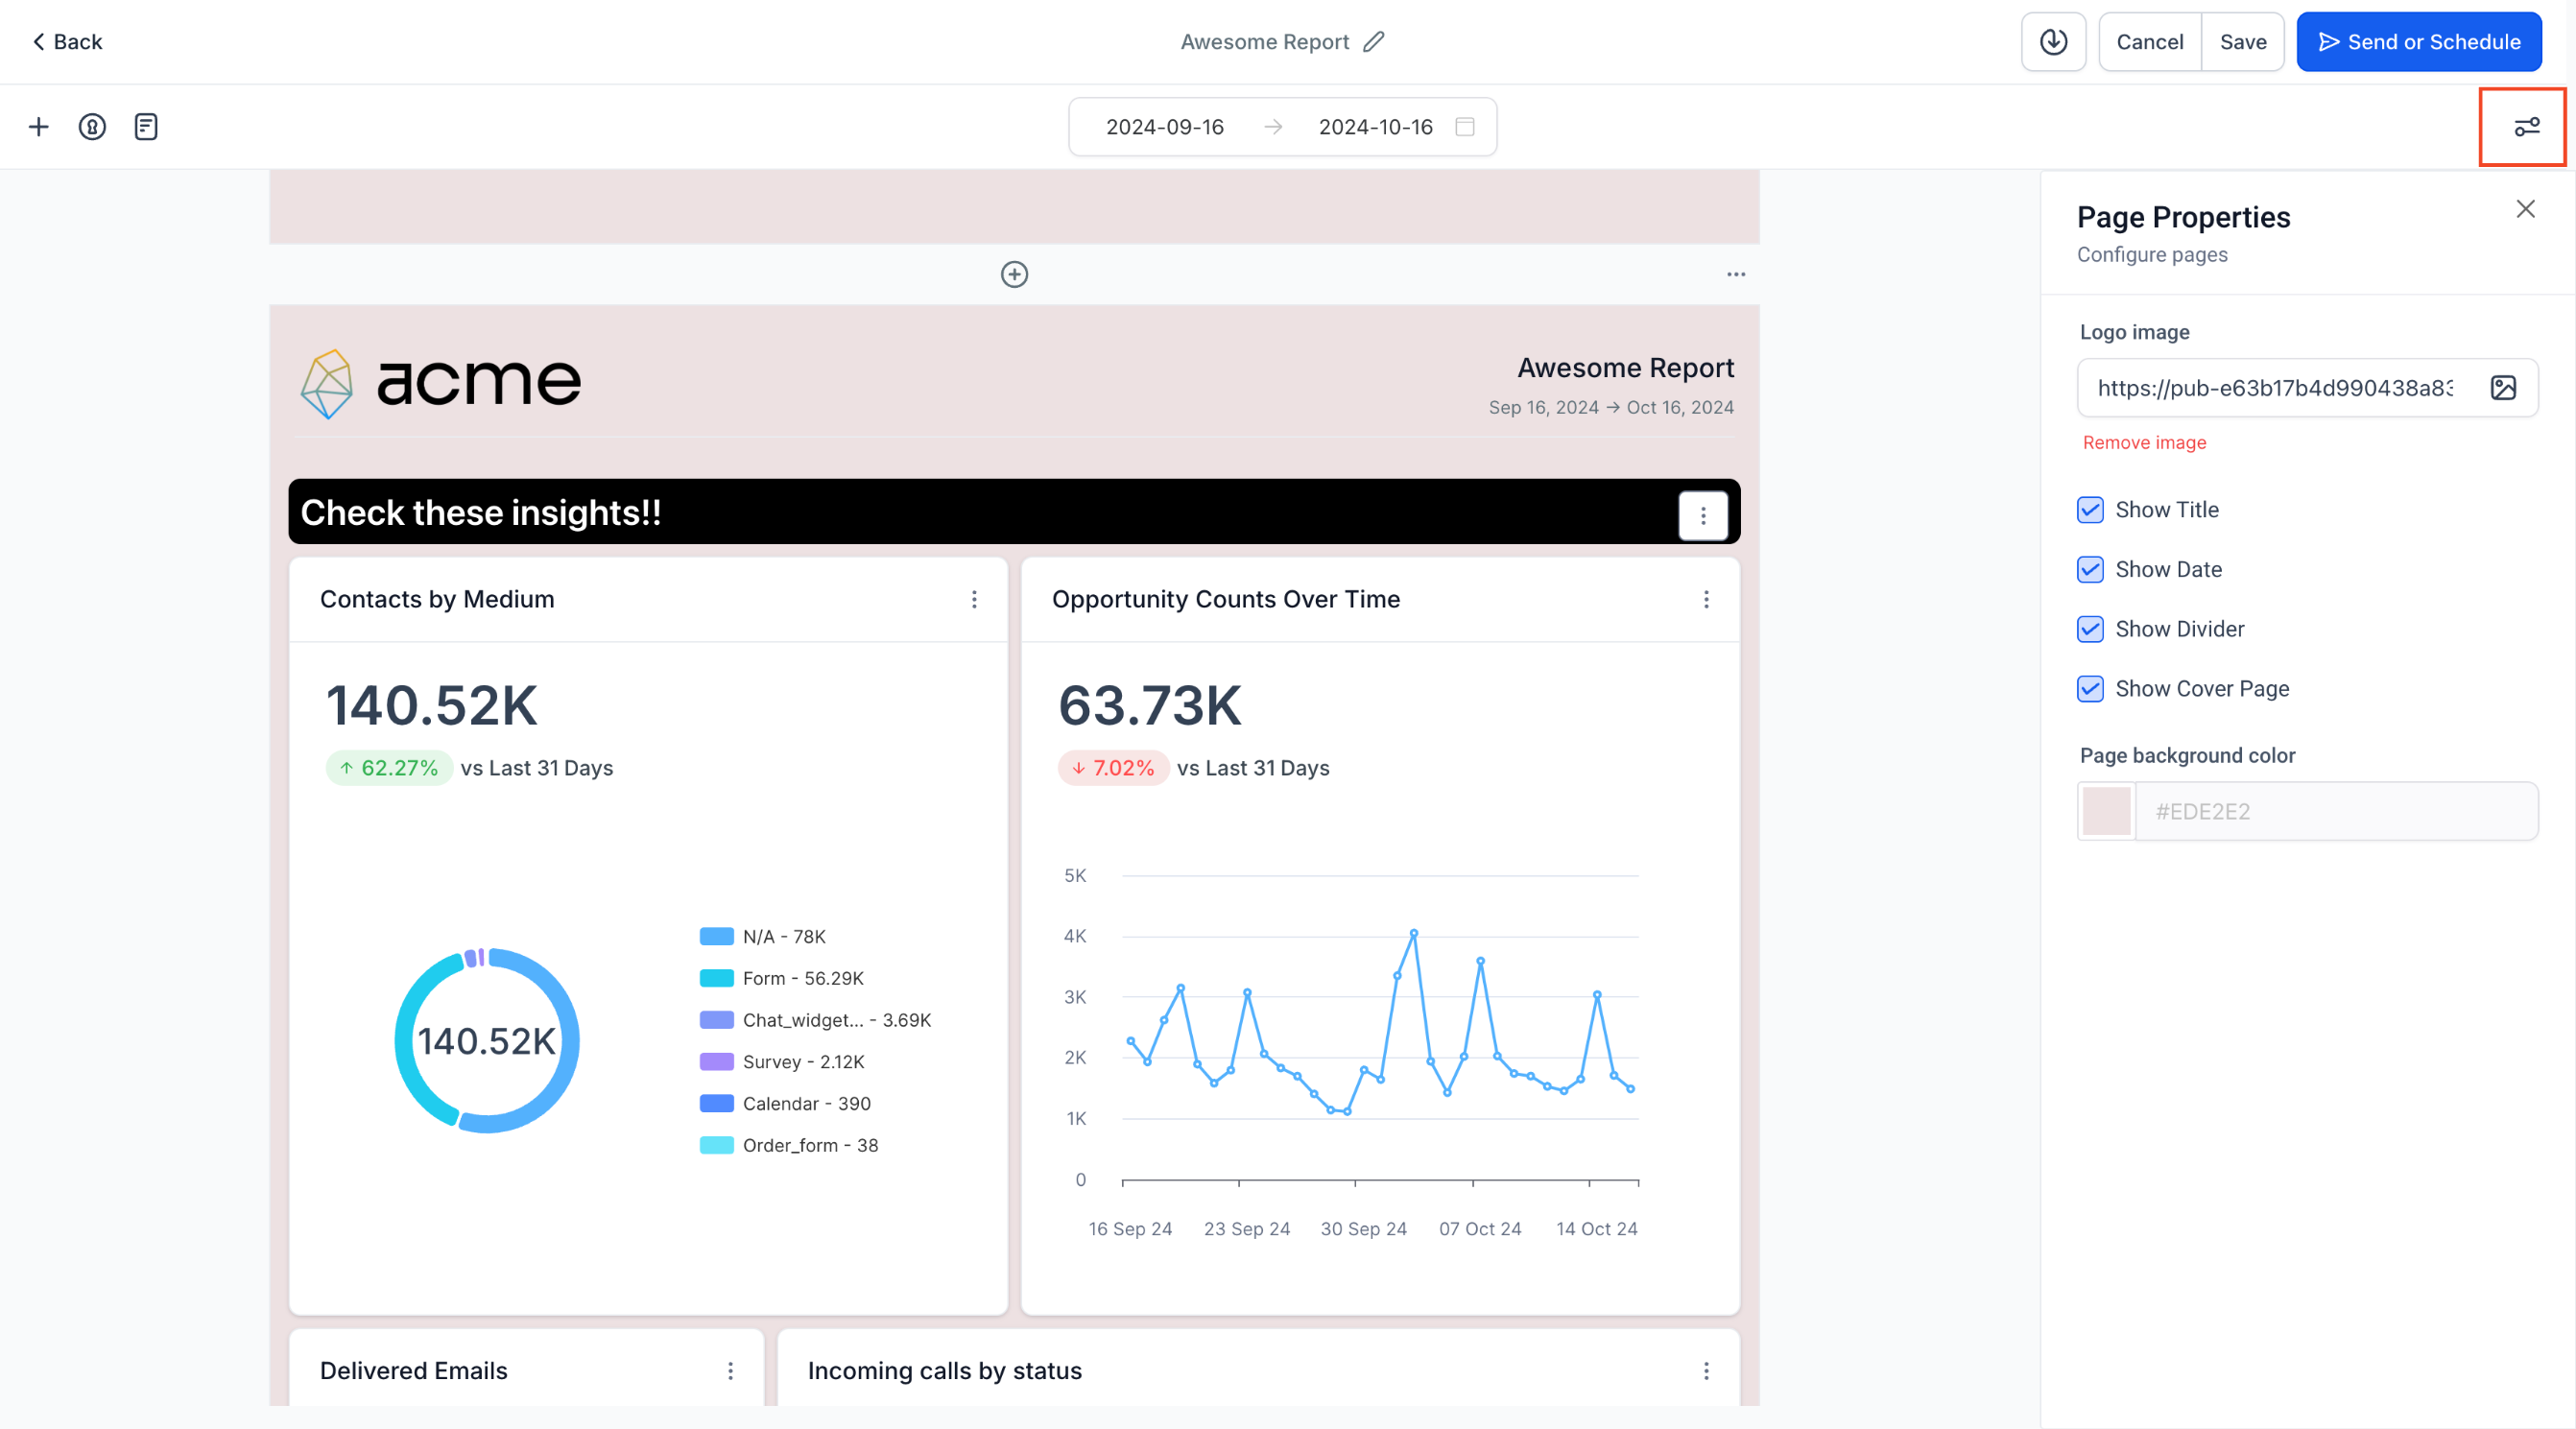
Step 4: Customize the Cover Page
Section titled “Step 4: Customize the Cover Page”The first page is the cover page. You can customize or remove it using the Page Properties menu on the right.
Page Properties options include:
- Uploading your company logo
- Configuring page headers
- Adjusting report background colors
Step 5: Add Widgets, Sections, and Themes
Section titled “Step 5: Add Widgets, Sections, and Themes”After setting up the cover page:
- Click the + icon on the left to add widgets
- Use the widget sidebar to add or customize widgets
- Use the Elements menu to add titles and organize sections
- Open the Themes section to apply a predefined theme or create a custom one

Step 6: Manage Pages
Section titled “Step 6: Manage Pages”To add a new page, click the + icon at the top or bottom of an existing page.
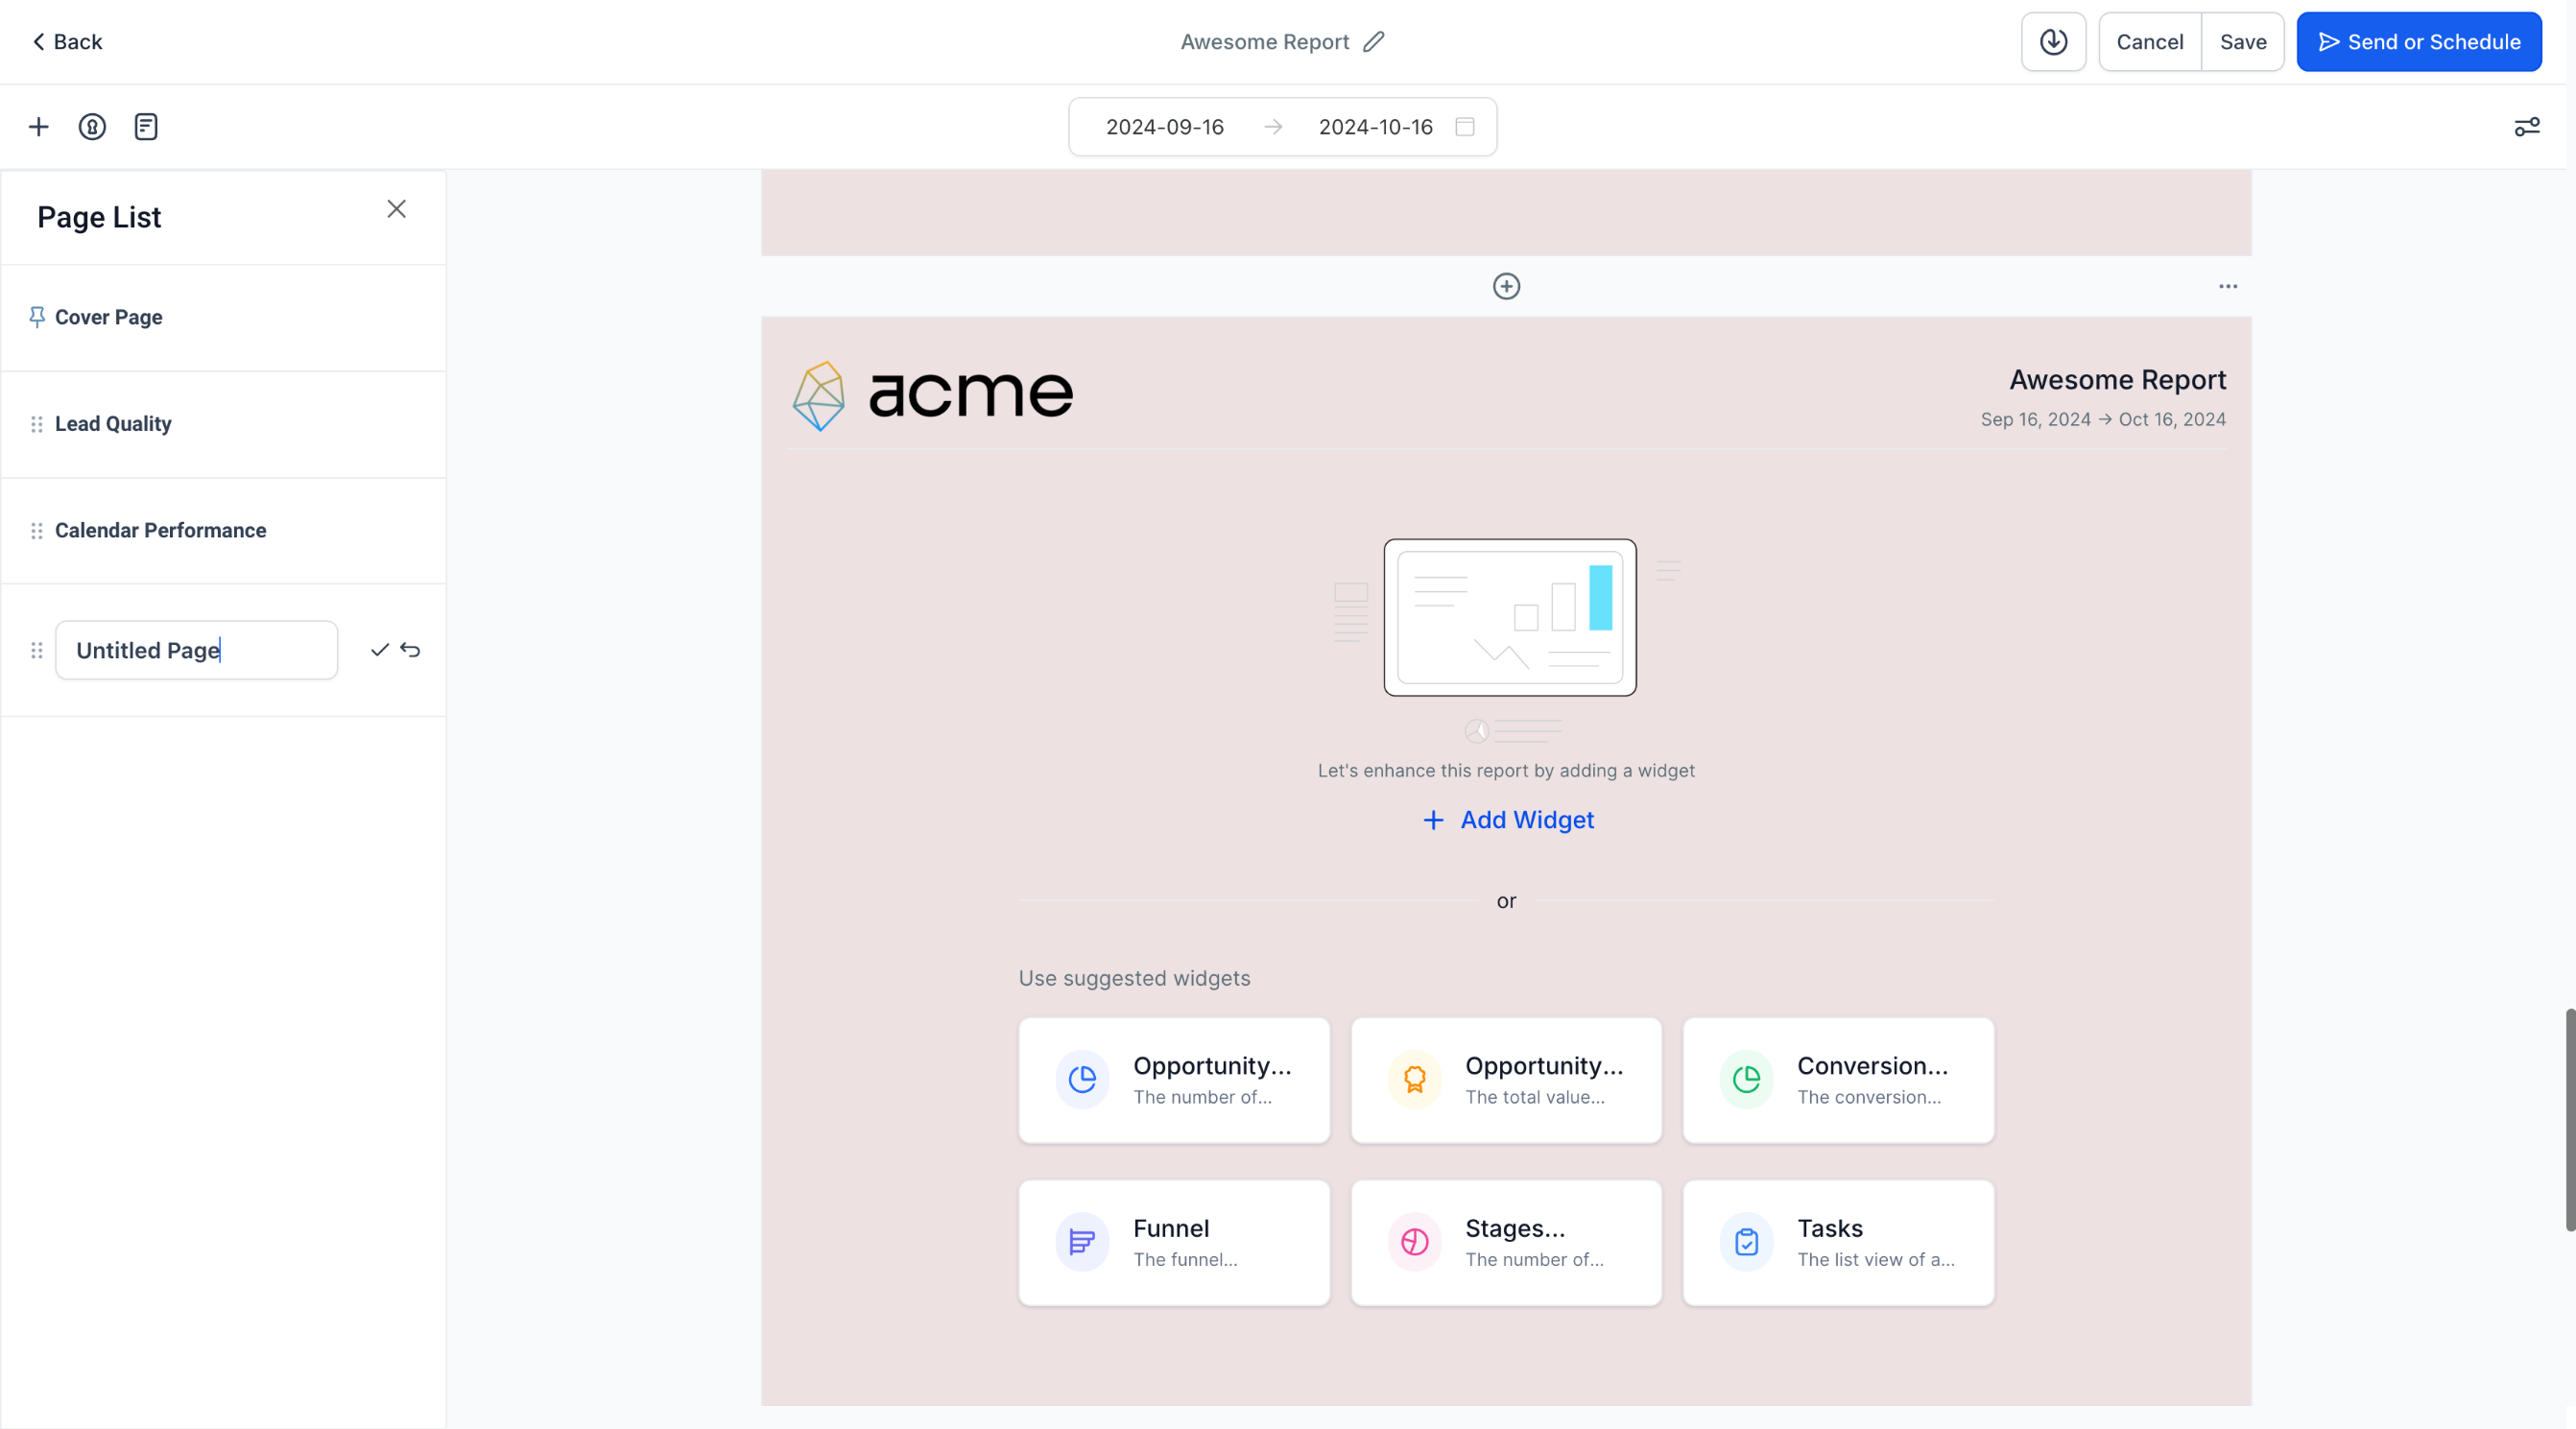
To view all pages, click the Page icon. You can drag and drop pages to reorder them and rename them for better organization.
Step 7: Download the Report
Section titled “Step 7: Download the Report”When the report is complete, click Download at the top to export a PDF version.
Step 8: Save, Send, or Schedule the Report
Section titled “Step 8: Save, Send, or Schedule the Report”After creating the report, click Save, then choose Send or Schedule.
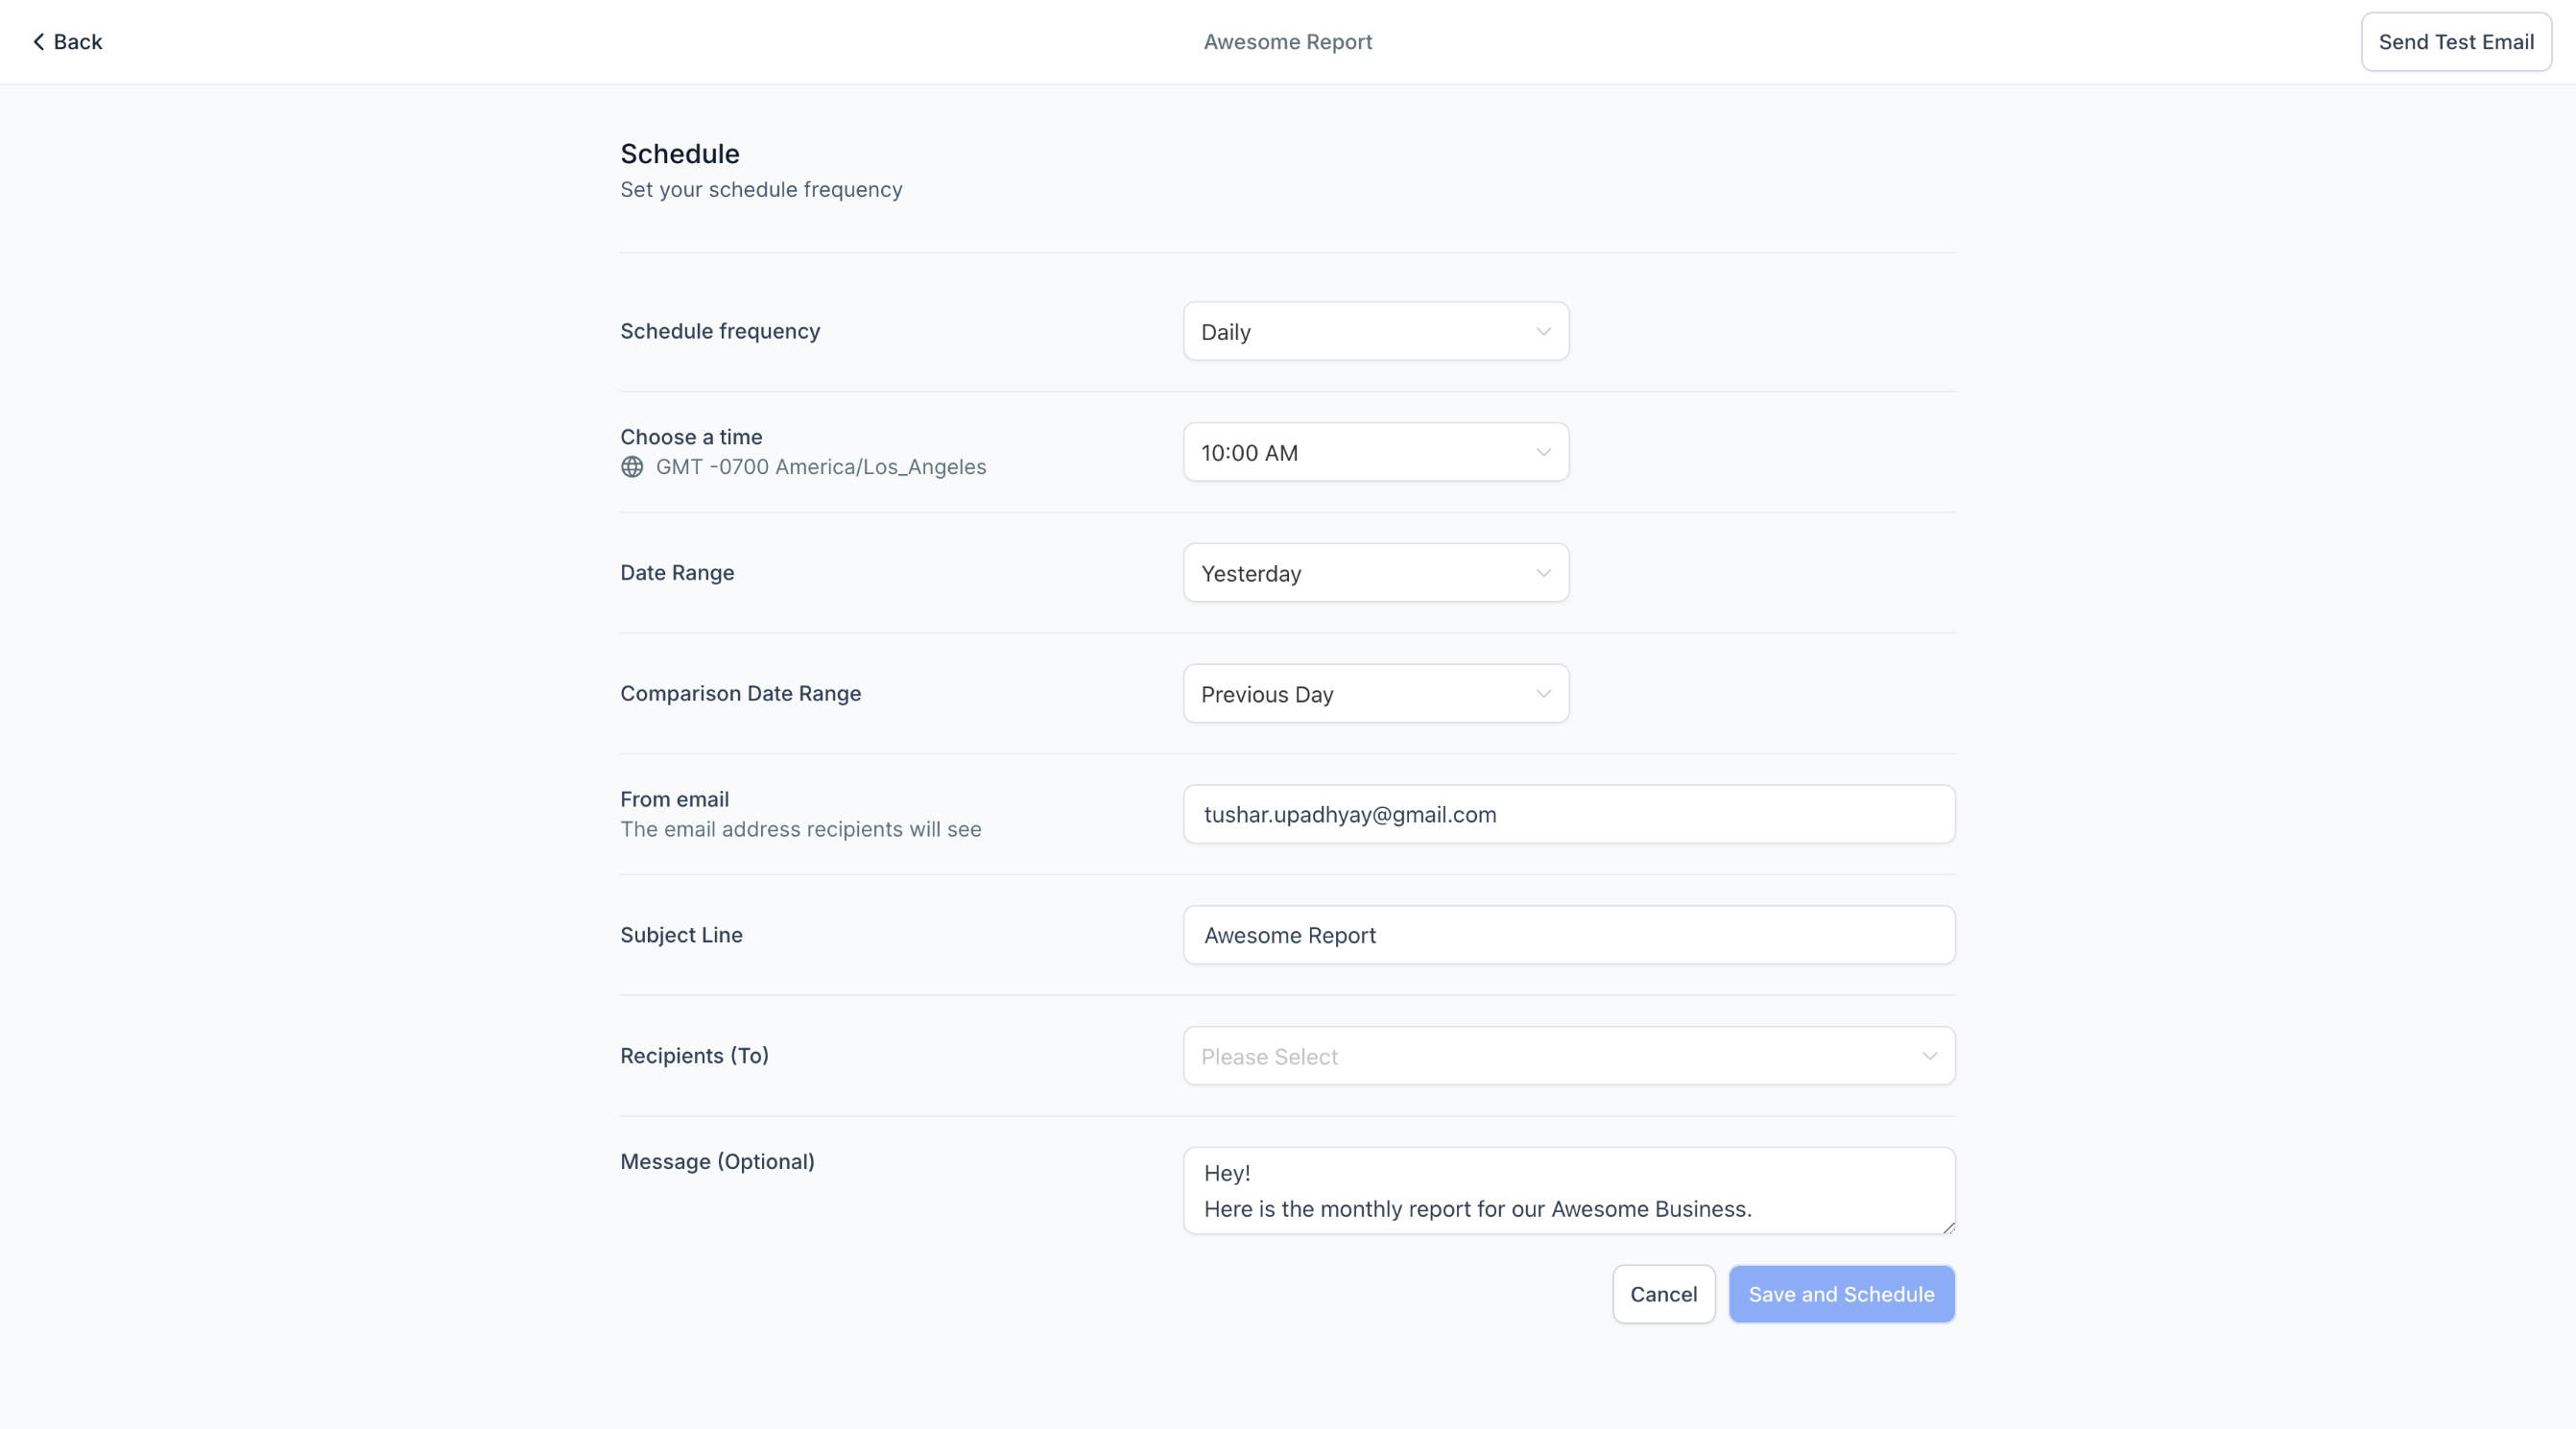
Step 9: Configure Schedule and Delivery
Section titled “Step 9: Configure Schedule and Delivery”When scheduling a report, configure the following:
- Frequency: Daily, weekly, or another schedule
- Time: The delivery time
- Date Range: The data period to include
- Widget-Level Date Settings: Keep widget-specific date ranges and comparisons in the emailed report
- Compare With: Add comparison trends
- Sender Email: Customize the sender address
- Subject: Add the email subject
- Recipients: Add recipient email addresses
- Optional Email Body: Add a custom message if needed
Frequently Asked Questions
Section titled “Frequently Asked Questions”Q: Can I create a report from an existing dashboard?
A: Yes. You can convert an existing dashboard into a report.
Q: Can I customize the cover page?
A: Yes. You can update or remove the cover page from the Page Properties menu.
Q: Can I add multiple pages to a report?
A: Yes. You can add, rename, and reorder pages within the report builder.
Q: Can reports be sent automatically on a schedule?
A: Yes. Reports can be scheduled with configurable delivery settings.