
How to Send or Schedule a Regular Email Campaign
Regular email campaigns are one-time broadcast emails you design and send directly to a selected audience from the Email Marketing area. They are ideal for time-bound announcements, specific promotions, or newsletters that do not require complex and ongoing workflow automation.
[!WARNING] Before attempting to send an email campaign, ensure that you have fully verified your sending domain. Mismatched or unverified domains will prevent campaigns from being dispatched.
Key Benefits of Regular Email Campaigns
Section titled “Key Benefits of Regular Email Campaigns”- Speed: Send relevant updates to a targeted segment instantly without having to build and test logic-based automations.
- Control: Choose exact send times or utilize pacing strategies (like Batch dripping) to manage exactly when your contacts receive the message.
- Targeting: Use Smart Lists and segments to ensure your broadcast reaches the right audience without blasting your entire database.
- Deliverability: Throttle large-scale sends with the Batch (Drip) method to reduce traffic spikes on your own server and minimize junk categorization.
- Flexibility: Pair standard campaigns with RSS triggers or AI scheduling for timing intelligence based on individual contact habits.
How To Send or Schedule a Regular Email Campaign
Section titled “How To Send or Schedule a Regular Email Campaign”Proper setup significantly reduces errors and improves deliverability. Follow these core steps to comfortably prepare, send, and manage your campaign.
Step 1: Create an Email Campaign
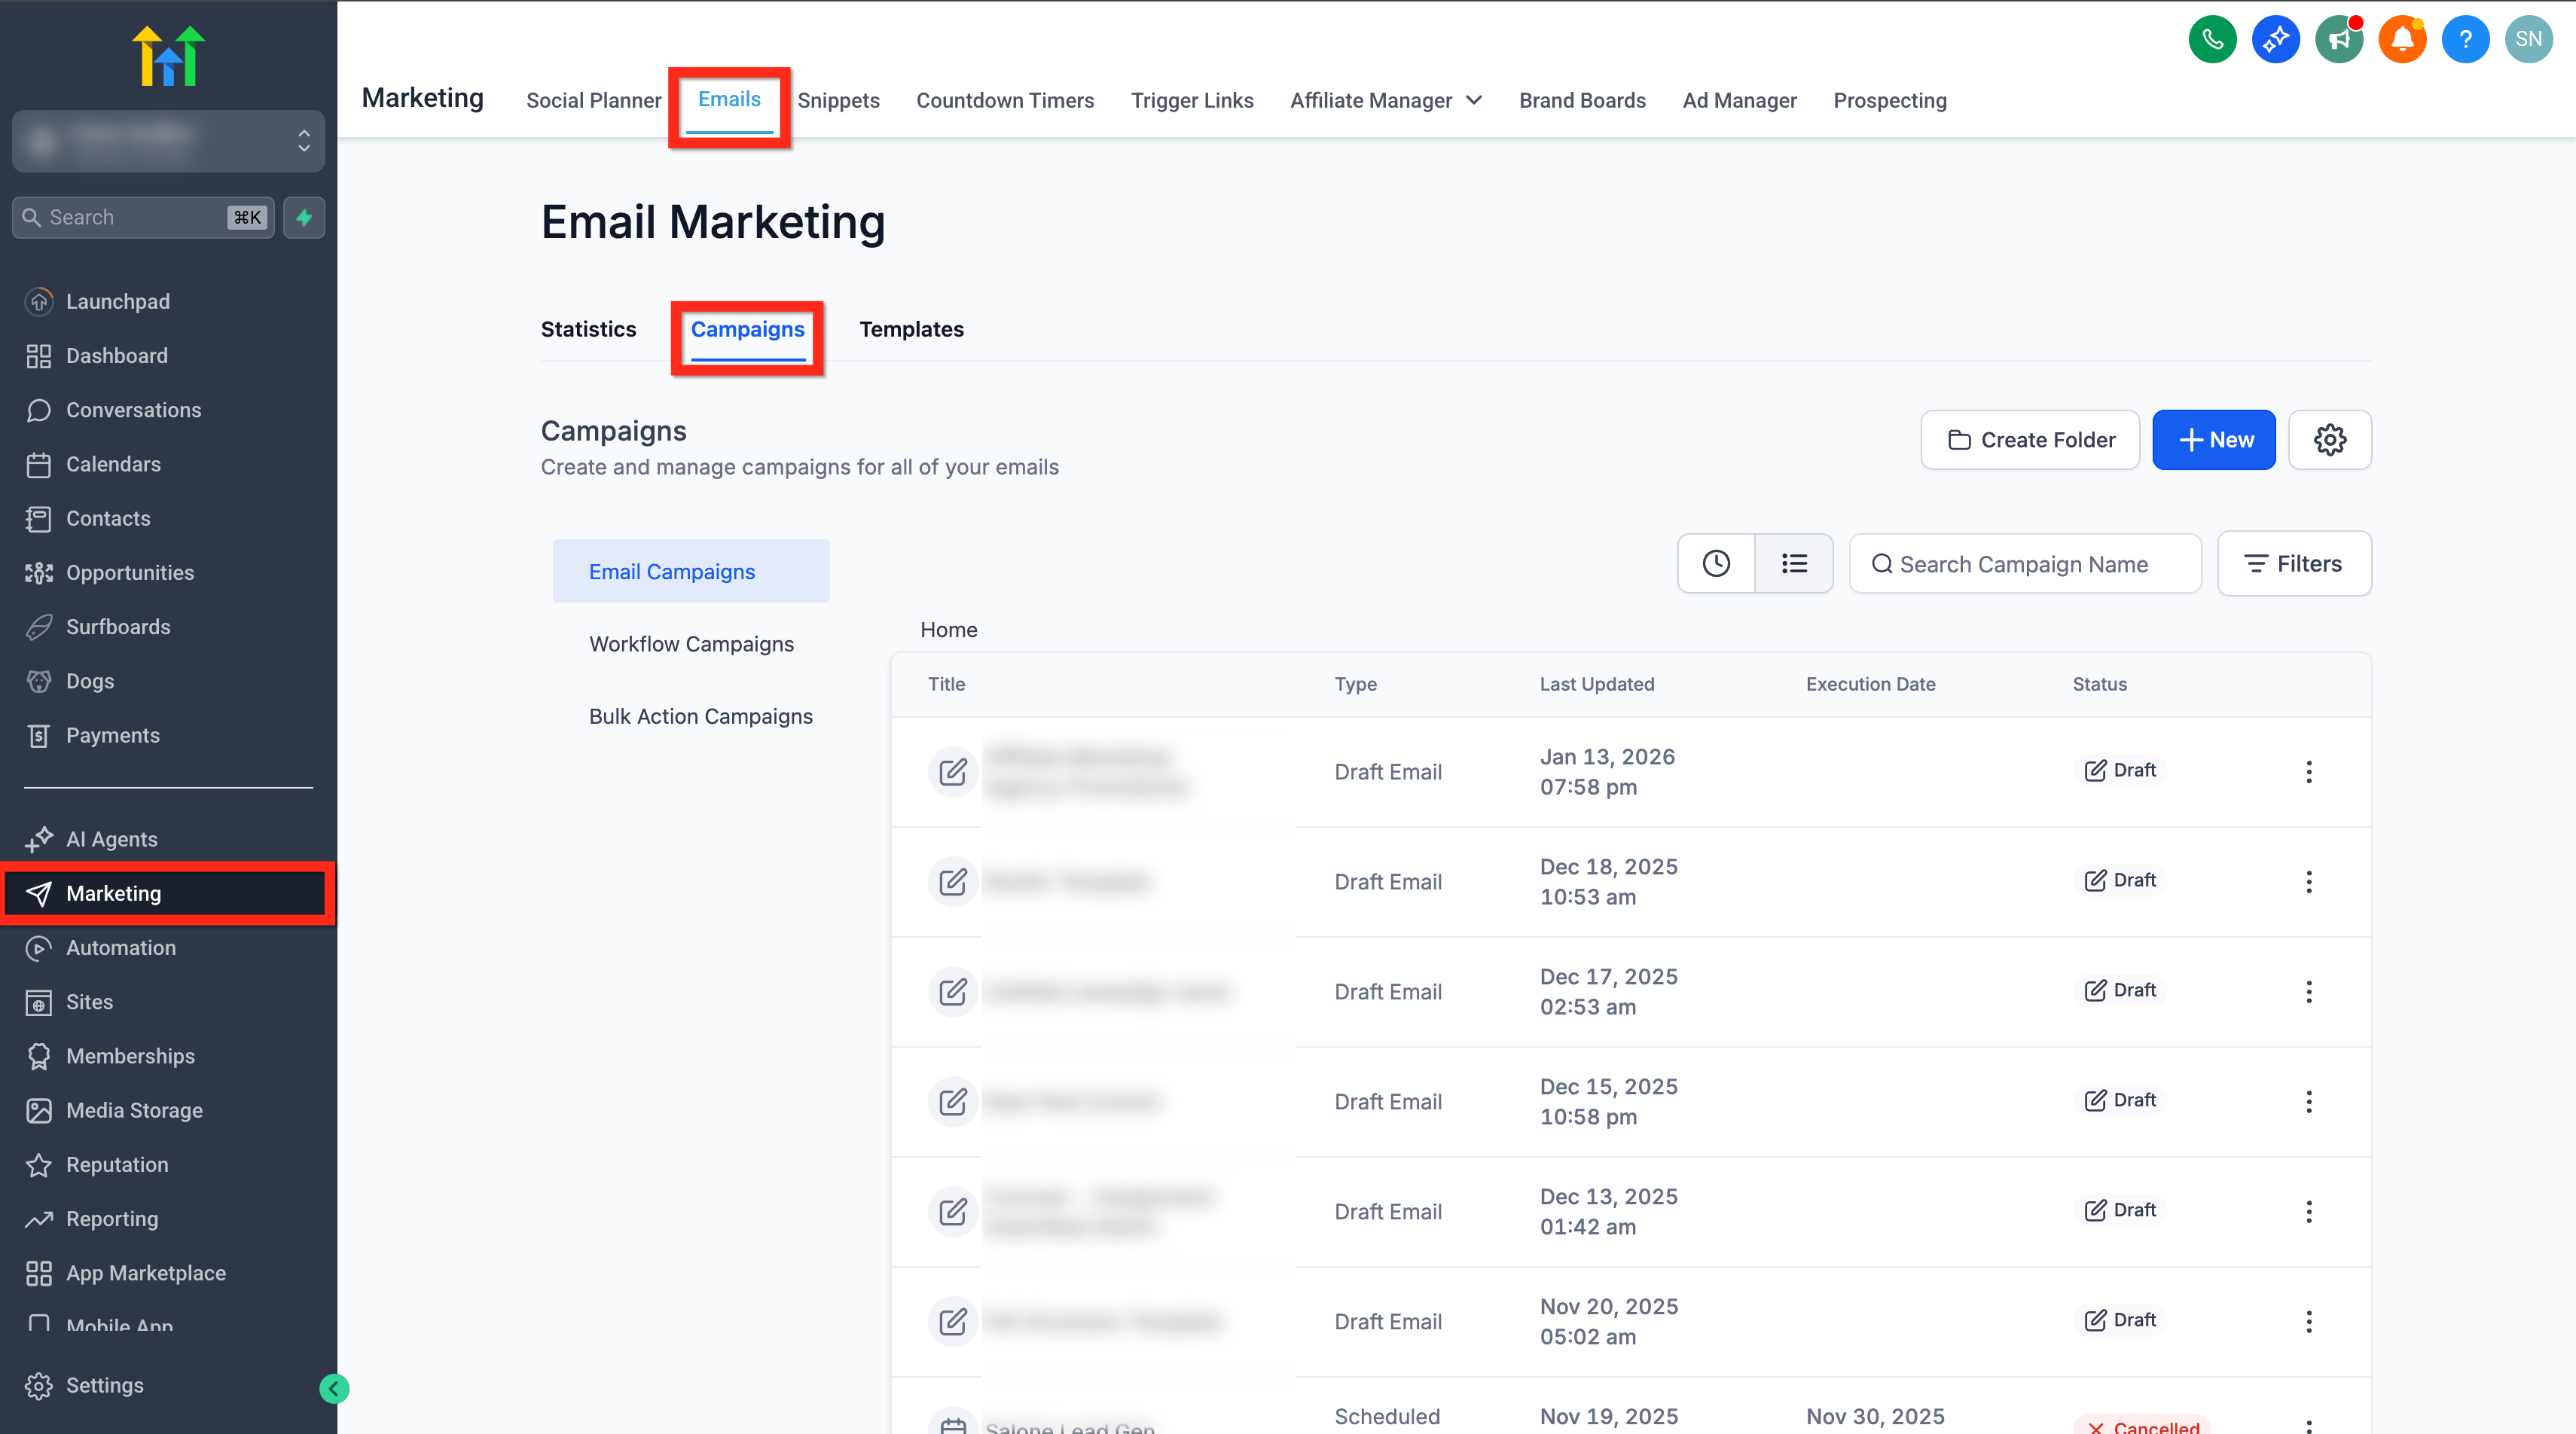
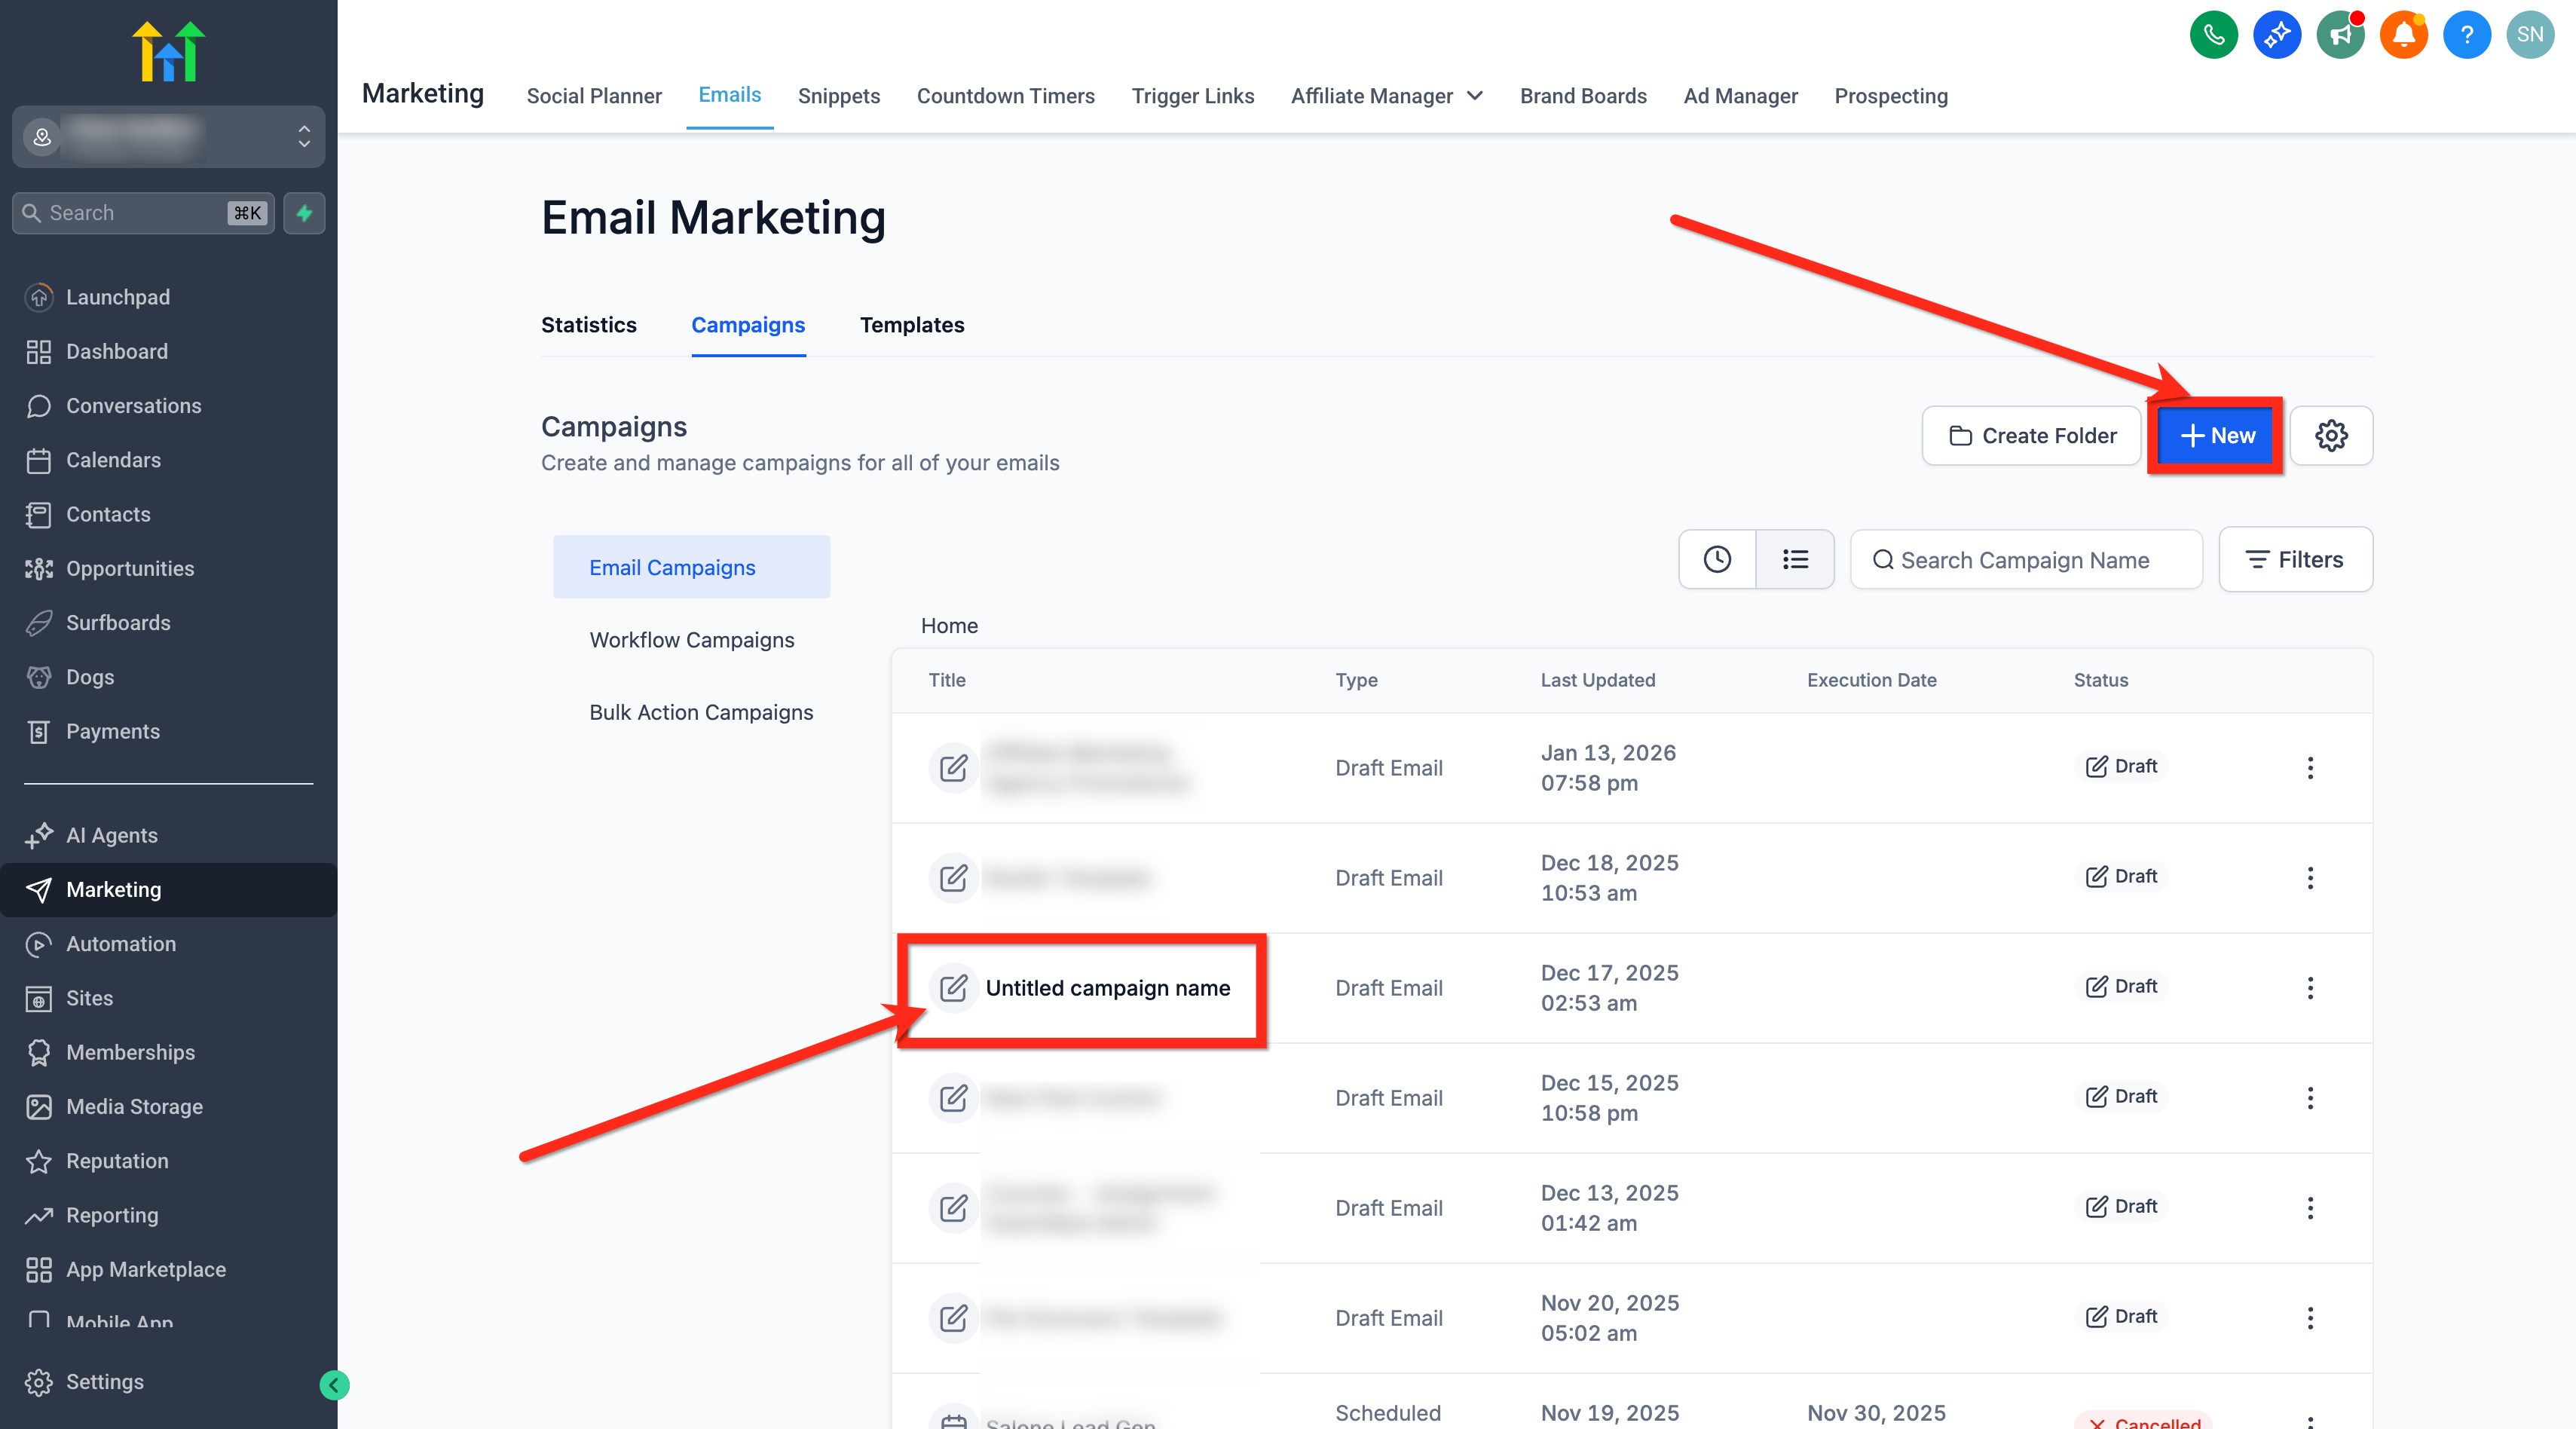
Section titled “Step 1: Create an Email Campaign”Navigate to the marketing module by clicking Marketing > Email > Campaigns. From here, you can click the button to Create a New Campaign or select the option to edit an existing draft.
Step 2: Design the Email
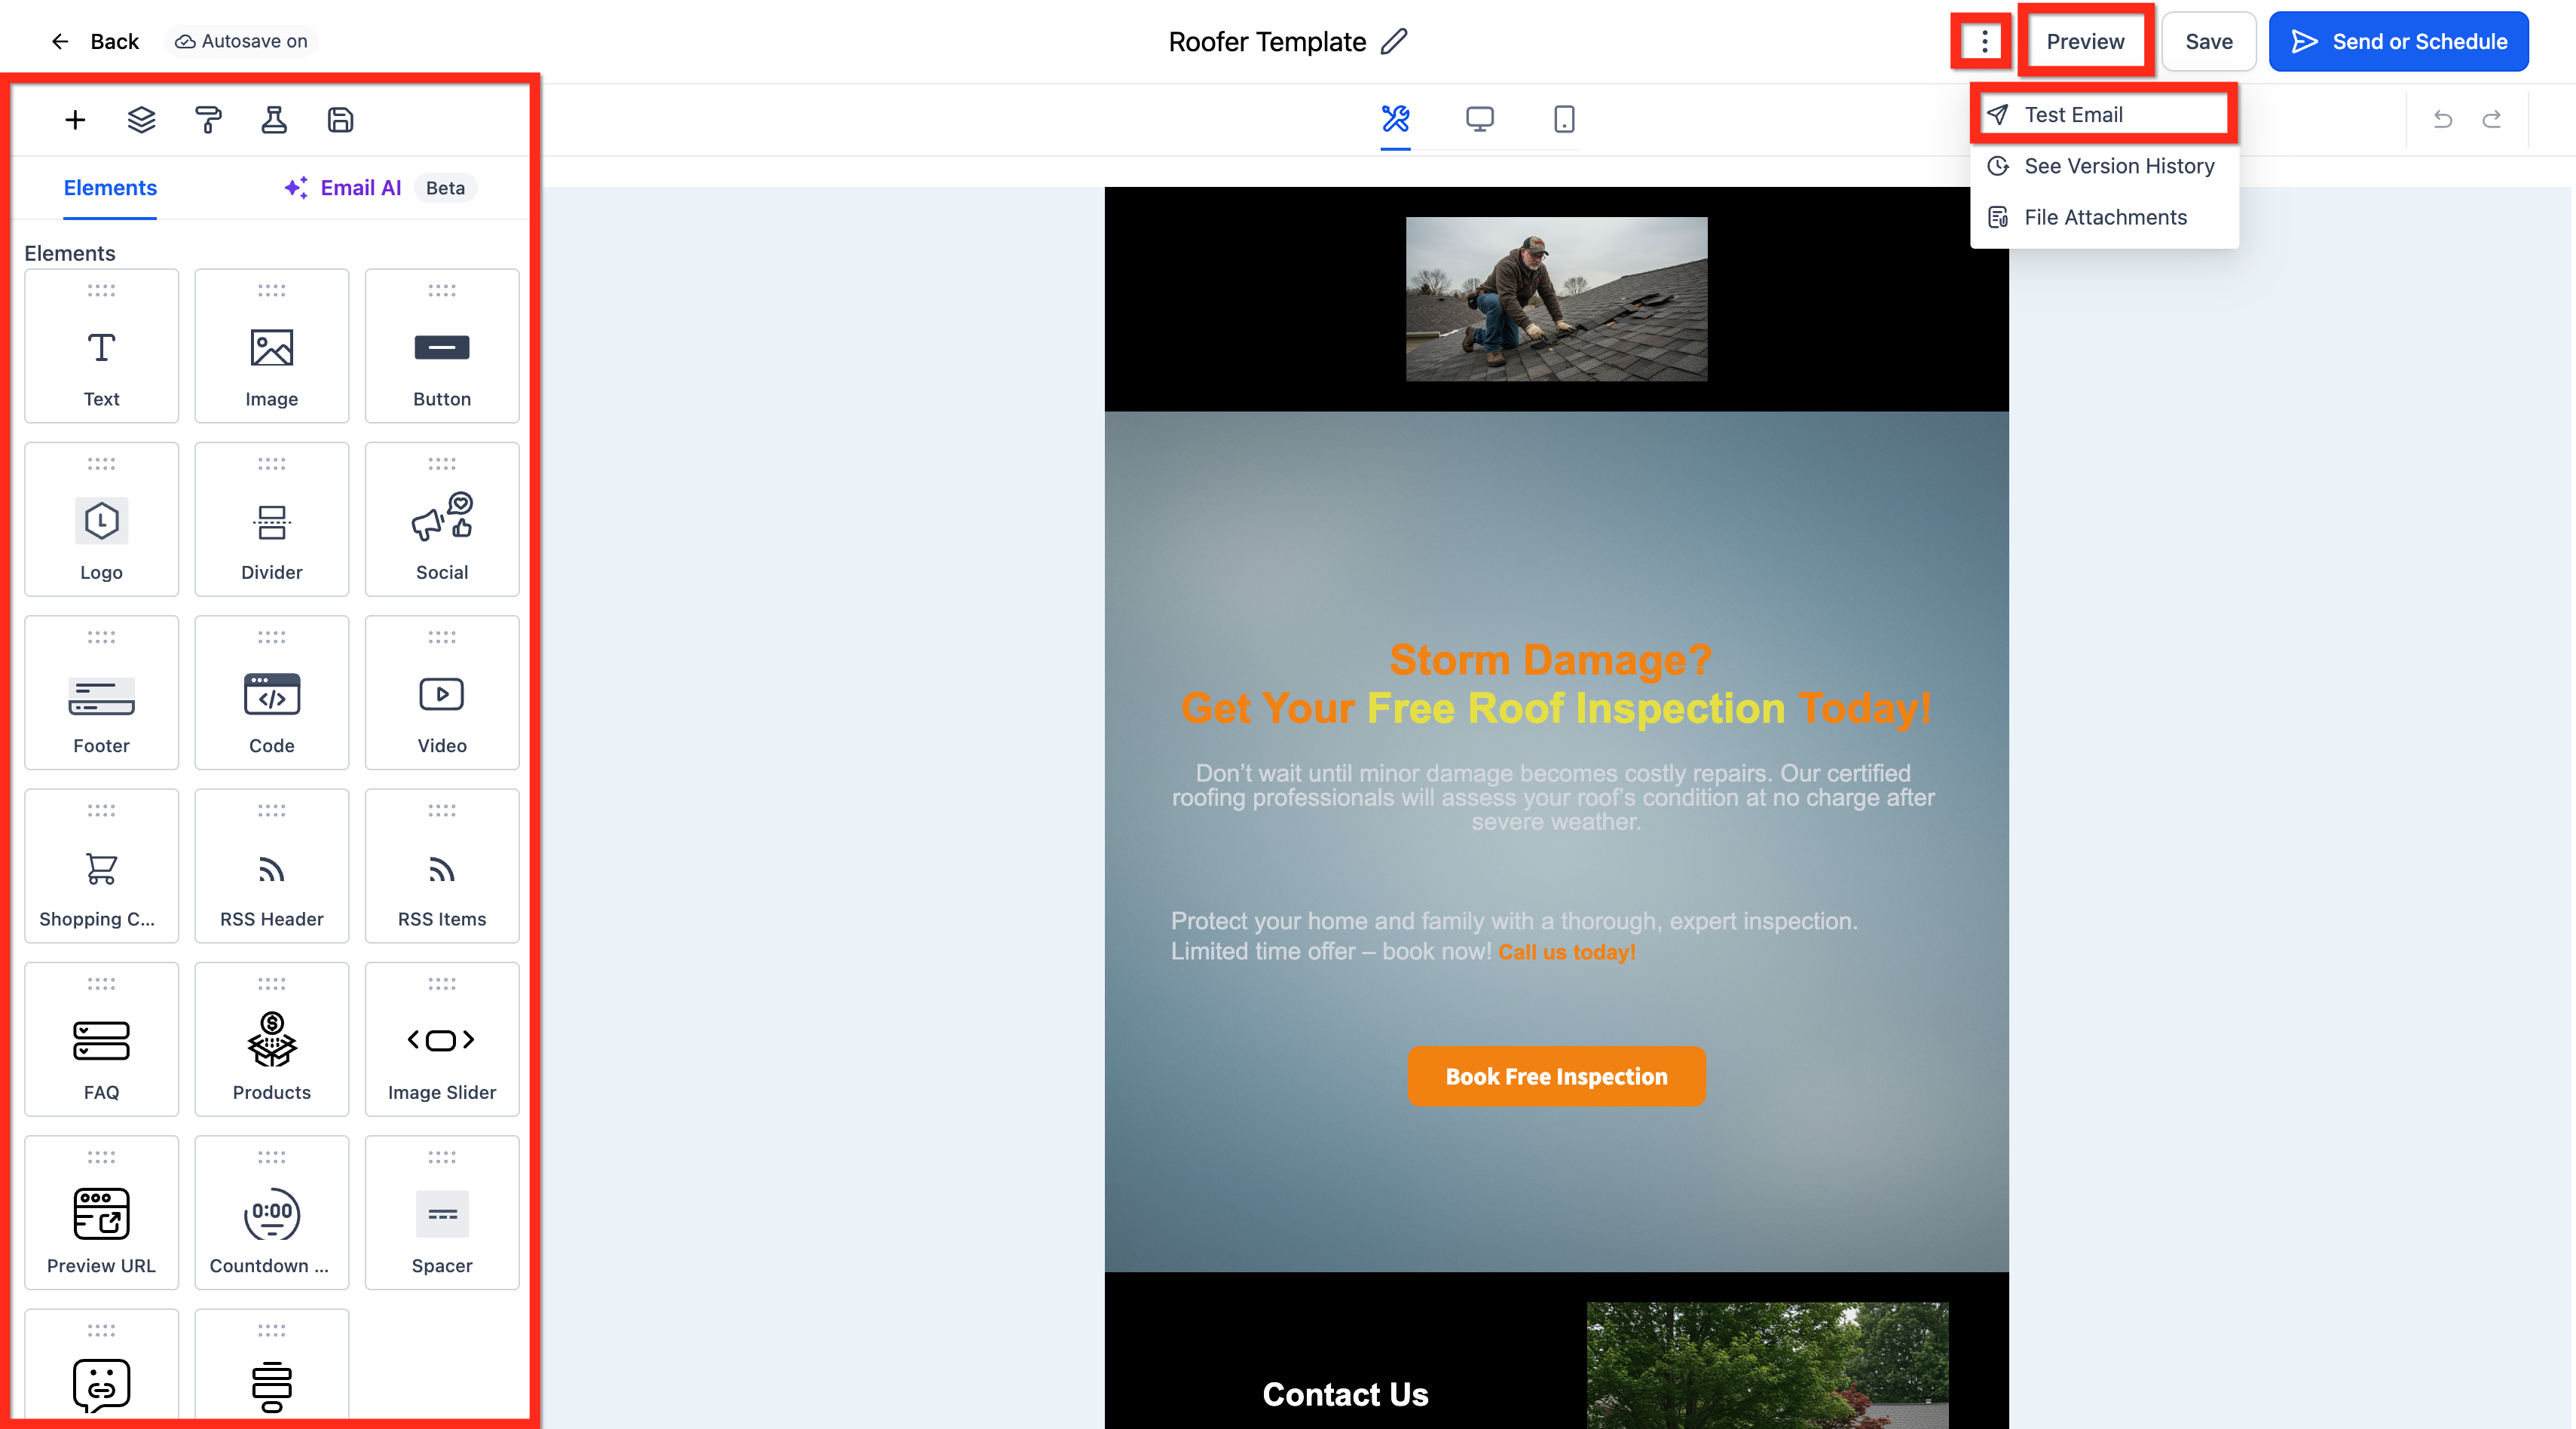
Section titled “Step 2: Design the Email”- Build your layout from scratch or select a pre-made template that fits your brand.
- Add your content, embed necessary images, and verify all hyperlinks.
- Use the Preview and Test Email functions inside the builder to ensure your layout responds correctly on both desktop and mobile views.
Step 3: Select a Delivery Option
Section titled “Step 3: Select a Delivery Option”Once the design is complete and thoroughly tested, click on the Send or Schedule button located inside the builder interface.
Optional: Attach Files
Section titled “Optional: Attach Files”If necessary, you can attach files directly on the Send or Schedule screen:
- Click the Attach Files button.
- Choose the specific files you want to include (Note: the absolute maximum attachment limit is 10MB).
- Confirm that the attachments are fully verified and listed before finalizing.

Step 4: Finalize Send Settings
Section titled “Step 4: Finalize Send Settings”You now have two core options for when you want your message to go out: immediate dispatch or future scheduling.
Option A: Send Now (Immediate Delivery)
- Enter your Sender Name.
- Review your Sender Domain to confirm your domain configuration is active.
- Input the Sender Email Address.
- Draft your Subject Line.
- Add your targeted Recipients via lists or smart segments.
- Configure any Additional Settings needed, such as Link Tracking, UTM Tracking, or specific Tags.
- Click the Send button.
Option B: Schedule (Future Delivery)
- Pick the exact Date and Time for scheduling. (Note: The email will be sent according to your Location’s configured timezone, which will be prominently displayed over the scheduling selector).
- Enter your Sender Name.
- Review your Sender Domain.
- Input the Sender Email Address.
- Draft your Subject Line.
- Add your targeted Recipients.
- Configure your Additional Settings (Link Tracking, UTMs, etc.).
- Click the Schedule button.
Frequently Asked Questions
Section titled “Frequently Asked Questions”
Q: Can I reschedule an Email Campaign that I’ve already queued?
Yes. You can reschedule any pending Email Campaign up to one hour before its originally designated execution time.
Q: What’s the difference between Campaigns and Workflows for sending emails?
Campaigns are strictly one-time broadcasts intended for lists. Workflows automate intelligent multi-step journeys and conditionally trigger emails based on behaviors, elapsed time, or tags.
Q: Can I run tests before committing to a send?
Yes. You can use the “Preview” and “Test Email” features directly from the visual editor, and then further confirm the details on the final Review step before executing the send.
Q: Can I safely review the campaign via a specific URL or test email?
Yes. A preview link is actively available in the Statistics module. (Note: Unsubscribe functionalities are dynamically disabled when viewing a test or preview email to prevent accidental opting out.)
Q: I accidentally processed or deleted content. Can I restore an older version?
Yes, you can retrieve older iterations. Click the three dots icon inside the edit campaign view to access a dropdown menu. Select See Version History to find and restore previous save points.
Q: Can I attach a file to a mass email campaign?
Yes! On the final Send or Schedule review screen, click the Attach Files button at the top to upload documents (up to 10MB).