
How to Create & Manage Smart Lists
A Smart List is a dynamic contact list that updates automatically based on predefined filters and conditions. Unlike static lists, which remain unchanged unless manually updated, Smart Lists continuously adjust as new contacts meet (or no longer meet) your specified criteria.
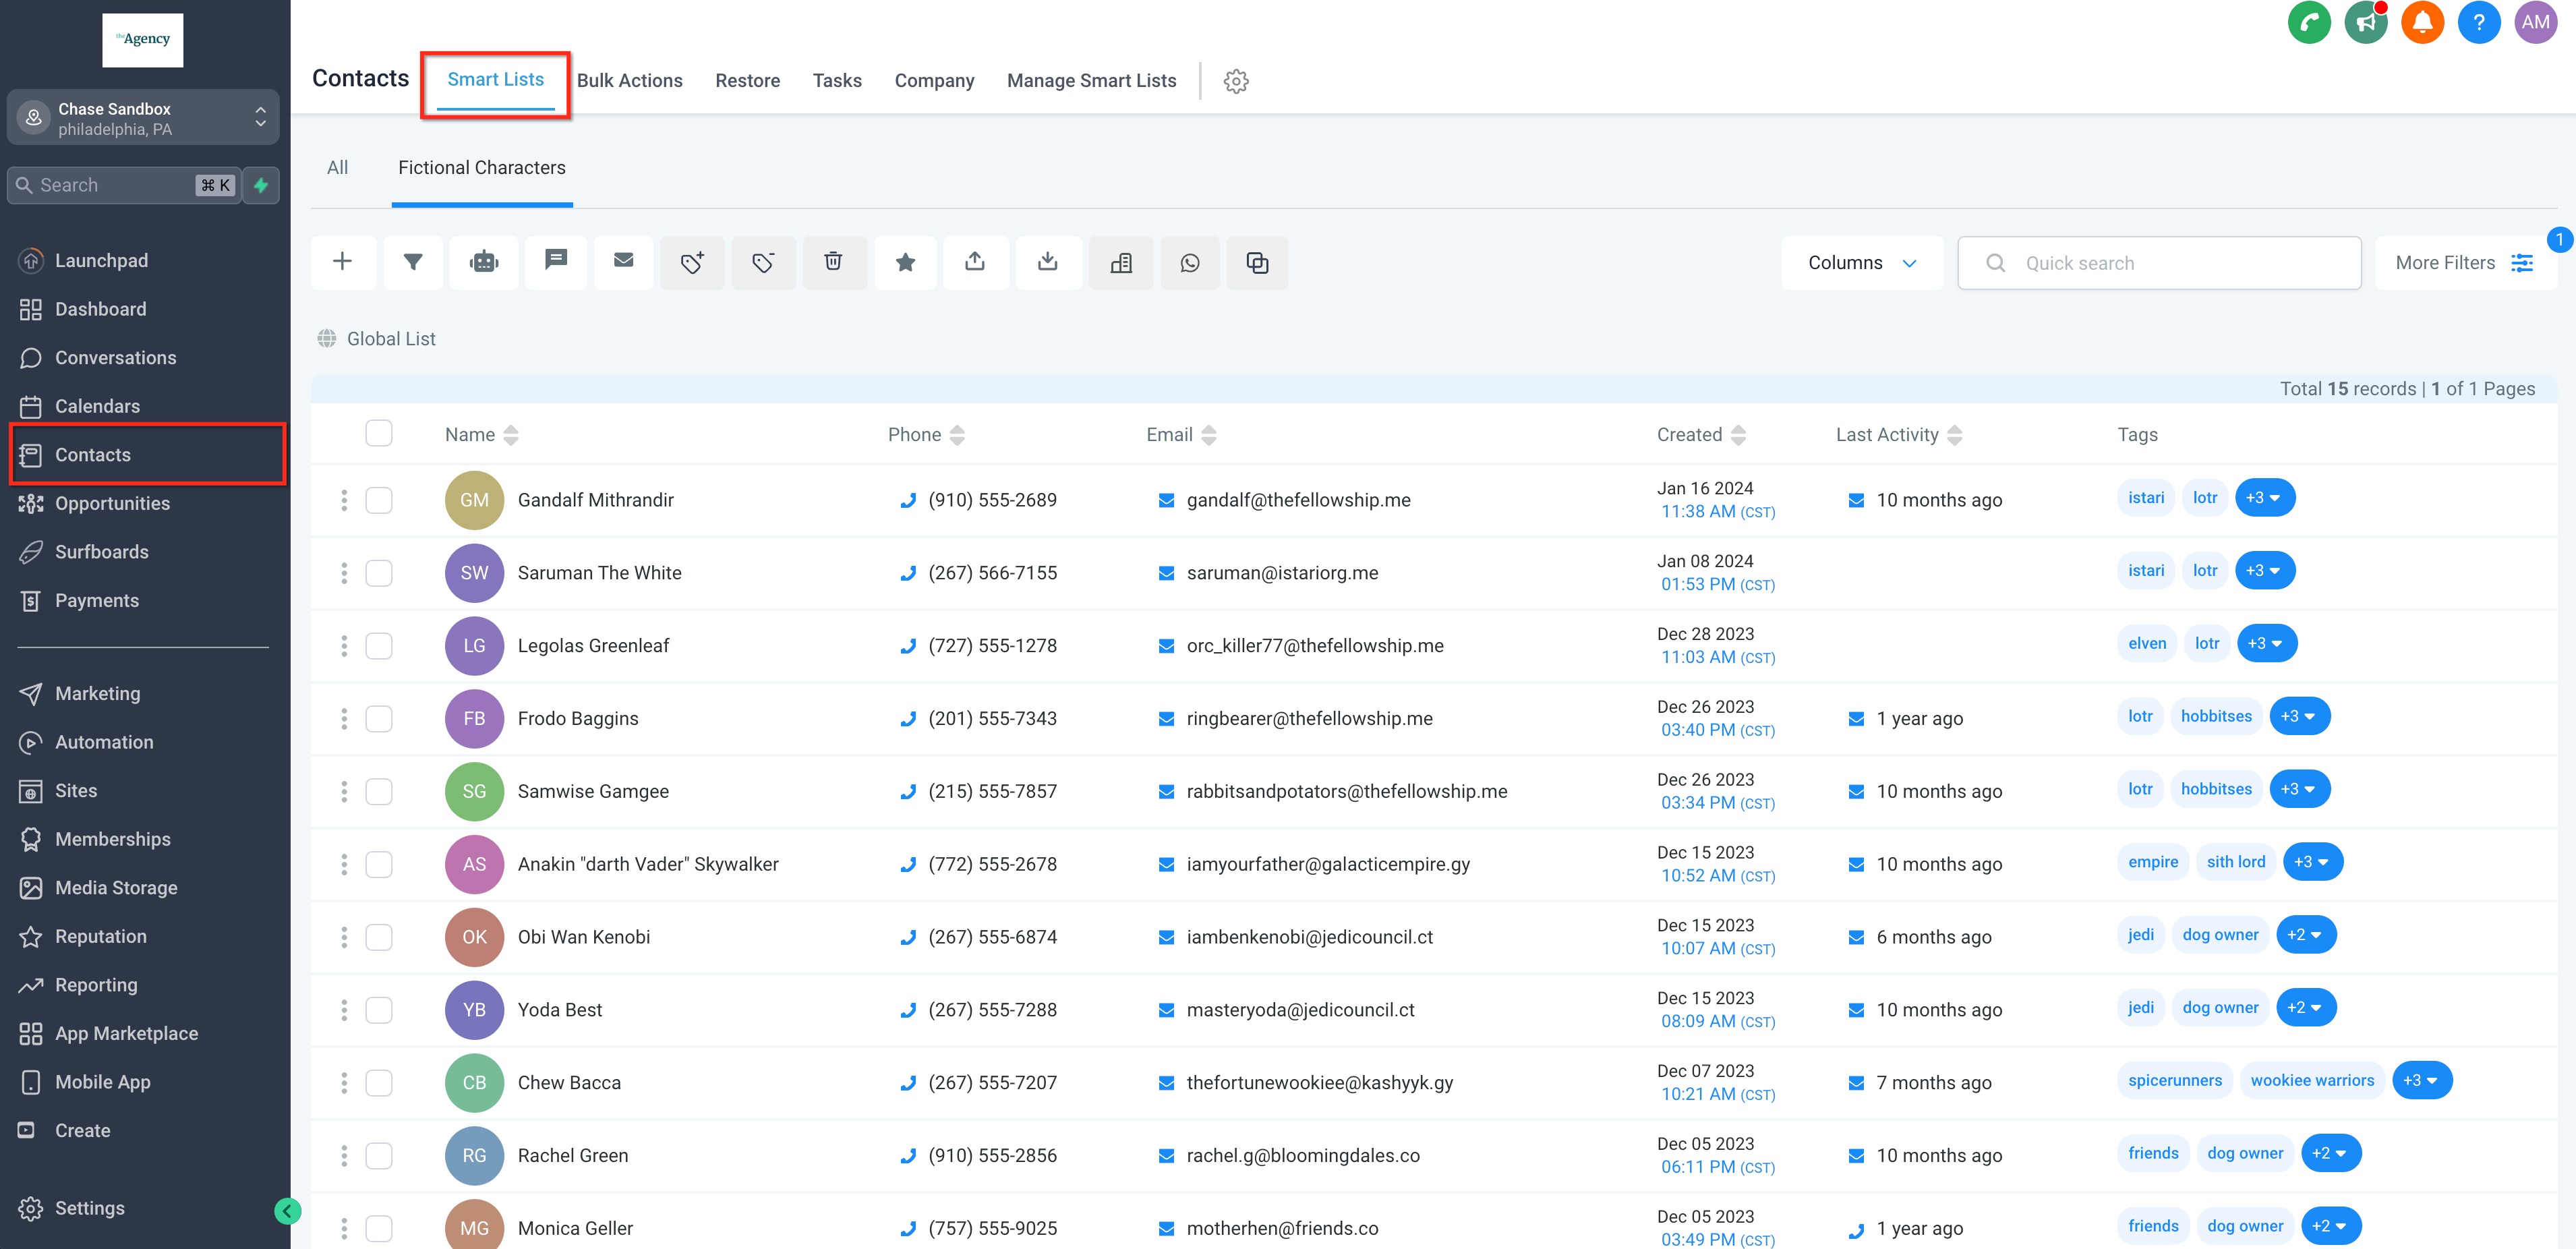
This enables you to customize and filter contacts based on conditions like tags, behaviors, custom fields, and engagement activity. You can also select which columns display, letting you tailor the view precisely to your needs. This feature is located within the Contacts module under the Smart Lists tab.
Why Use Smart Lists?
Section titled “Why Use Smart Lists?”- Save Time: Automate segmentation entirely instead of manually updating static lists.
- Enhance Targeting: Group your contacts based on behavior, lead status, or historical engagement.
- Improve CRM Organization: Keep your entire contact database structured and highly searchable.
- Power Automation: Safely use dynamic Smart Lists to trigger automated workflows and actions.
How Do Smart Lists Work?
Section titled “How Do Smart Lists Work?”- Real-Time Updates: Contacts are automatically added or removed in real-time as they match filters like tags, opportunity stages, or custom field data.
- Automated Segmentation: Quickly craft lists targeting fresh leads, active customers, or stale prospects without manual maintenance.
- Advanced Filtering: Apply multiple filters simultaneously (e.g., “Opened an email in the last 30 days” AND “Has an open invoice”).
- Workflow Integration: Smart Lists can be used directly as triggers to guarantee personalized messaging at scale.
Setting Up Smart Lists
Section titled “Setting Up Smart Lists”Creating your first Smart List is a simple process.
- Navigate to the Contacts tab and select More Filters.
- Pick one or multiple filters from the dropdown menu on the right side of the screen.
- Input your desired condition details and click Apply to run the filter against your database.
- To add more restrictive filters, select the AND option to layer logic.
- Once your filtering returns the desired list, click Save as smart list to permanently save this view under a distinctive name.
Managing Smart Lists
Section titled “Managing Smart Lists”Smart Lists can be quickly modified, duplicated, and shared to align with an organization’s changing needs over time.
- To access a Smart List, go to the Contacts section and click on the Smart List name at the top.
- To modify an active Smart List, click on it, and its active filters will appear on the right side of your screen.
- You can manage filters by clicking the pencil icon to edit them, or the Trash / X icon to delete them. Always remember to use the Save icon to commit any changes.
- To duplicate, share, rename, or completely erase a list, navigate to Manage Smart Lists at the top right of the Contacts page and select from the available quick-action icons.
Example Scenario: Finding Inactive Contacts
Section titled “Example Scenario: Finding Inactive Contacts”Let’s create a list of all contacts that have never been contacted or have not been contacted in the last 90 days.
- Go to Contacts > Smart Lists and stay on the All tab.
- Click More Filters.
- Search for the Last Activity filter in the filter drop-down menus.
- Once added, change the operator to More Than and type “90 days”.
- Click Apply Filters.
- Select the Last Activity column from your table’s layout to easily verify the list results.
- Click the + (Save) icon to name your new Smart List and permanently save it.
Reordering Columns in Smart Lists
Section titled “Reordering Columns in Smart Lists”Smart Lists fully support drag-and-drop column management, meaning you can easily prioritize the most important contact details visually.
- Open the specific Smart List you want to modify.
- Click on the column/field management options icon (typically near the top of the table header).
- Drag and drop the specific columns up or down to rearrange their order.
- Close the column manager. The table reflects the new order immediately.
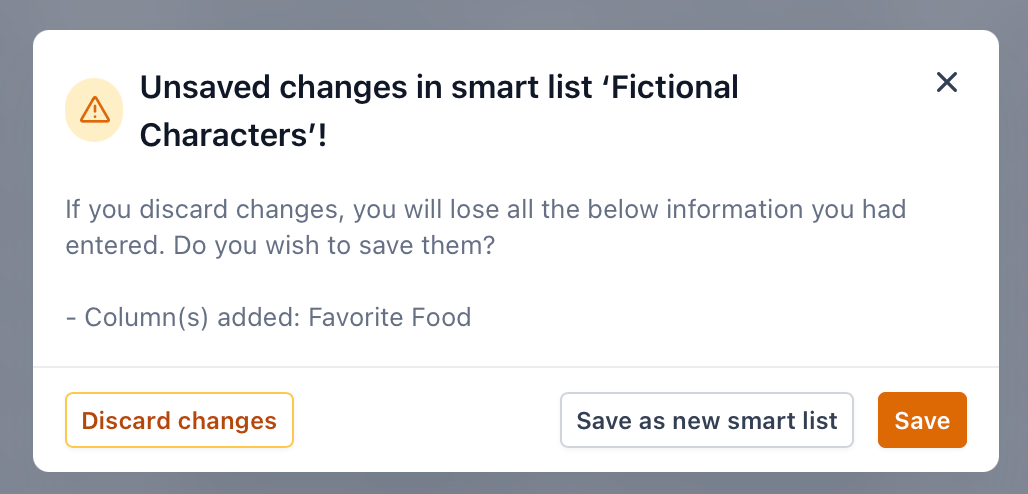
Important Note: A Smart List binds to the most recently saved column order and visibility layout. If you rearrange columns or hide fields to clean up a view, make sure to click the Save icon on the active Smart List tab; otherwise, it will revert to its previous view upon your next visit.