
How to Customize Dashboard Themes
Customizing dashboard themes helps you personalize the look and feel of your dashboard and create a more polished visual experience.
Table of Contents
Section titled “Table of Contents”Overview
Section titled “Overview”Dashboard themes let you control the overall appearance of your dashboard. You can choose from available theme options or create your own custom style by adjusting colors and widget styling.
How to Customize Dashboard Themes
Section titled “How to Customize Dashboard Themes”Step 1: Open Your Dashboard
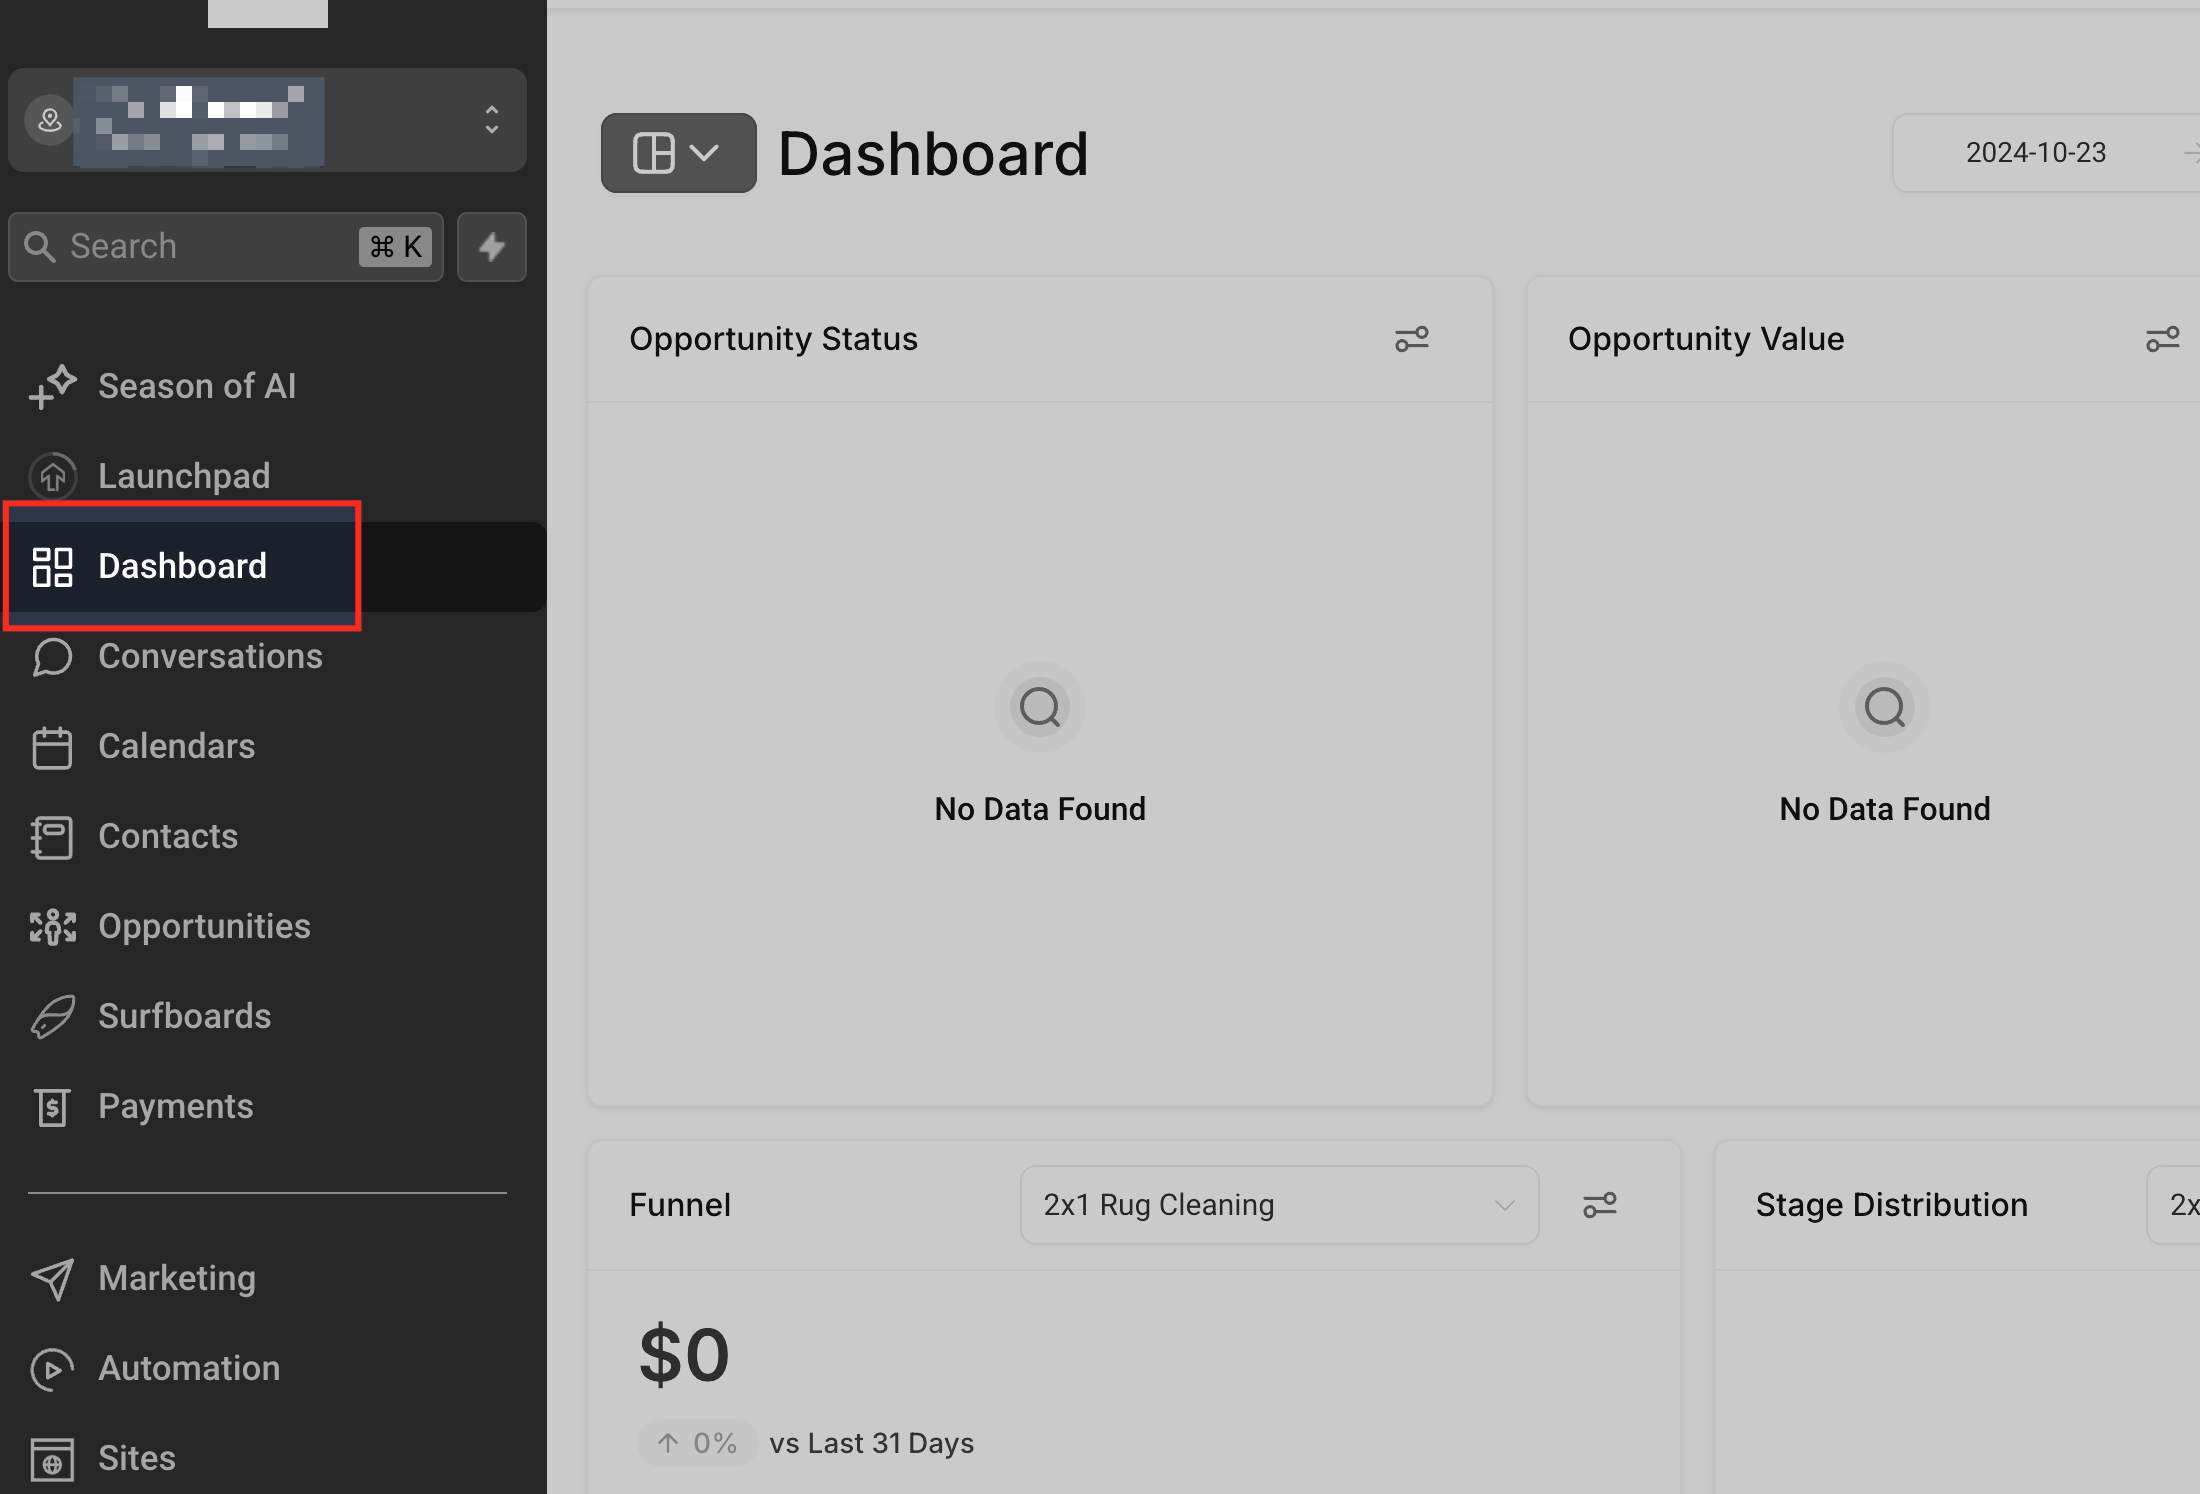
Section titled “Step 1: Open Your Dashboard”Navigate to the dashboard you want to customize.
Step 2: Enter Edit Mode
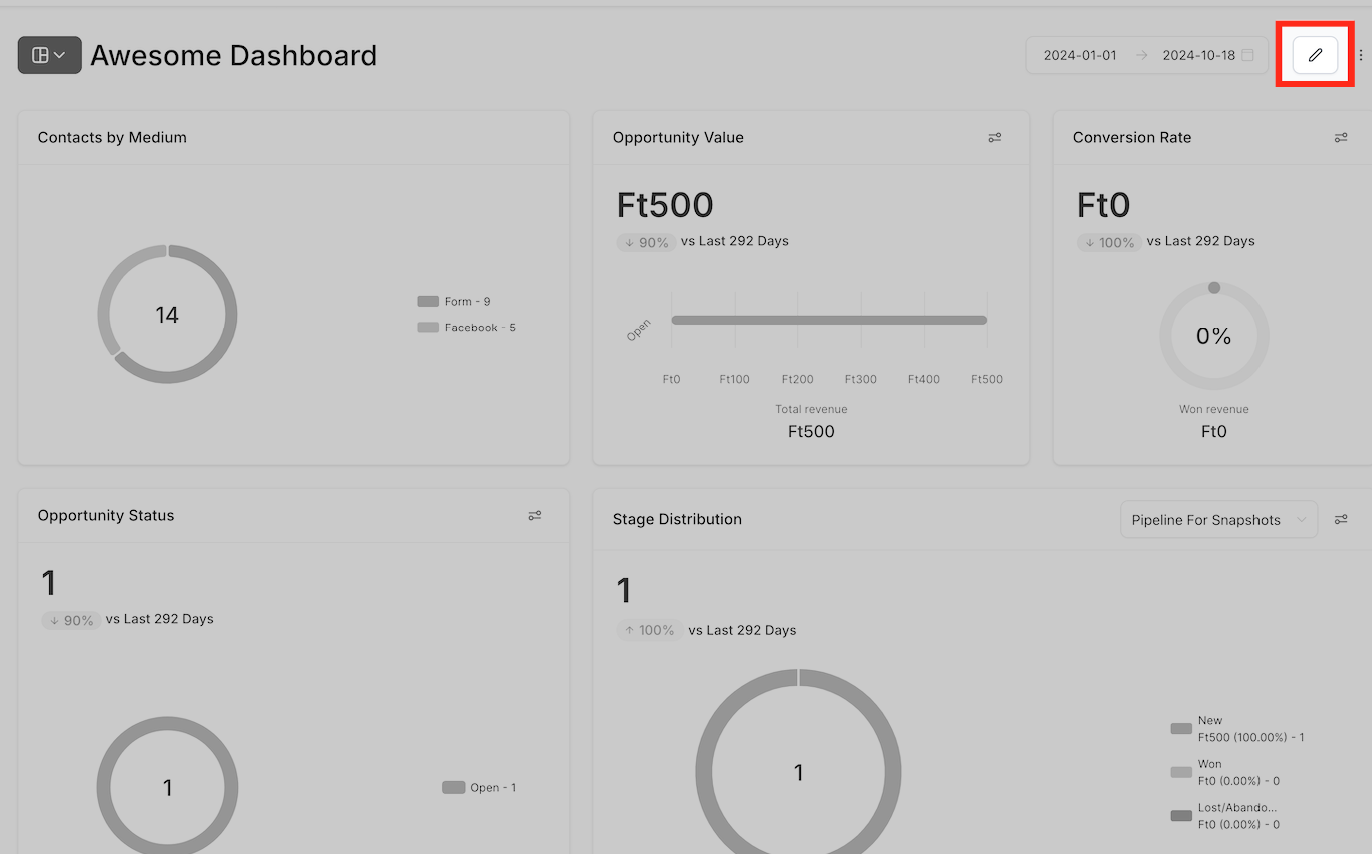
Section titled “Step 2: Enter Edit Mode”Click the Pencil icon in the top-right corner of the dashboard.
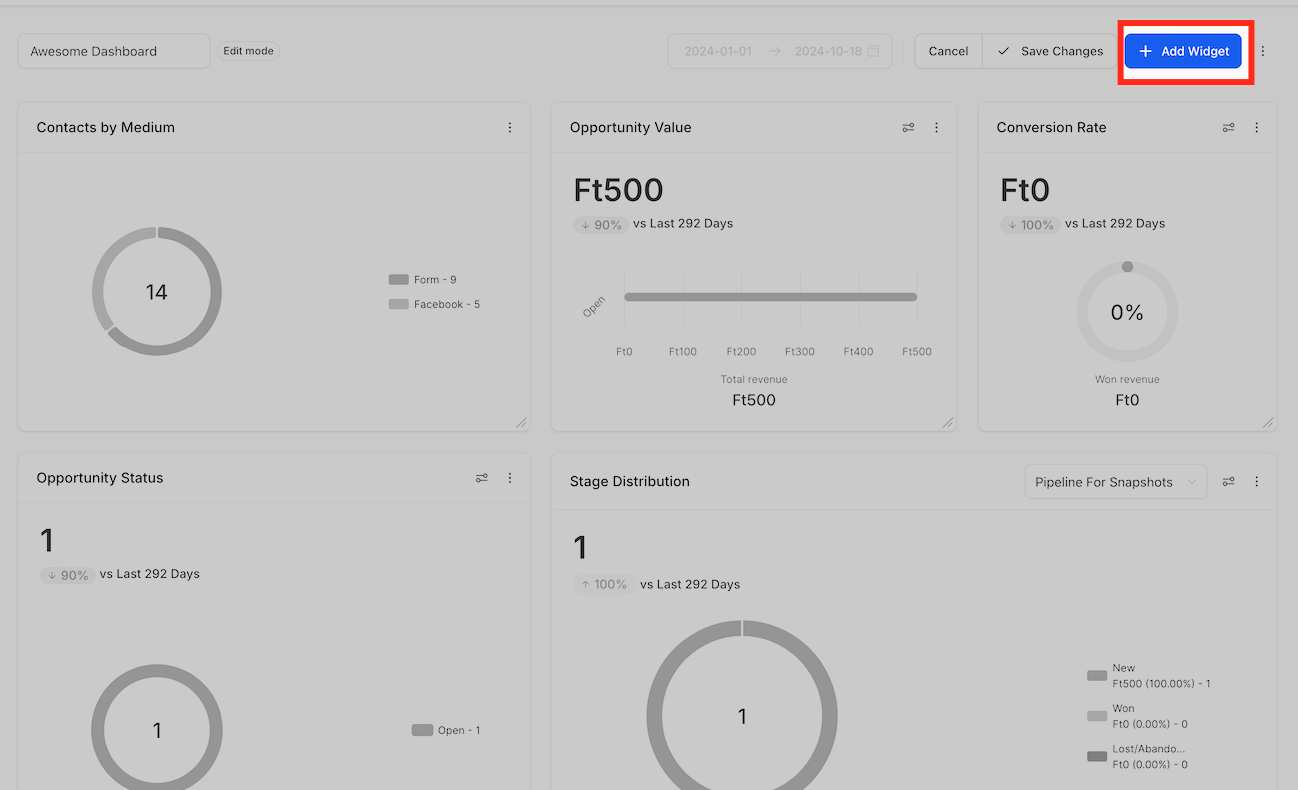
After entering edit mode, click Add Widget to access dashboard customization options.
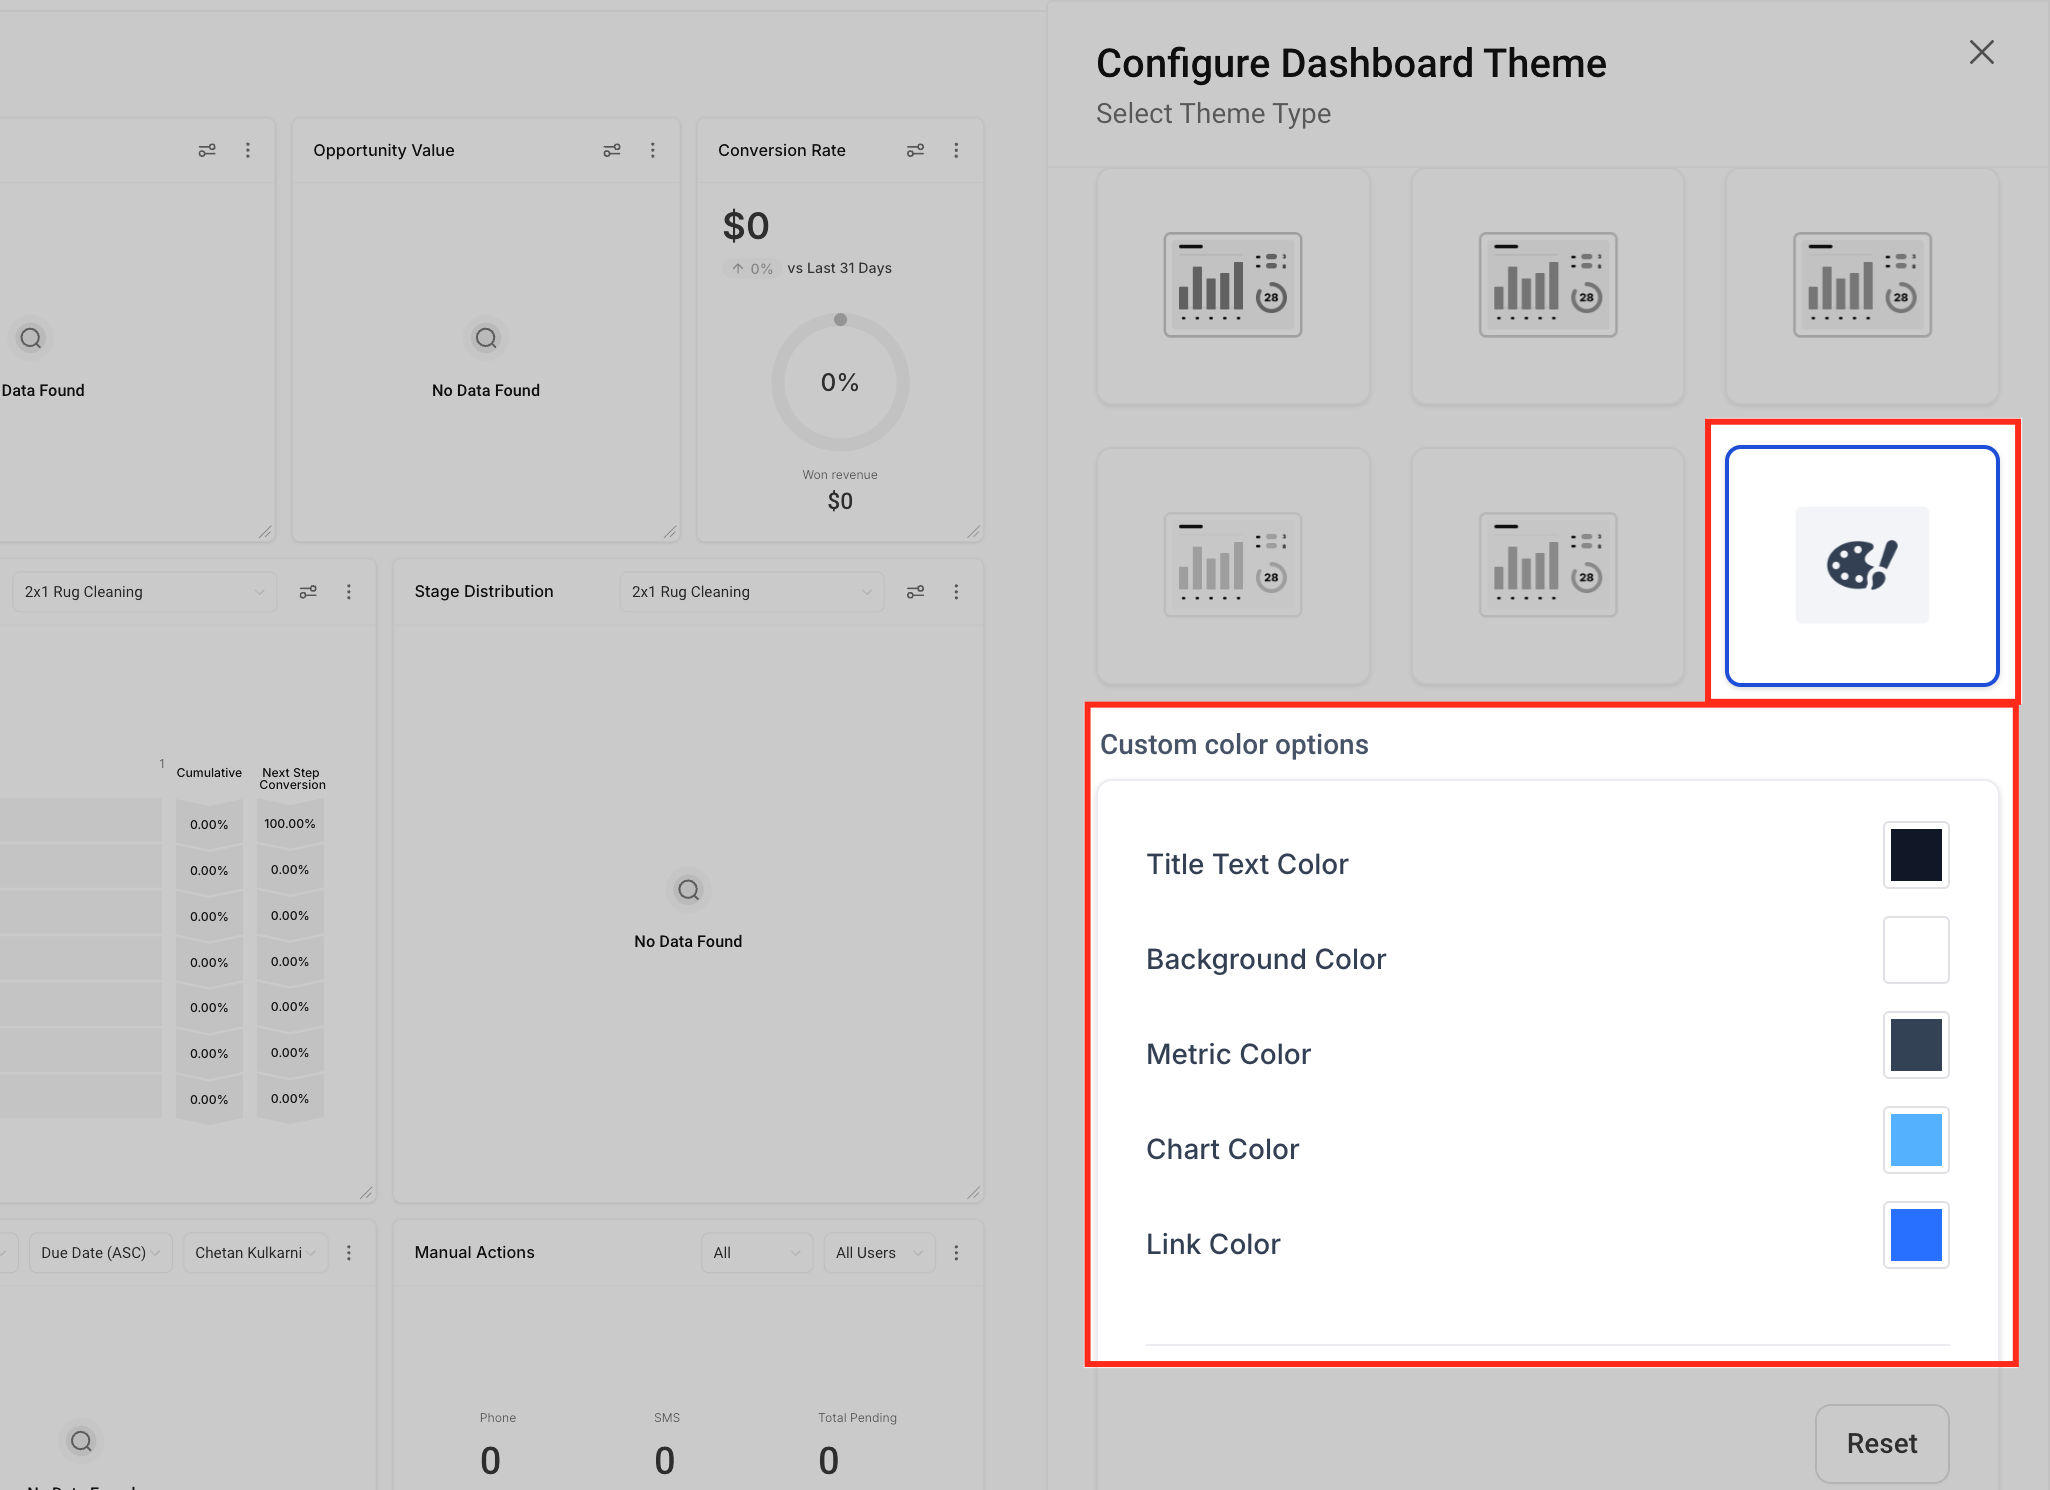
Step 3: Access the Themes Section
Section titled “Step 3: Access the Themes Section”In the sidebar, switch to the Themes tab.
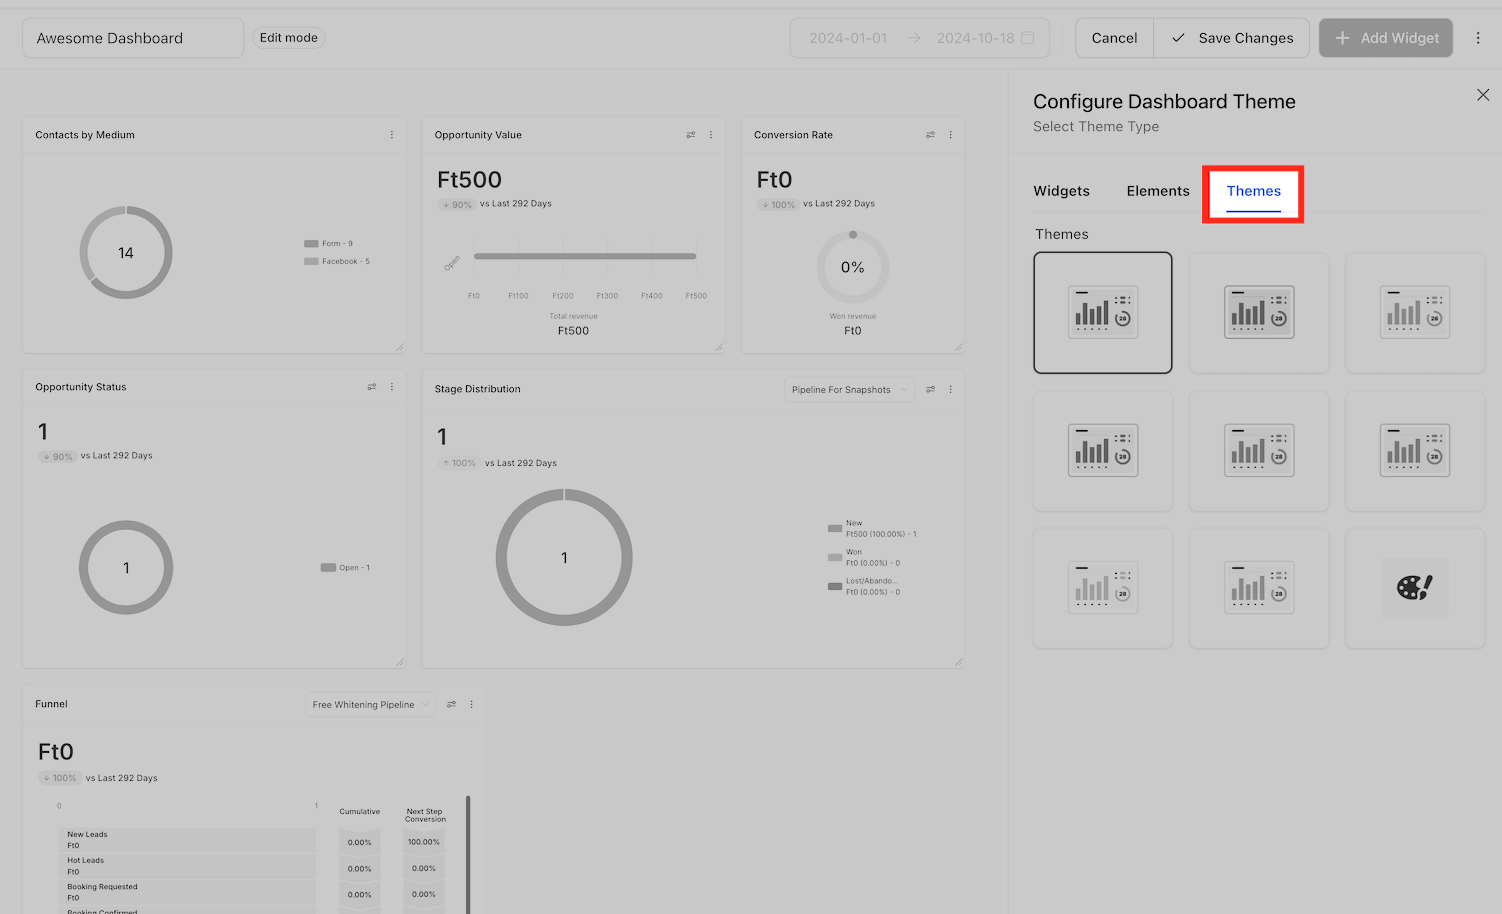
Step 4: Choose or Create a Theme
Section titled “Step 4: Choose or Create a Theme”You can either:
- Select a predefined theme from the available options, or
- Create your own custom theme by configuring dashboard elements such as background color, text color, and widget styling
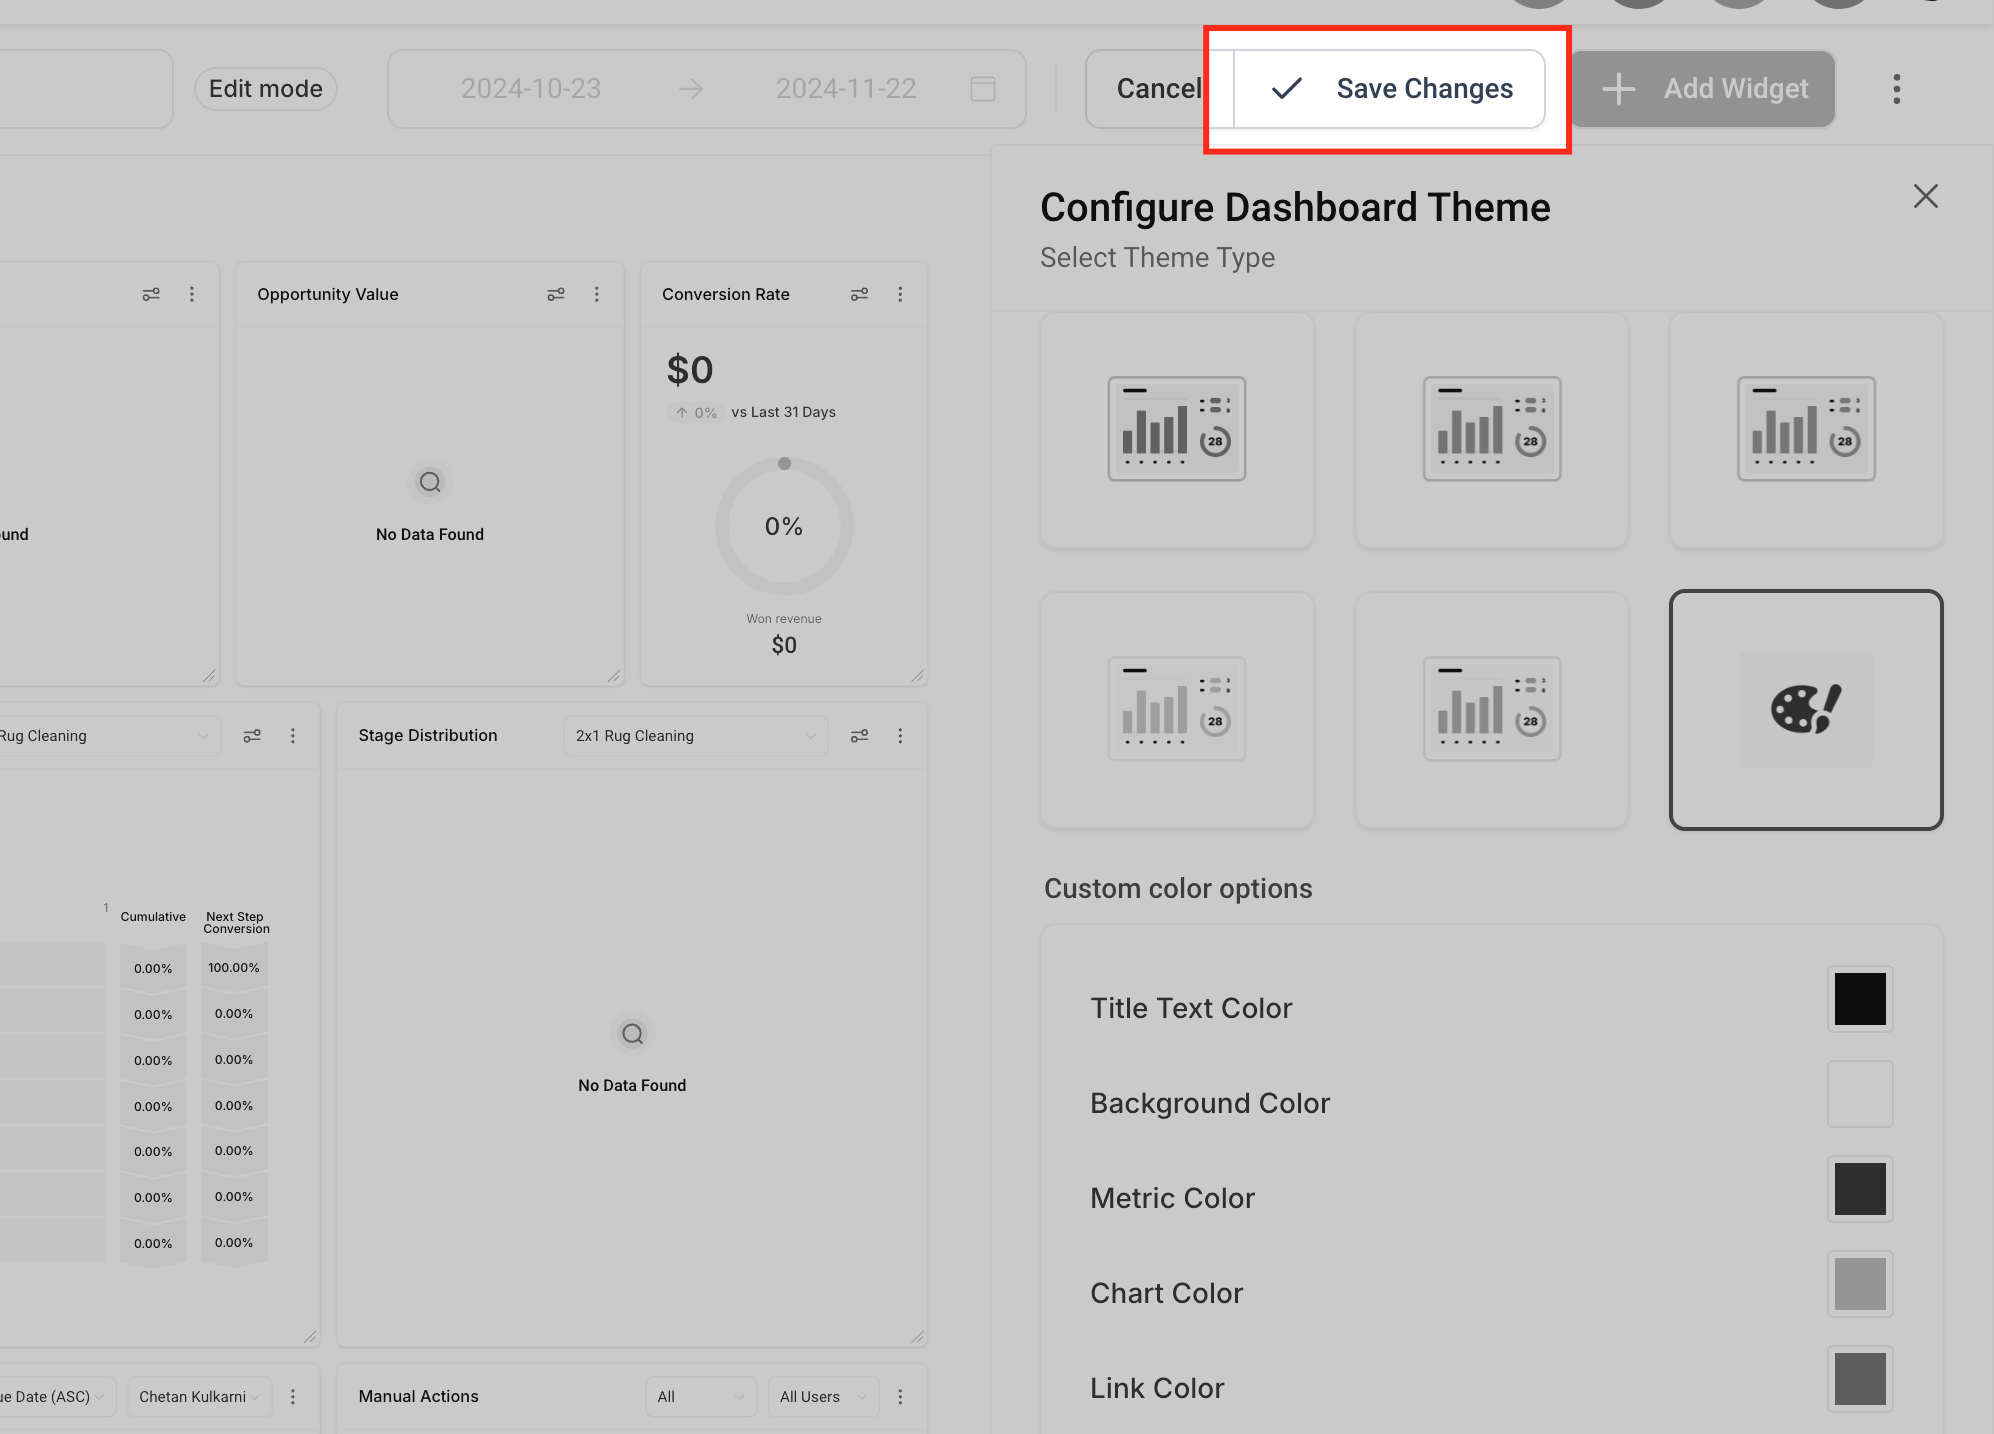
Step 5: Save Your Changes
Section titled “Step 5: Save Your Changes”Once you have selected or created a theme, click Save to apply the changes to your dashboard.
Step 6: Apply Themes to Individual Widgets
Section titled “Step 6: Apply Themes to Individual Widgets”You can also apply theme settings to individual widgets.
- Edit the widget you want to update
- Open the widget sidebar
- Switch to the Theme section
- Configure the widget theme as needed
Frequently Asked Questions
Section titled “Frequently Asked Questions”Q: Can I use a predefined theme instead of creating one manually?
A: Yes. You can choose from available predefined themes or create your own custom theme.
Q: Do I need to save the dashboard after changing the theme?
A: Yes. Click Save to apply the theme changes.
Q: Can widget themes be customized separately from the full dashboard theme?
A: Yes. Individual widgets can be configured separately from the dashboard-wide theme.