Add Location Tagging to Social Post
Location tagging is a simple but effective way to improve the visibility of your social media posts. By associating your content with a specific place or region, you increase the chances of earning better engagement metrics such as followers, likes, and comments from users exploring that local area.
Currently, you can add places or locations to both Facebook and Instagram posts.
How It Works
Section titled “How It Works”Adding a location to your upcoming post requires only a few clicks inside the Social Planner. Follow the steps below:
1. Open the Social Planner
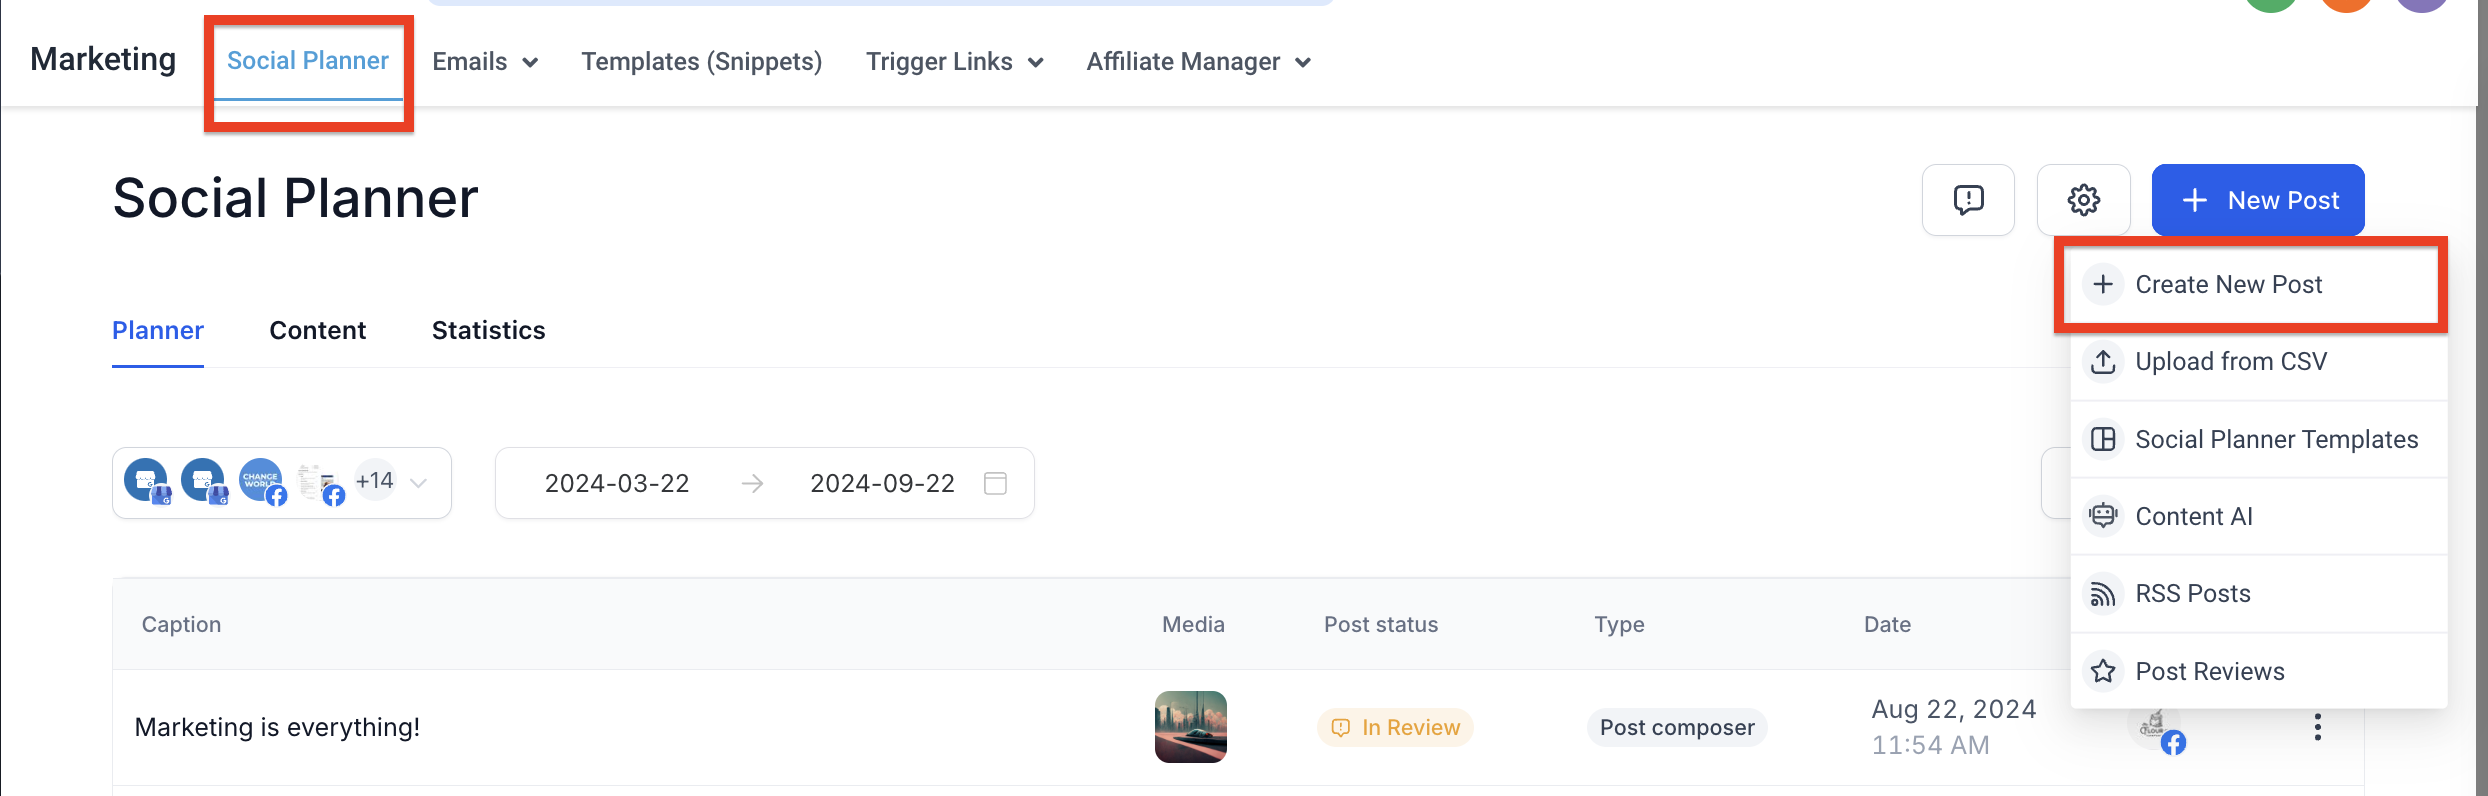
Section titled “1. Open the Social Planner”Go to Marketing from the main navigation menu and select Social Planner.
2. Start a New Post
Section titled “2. Start a New Post”Click on the Create New Post button to open the post builder.
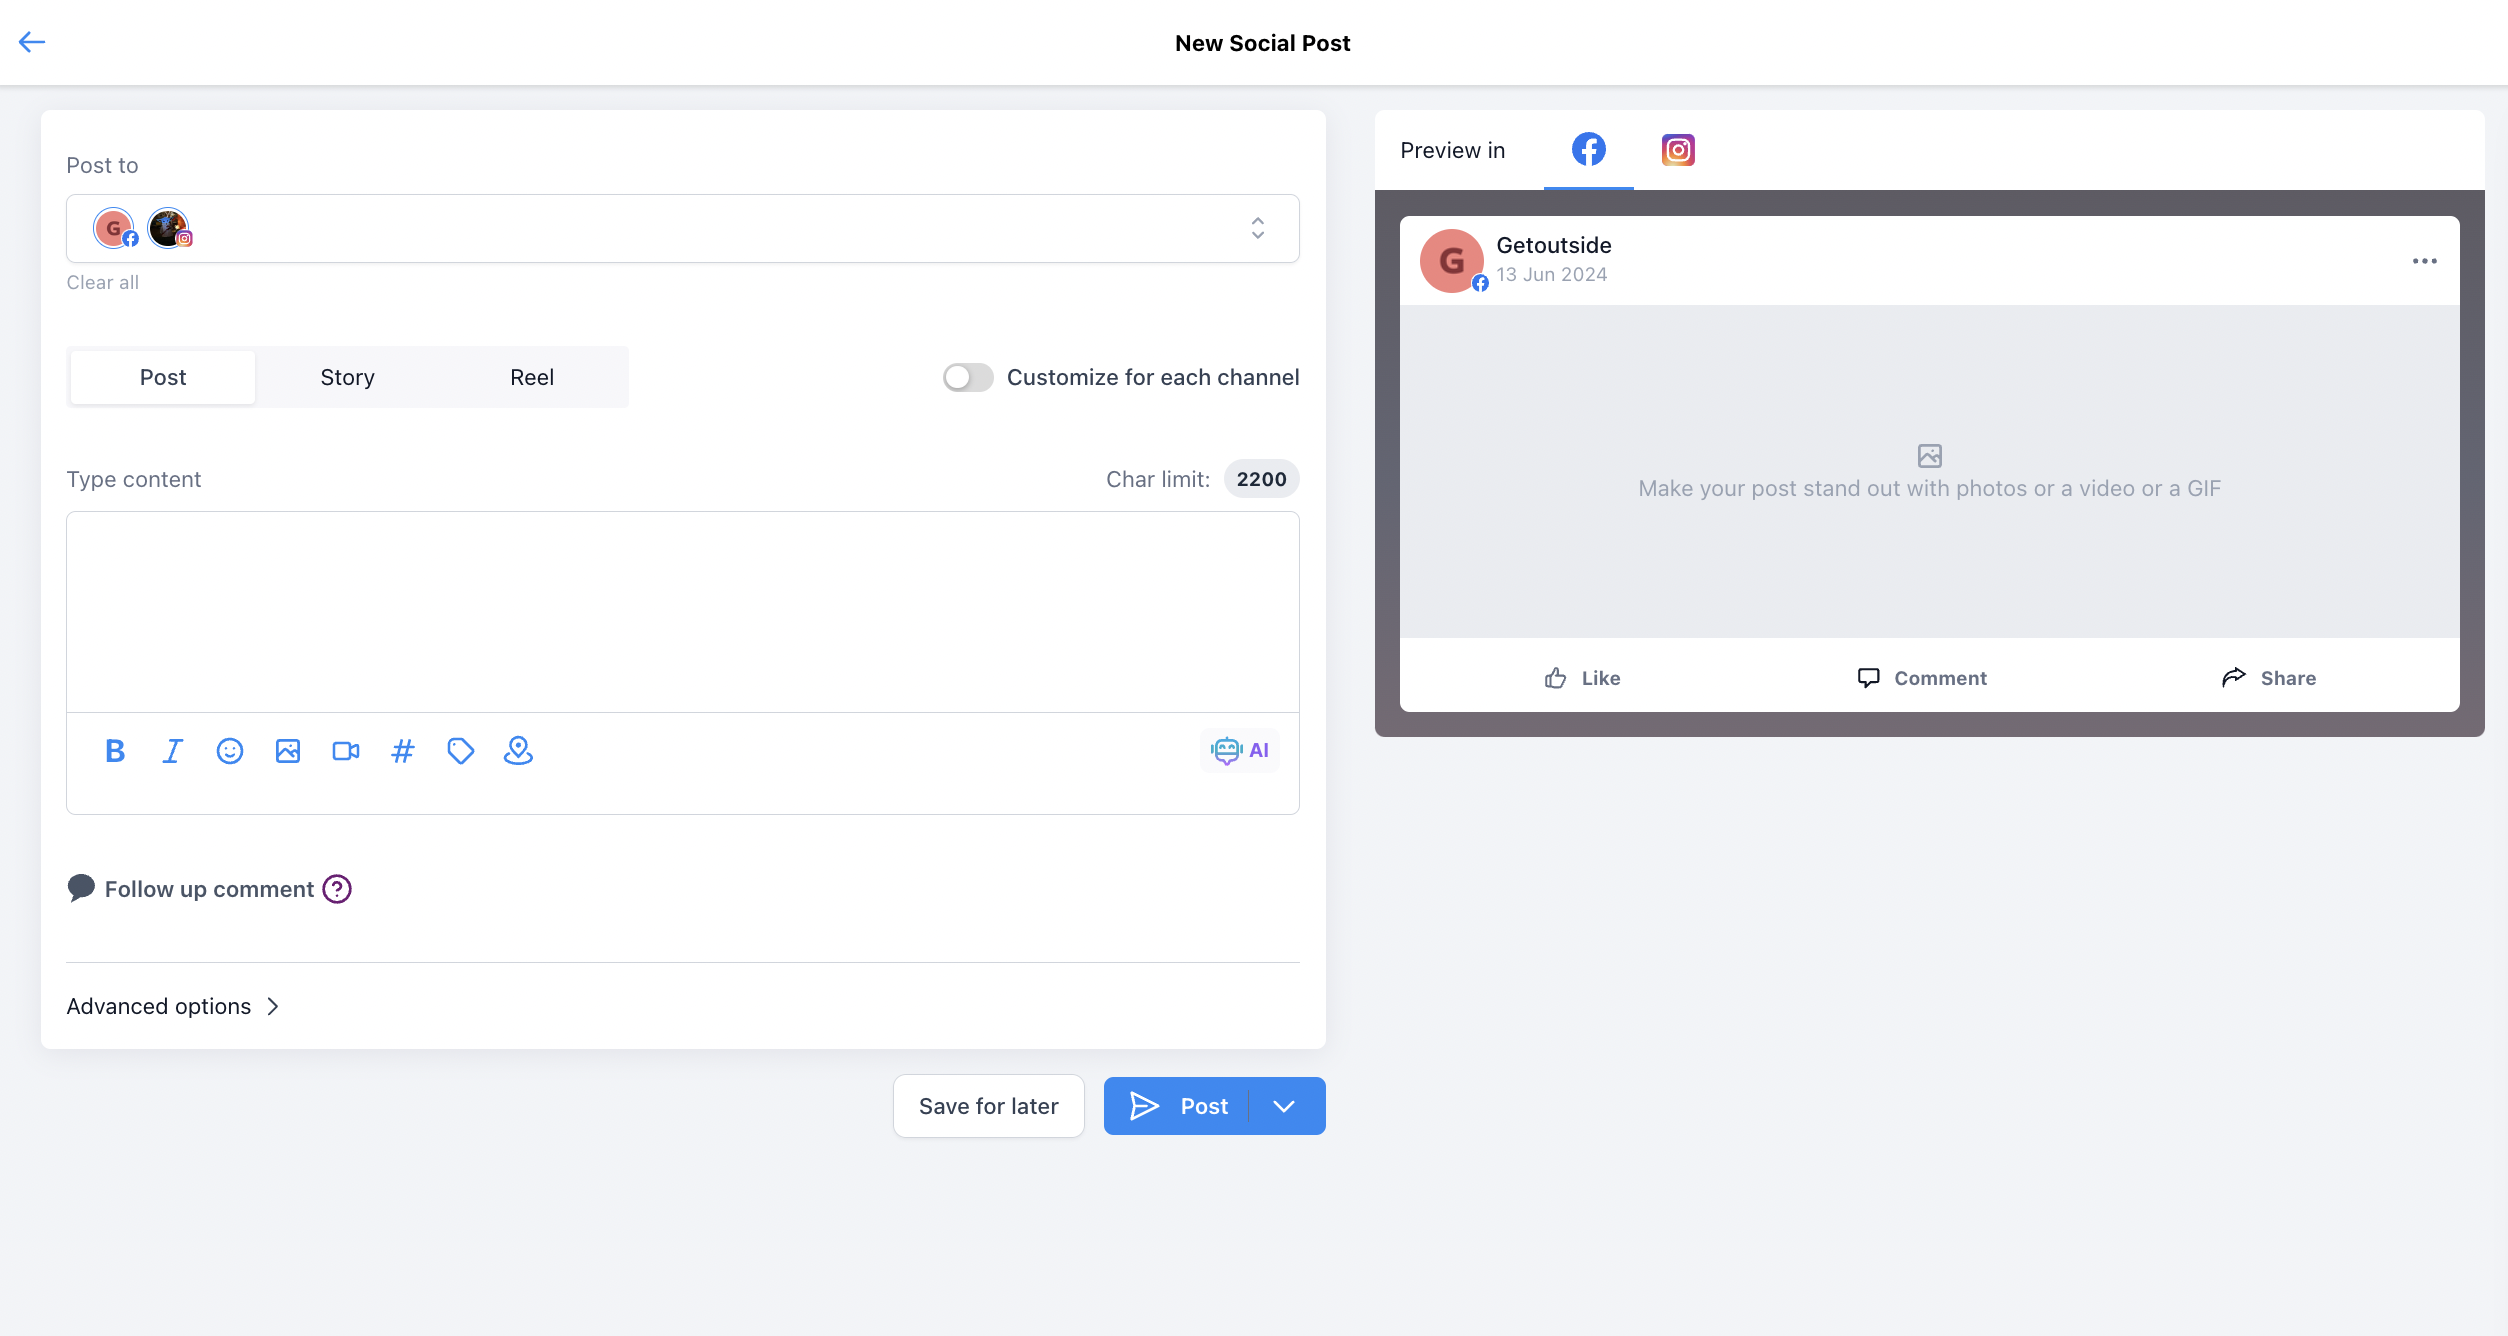
3. Choose Your Social Channels
Section titled “3. Choose Your Social Channels”The first step in the builder is to select the social accounts where you would like to publish the content. Remember, location tagging is currently supported on Facebook and Instagram.
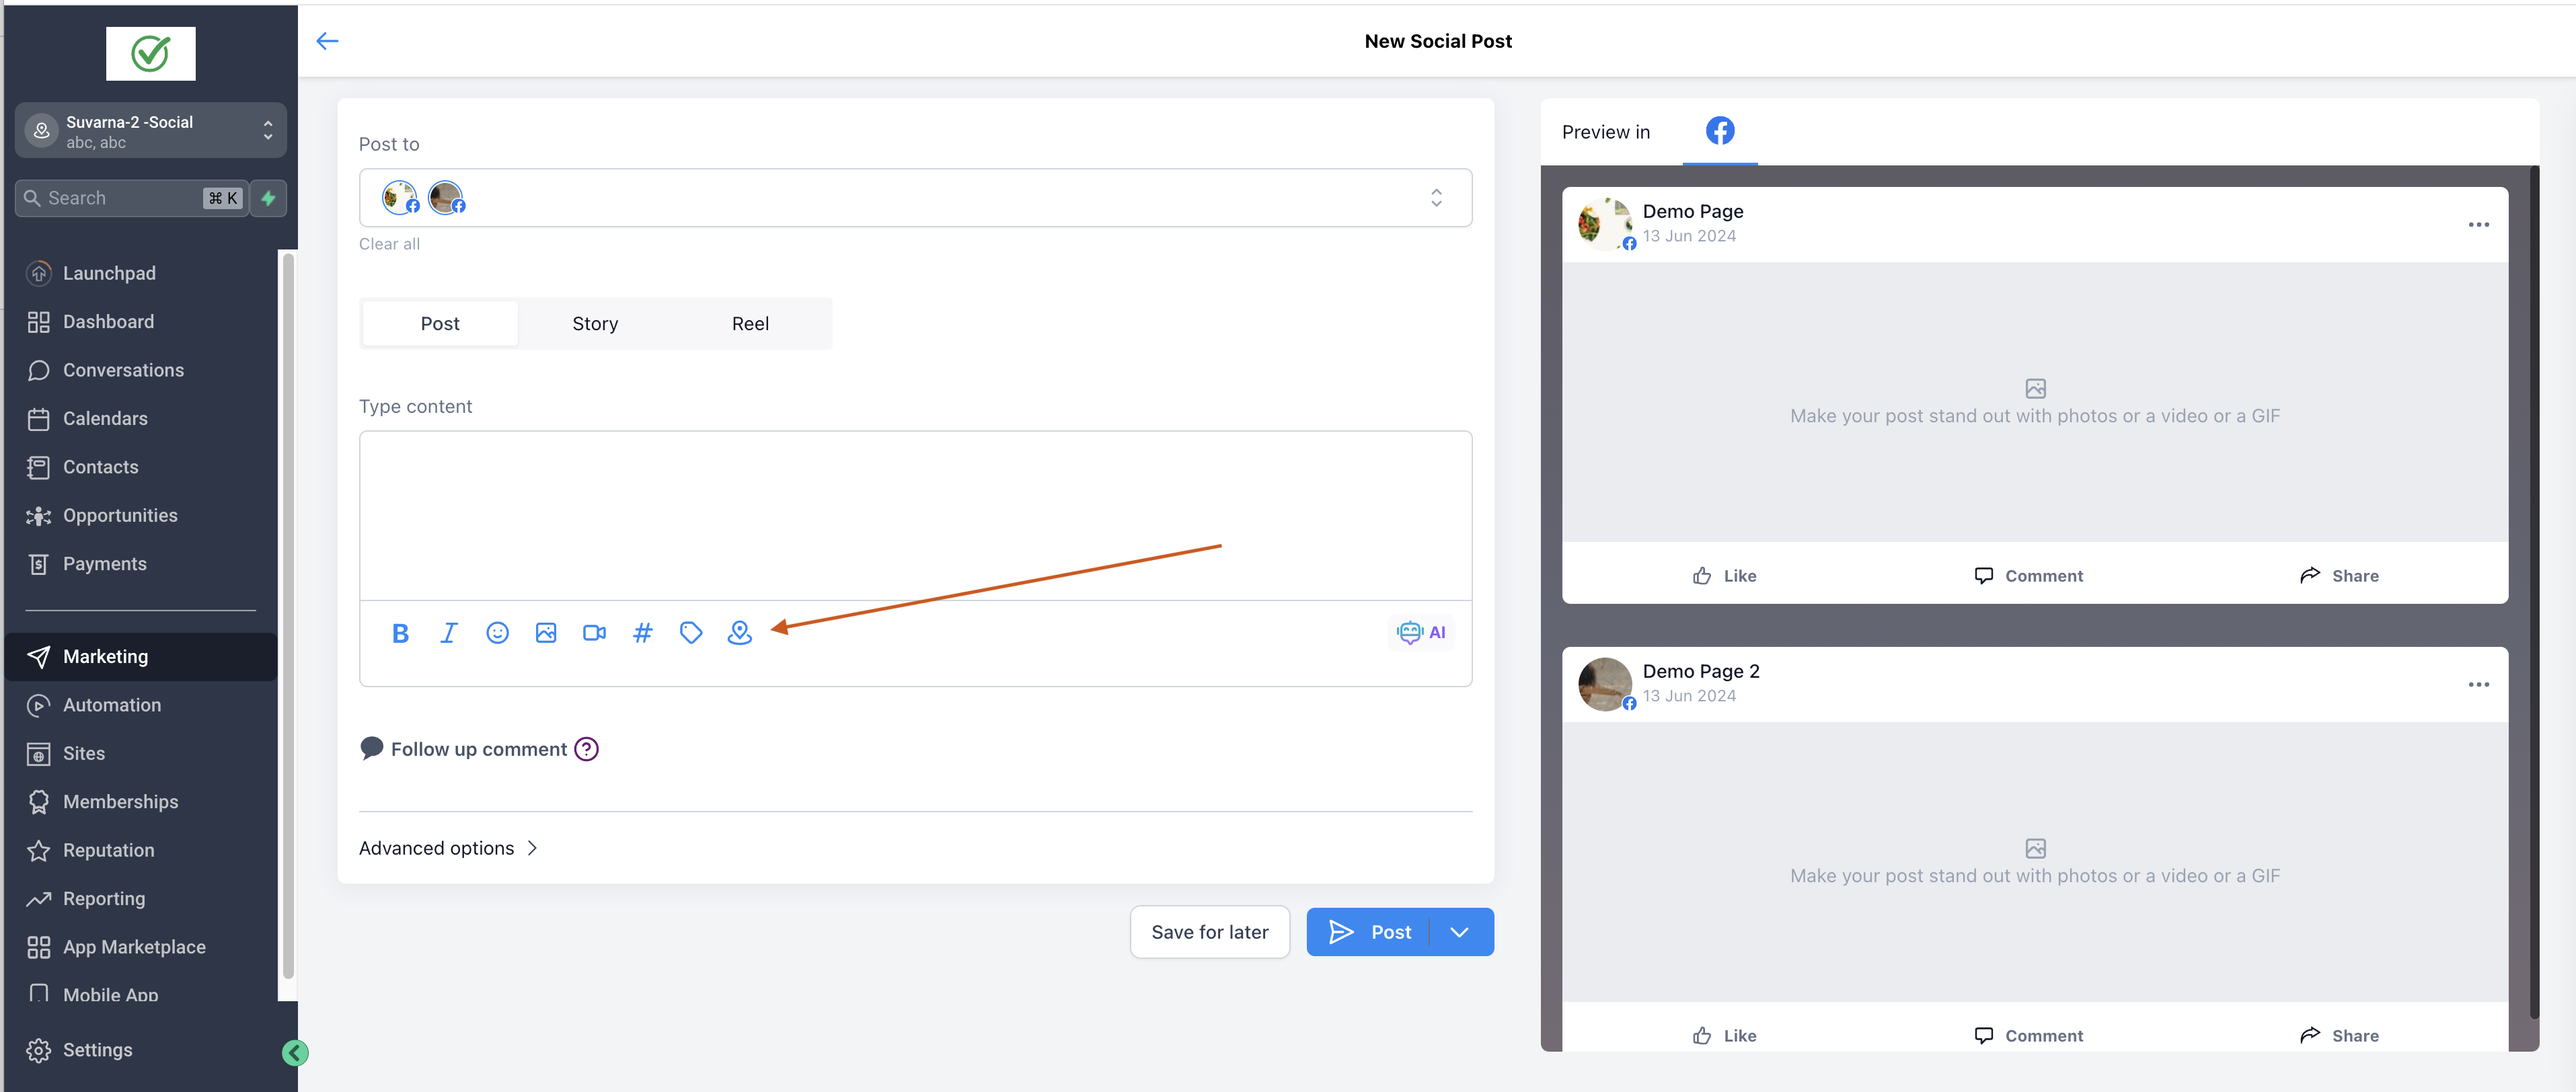
4. Create Your Content and Tag a Location
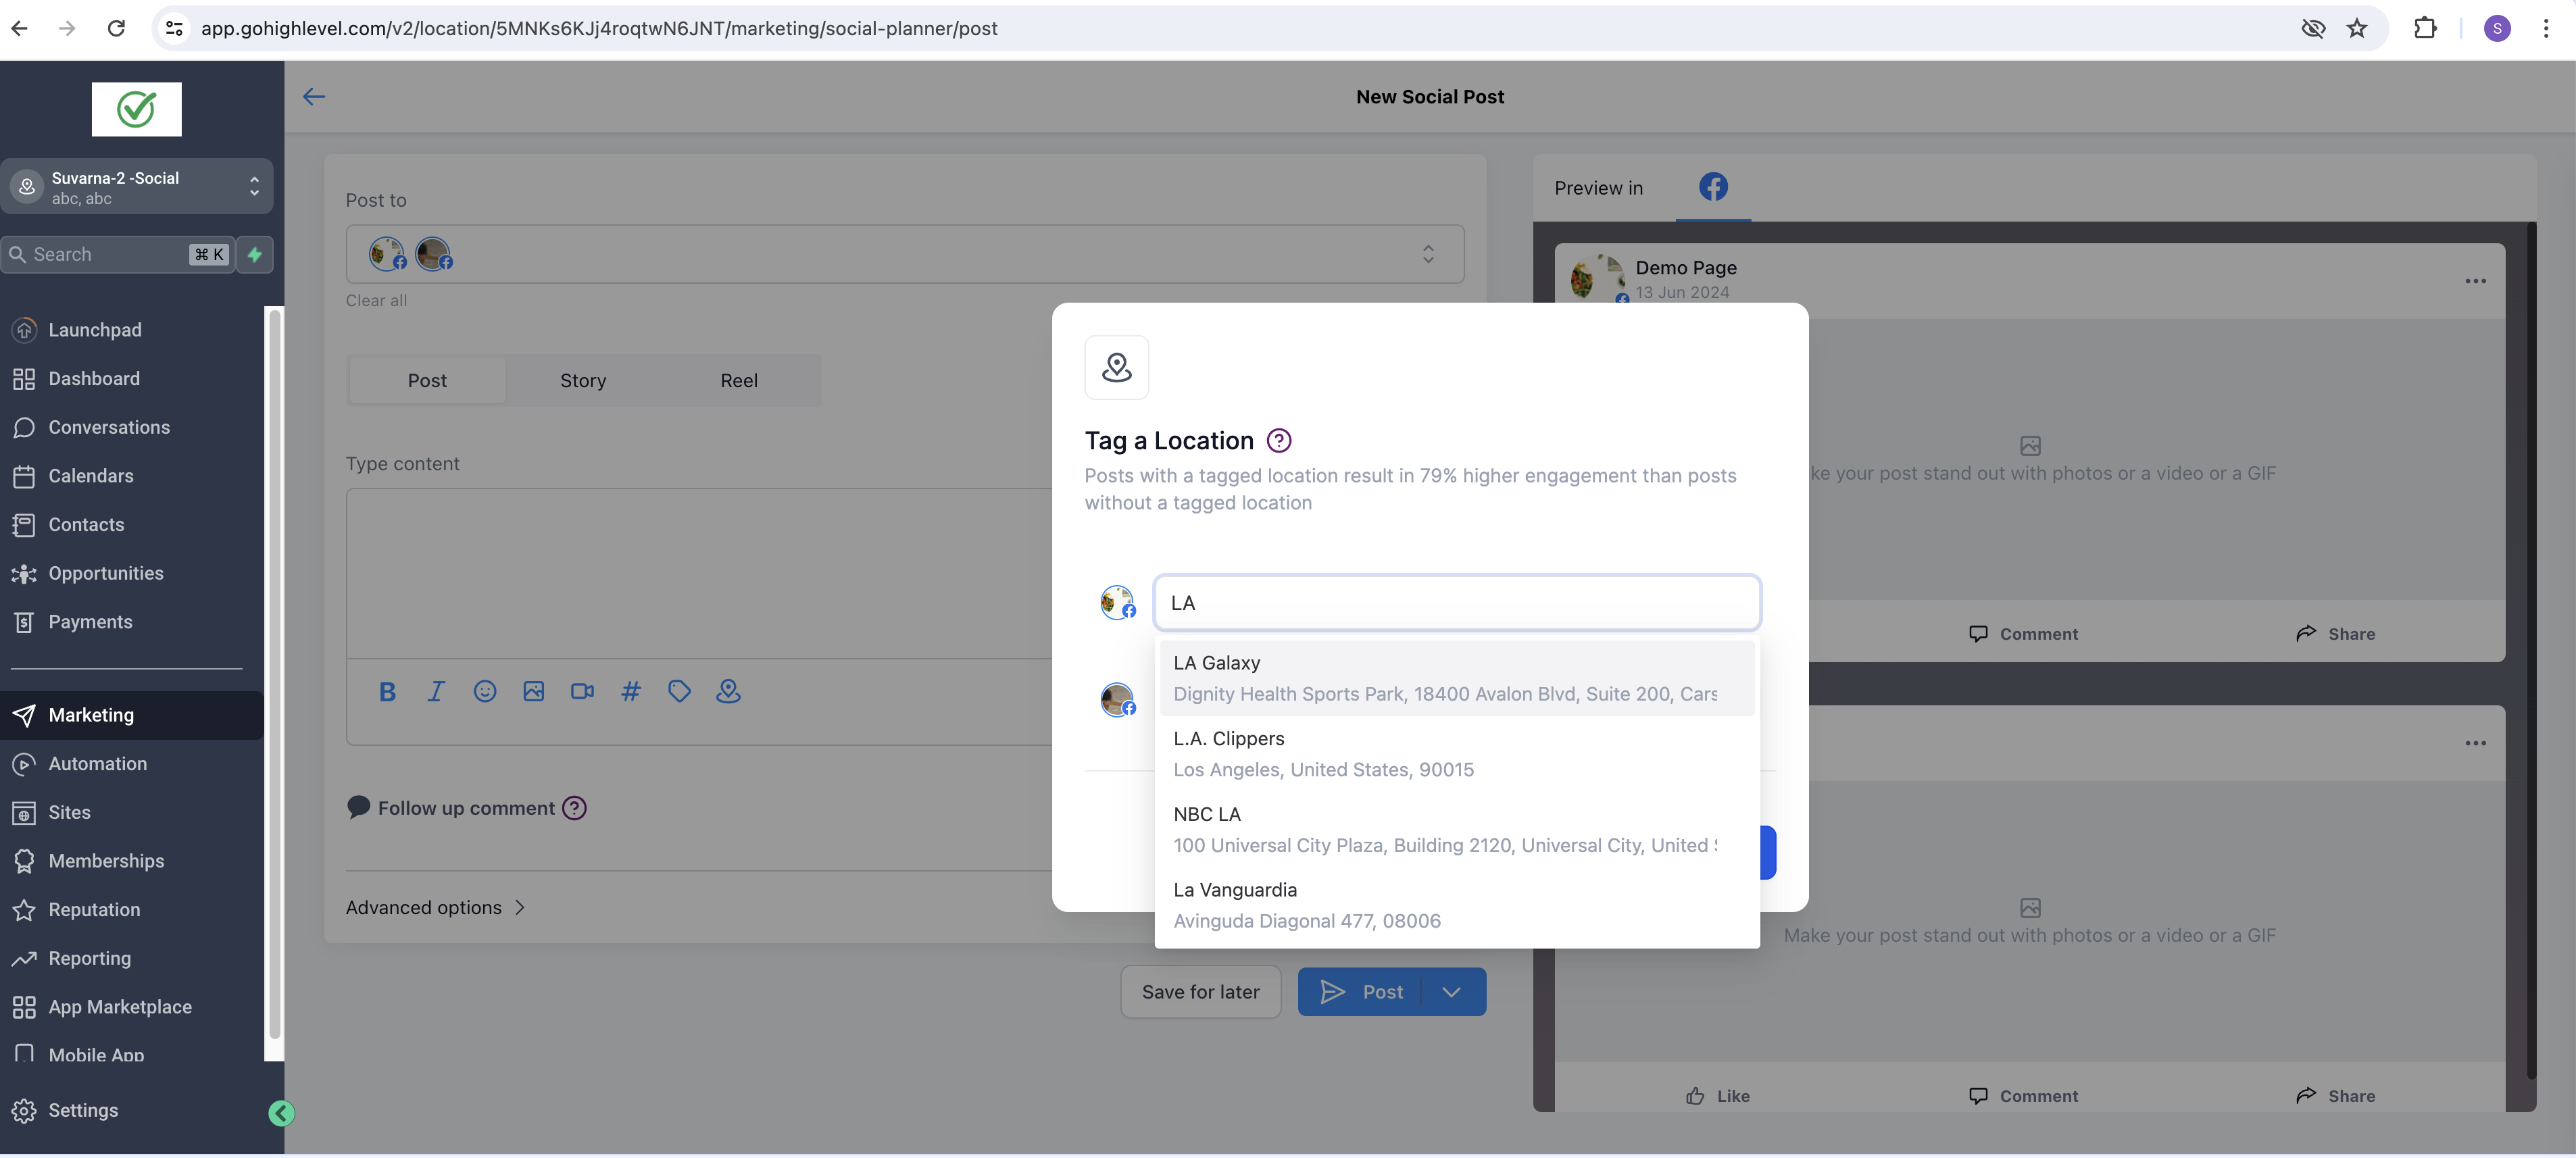
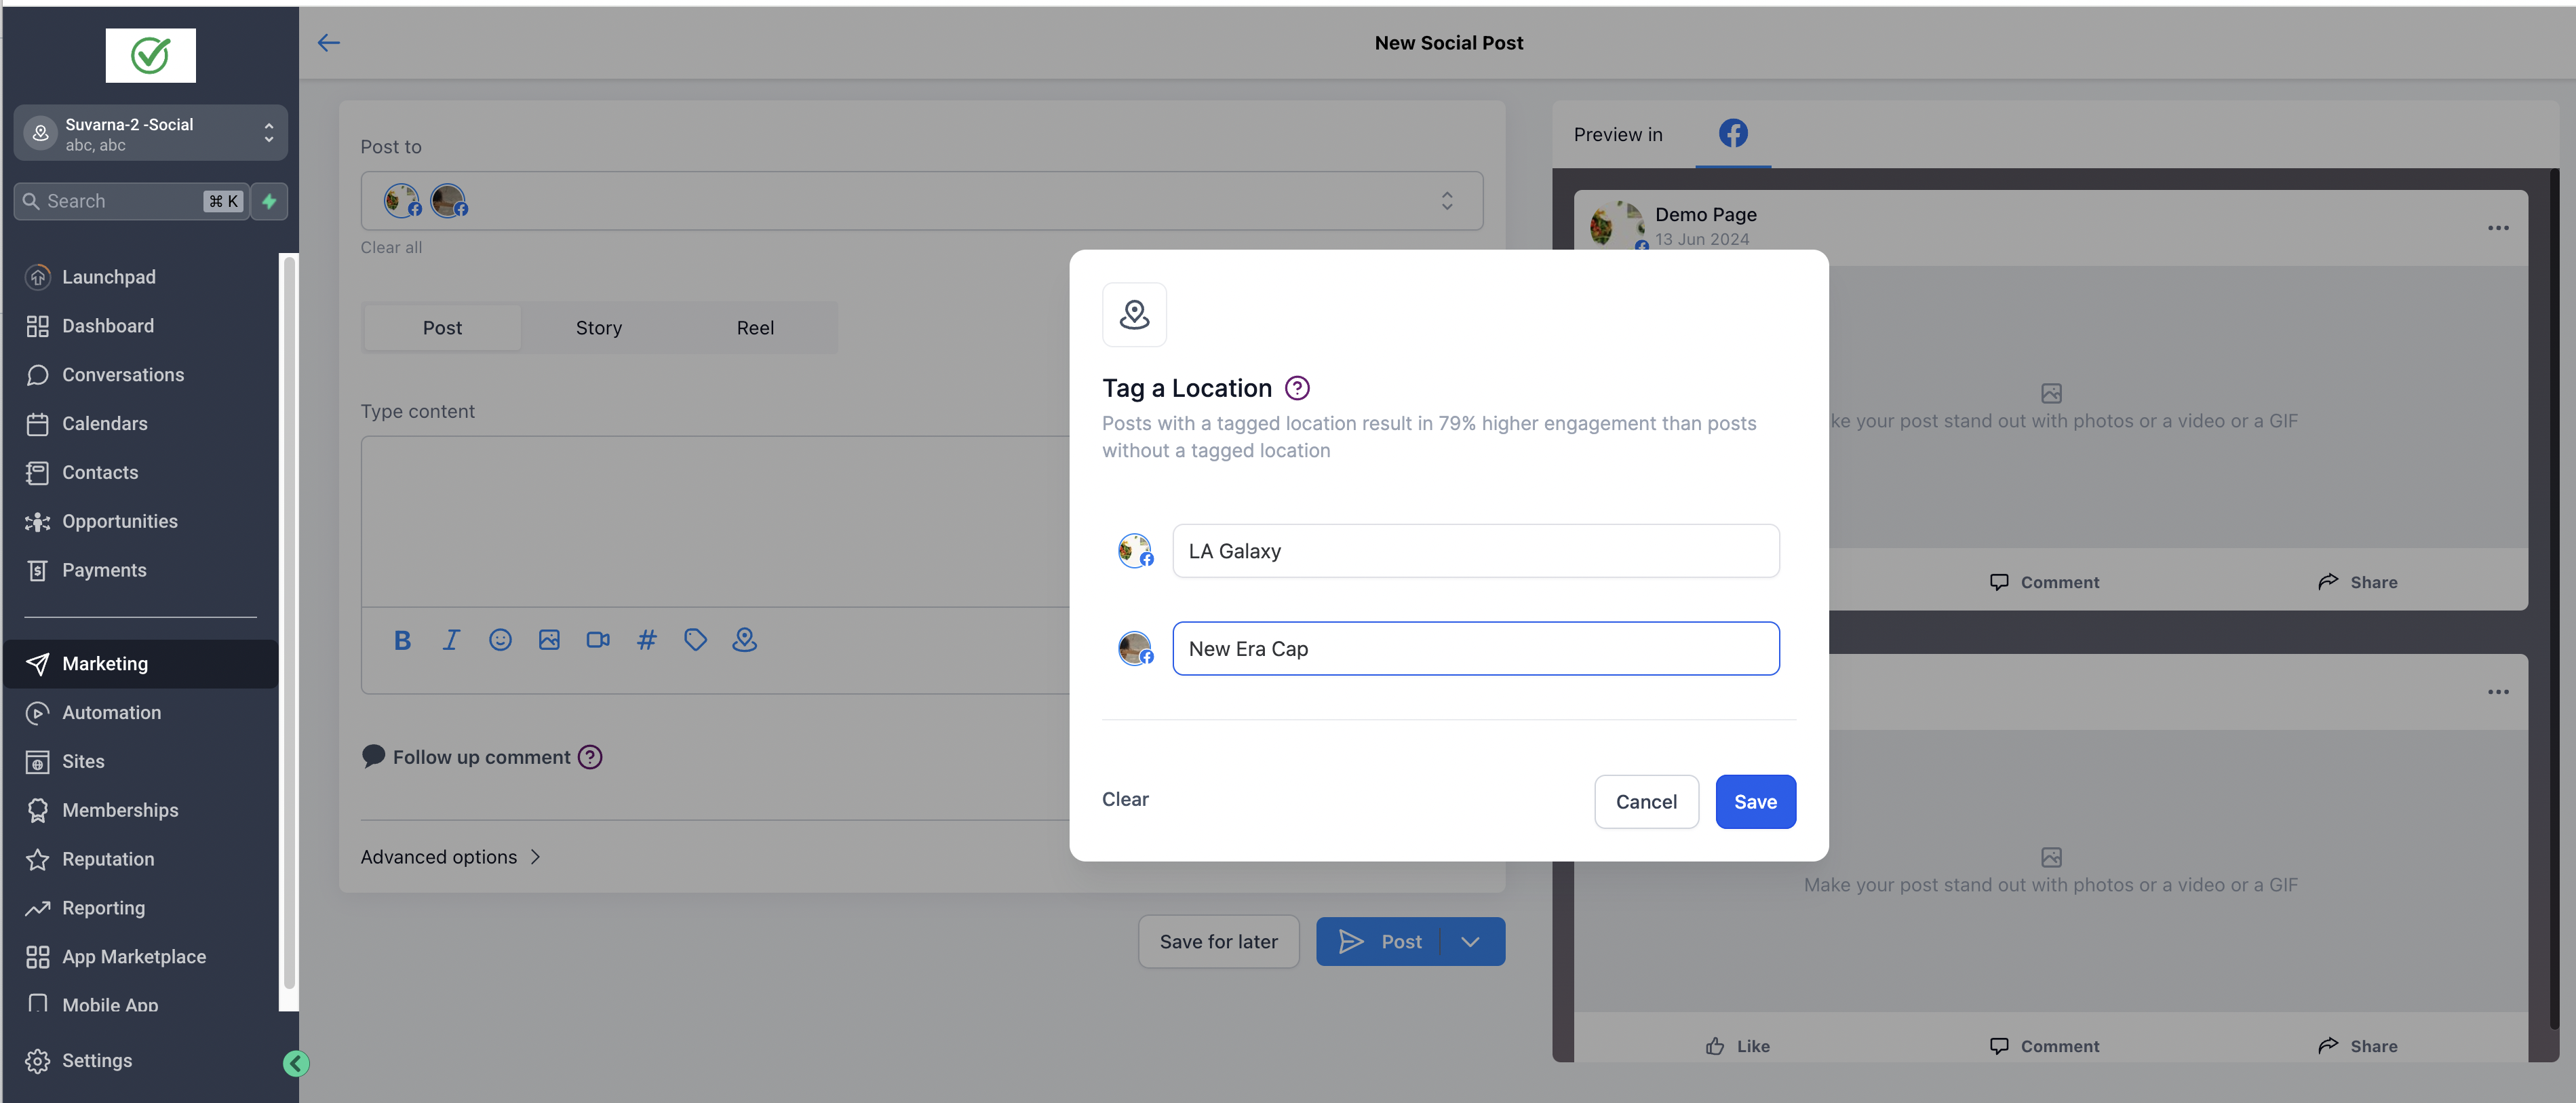
Section titled “4. Create Your Content and Tag a Location”Write your post copy and configure any other desired settings. You will notice an option specifically for Location Tagging.
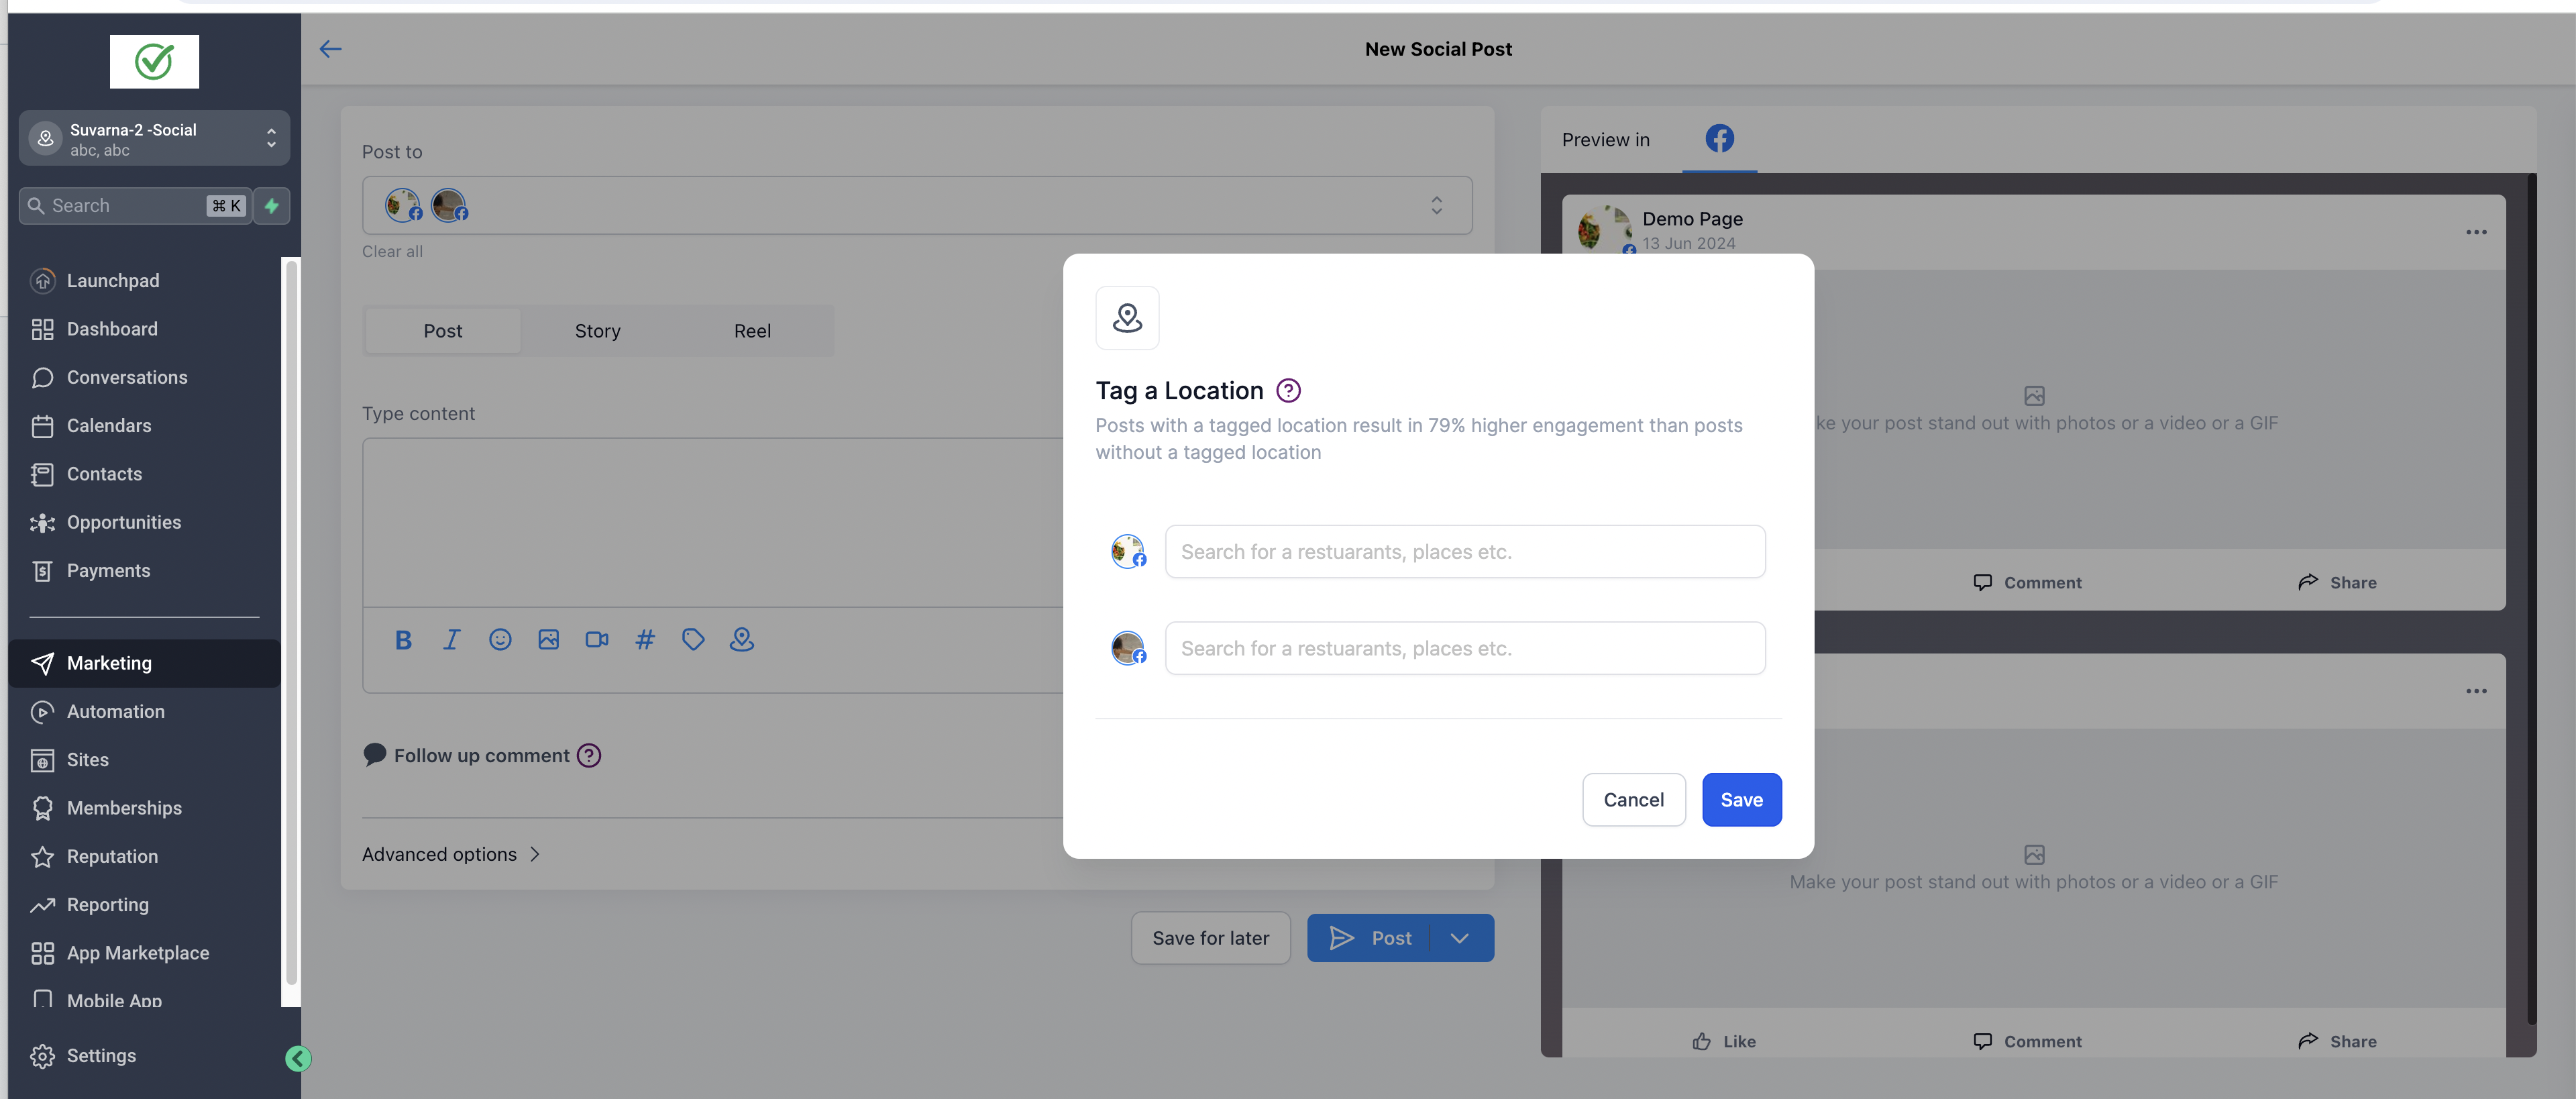
- Click on the Location Tagging field.
- Search for the place or business location you want to associate with the post.
- Select the correct result to apply it to your draft.
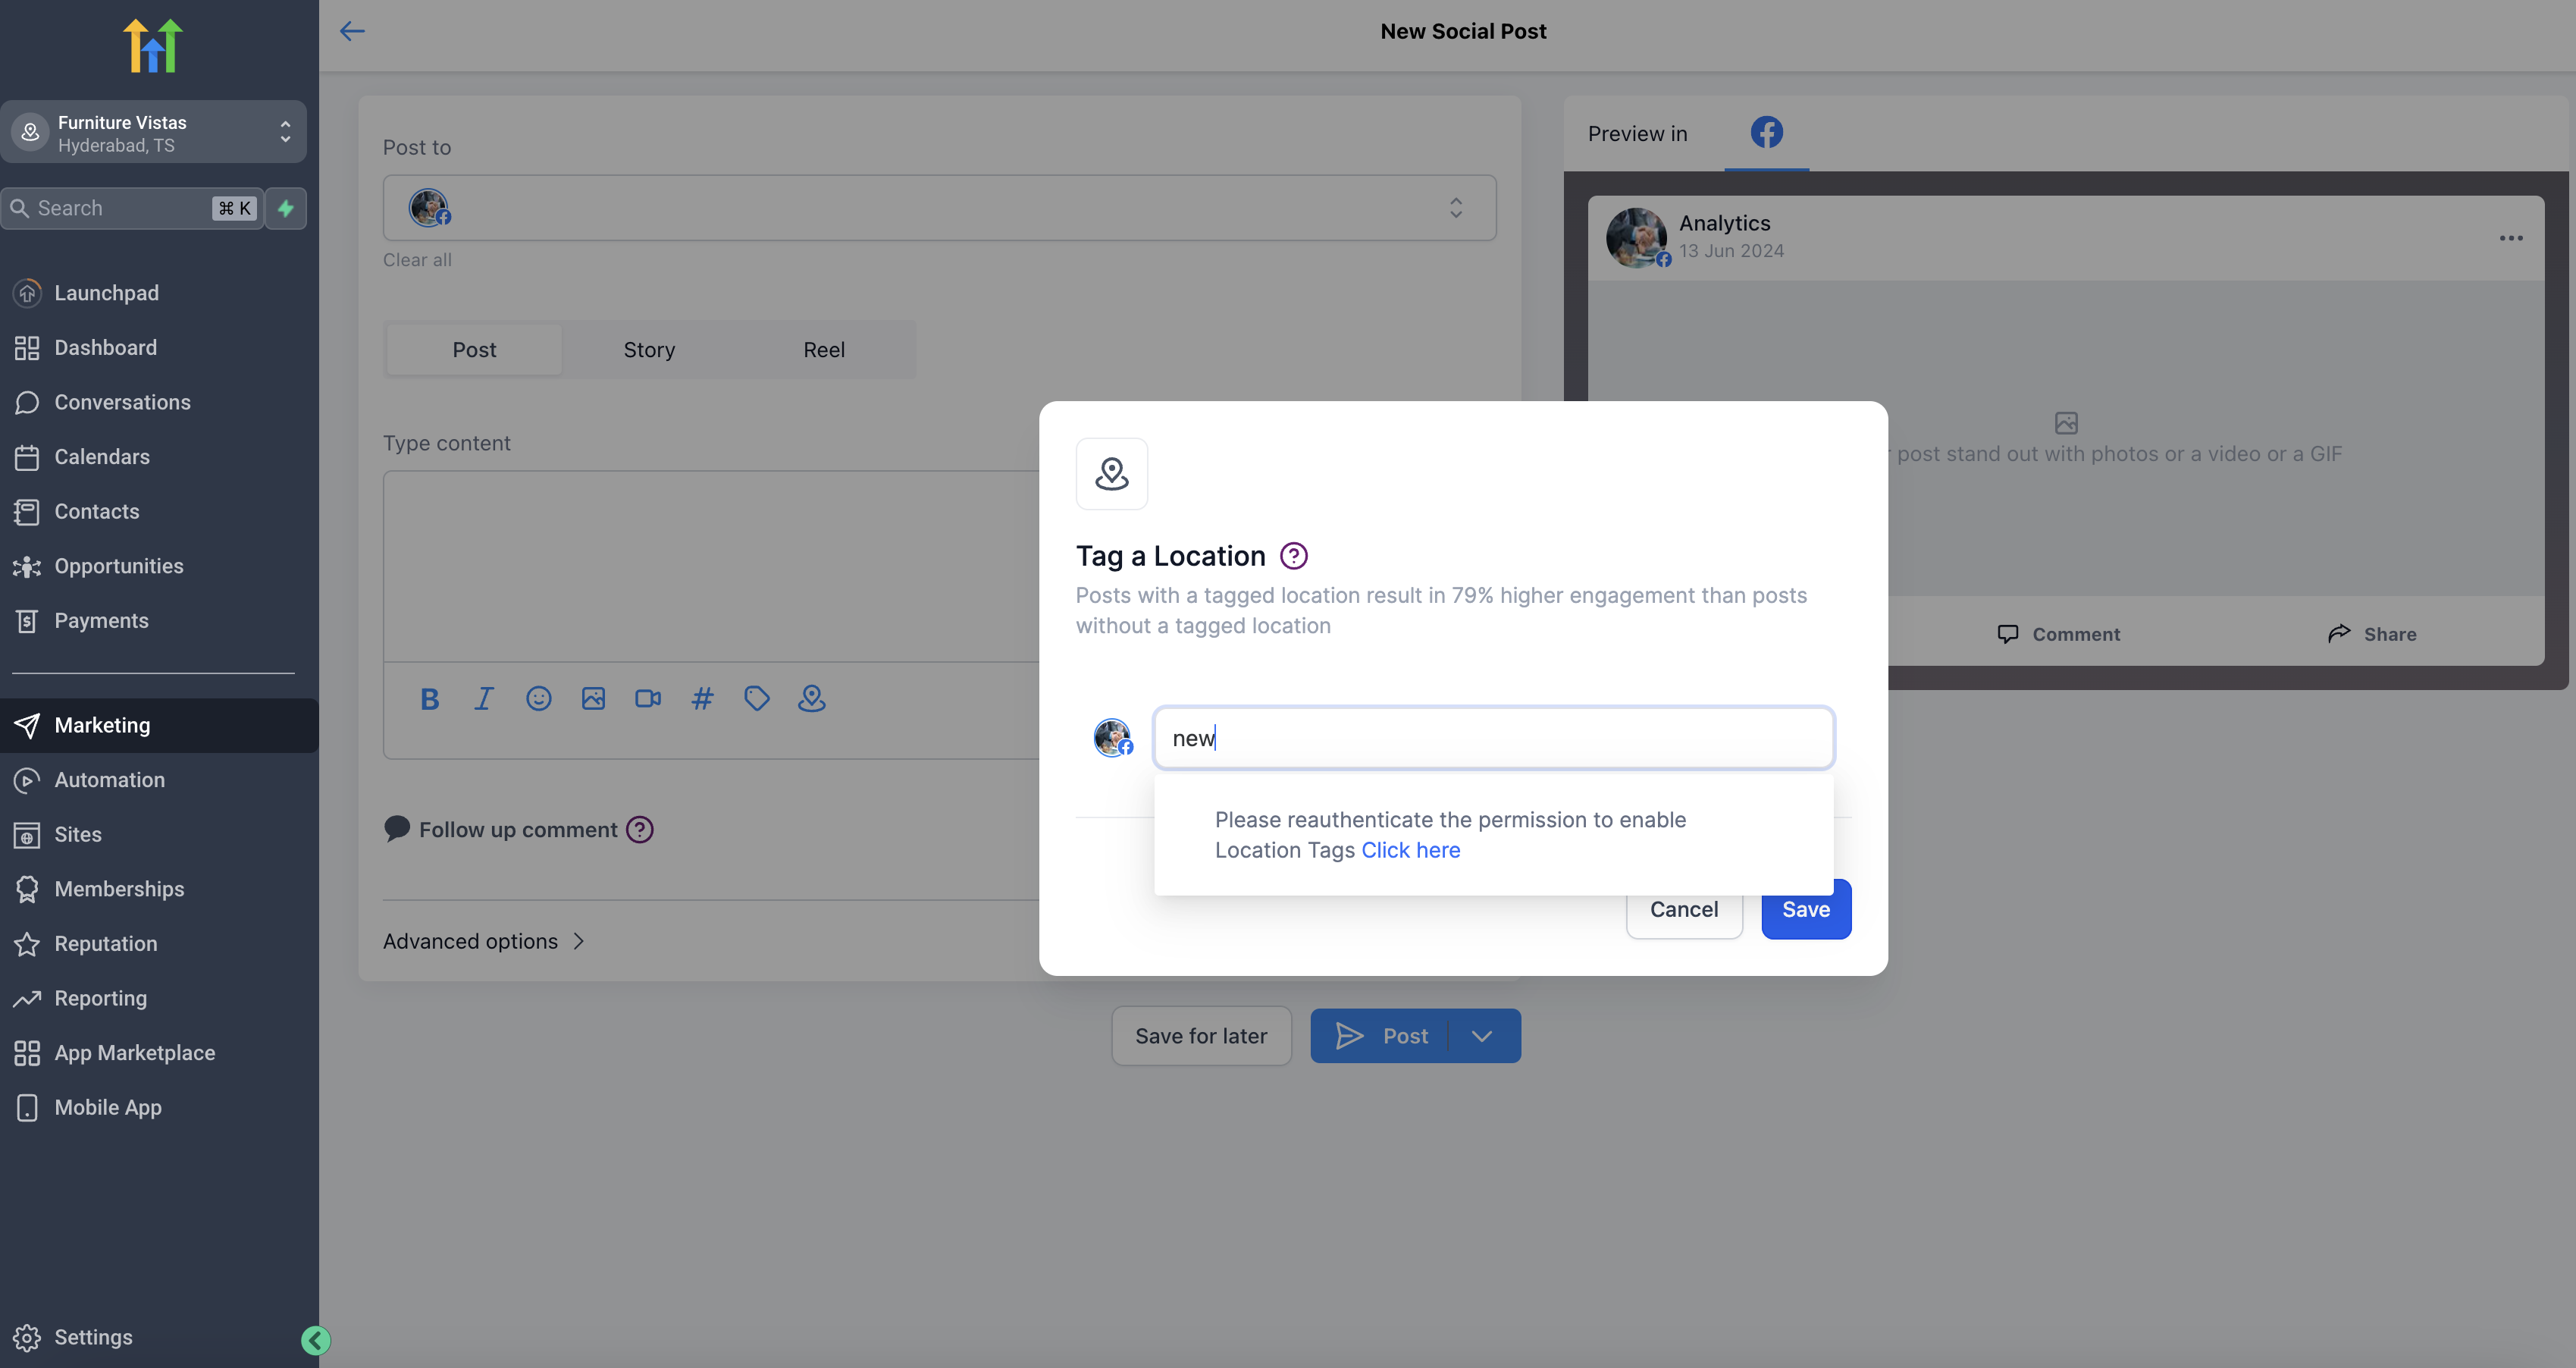
[!NOTE] A prompt may occasionally ask you to authenticate your social account to grant the necessary permissions required to fetch and apply location tags. Simply follow the on-screen instructions to authorize access.
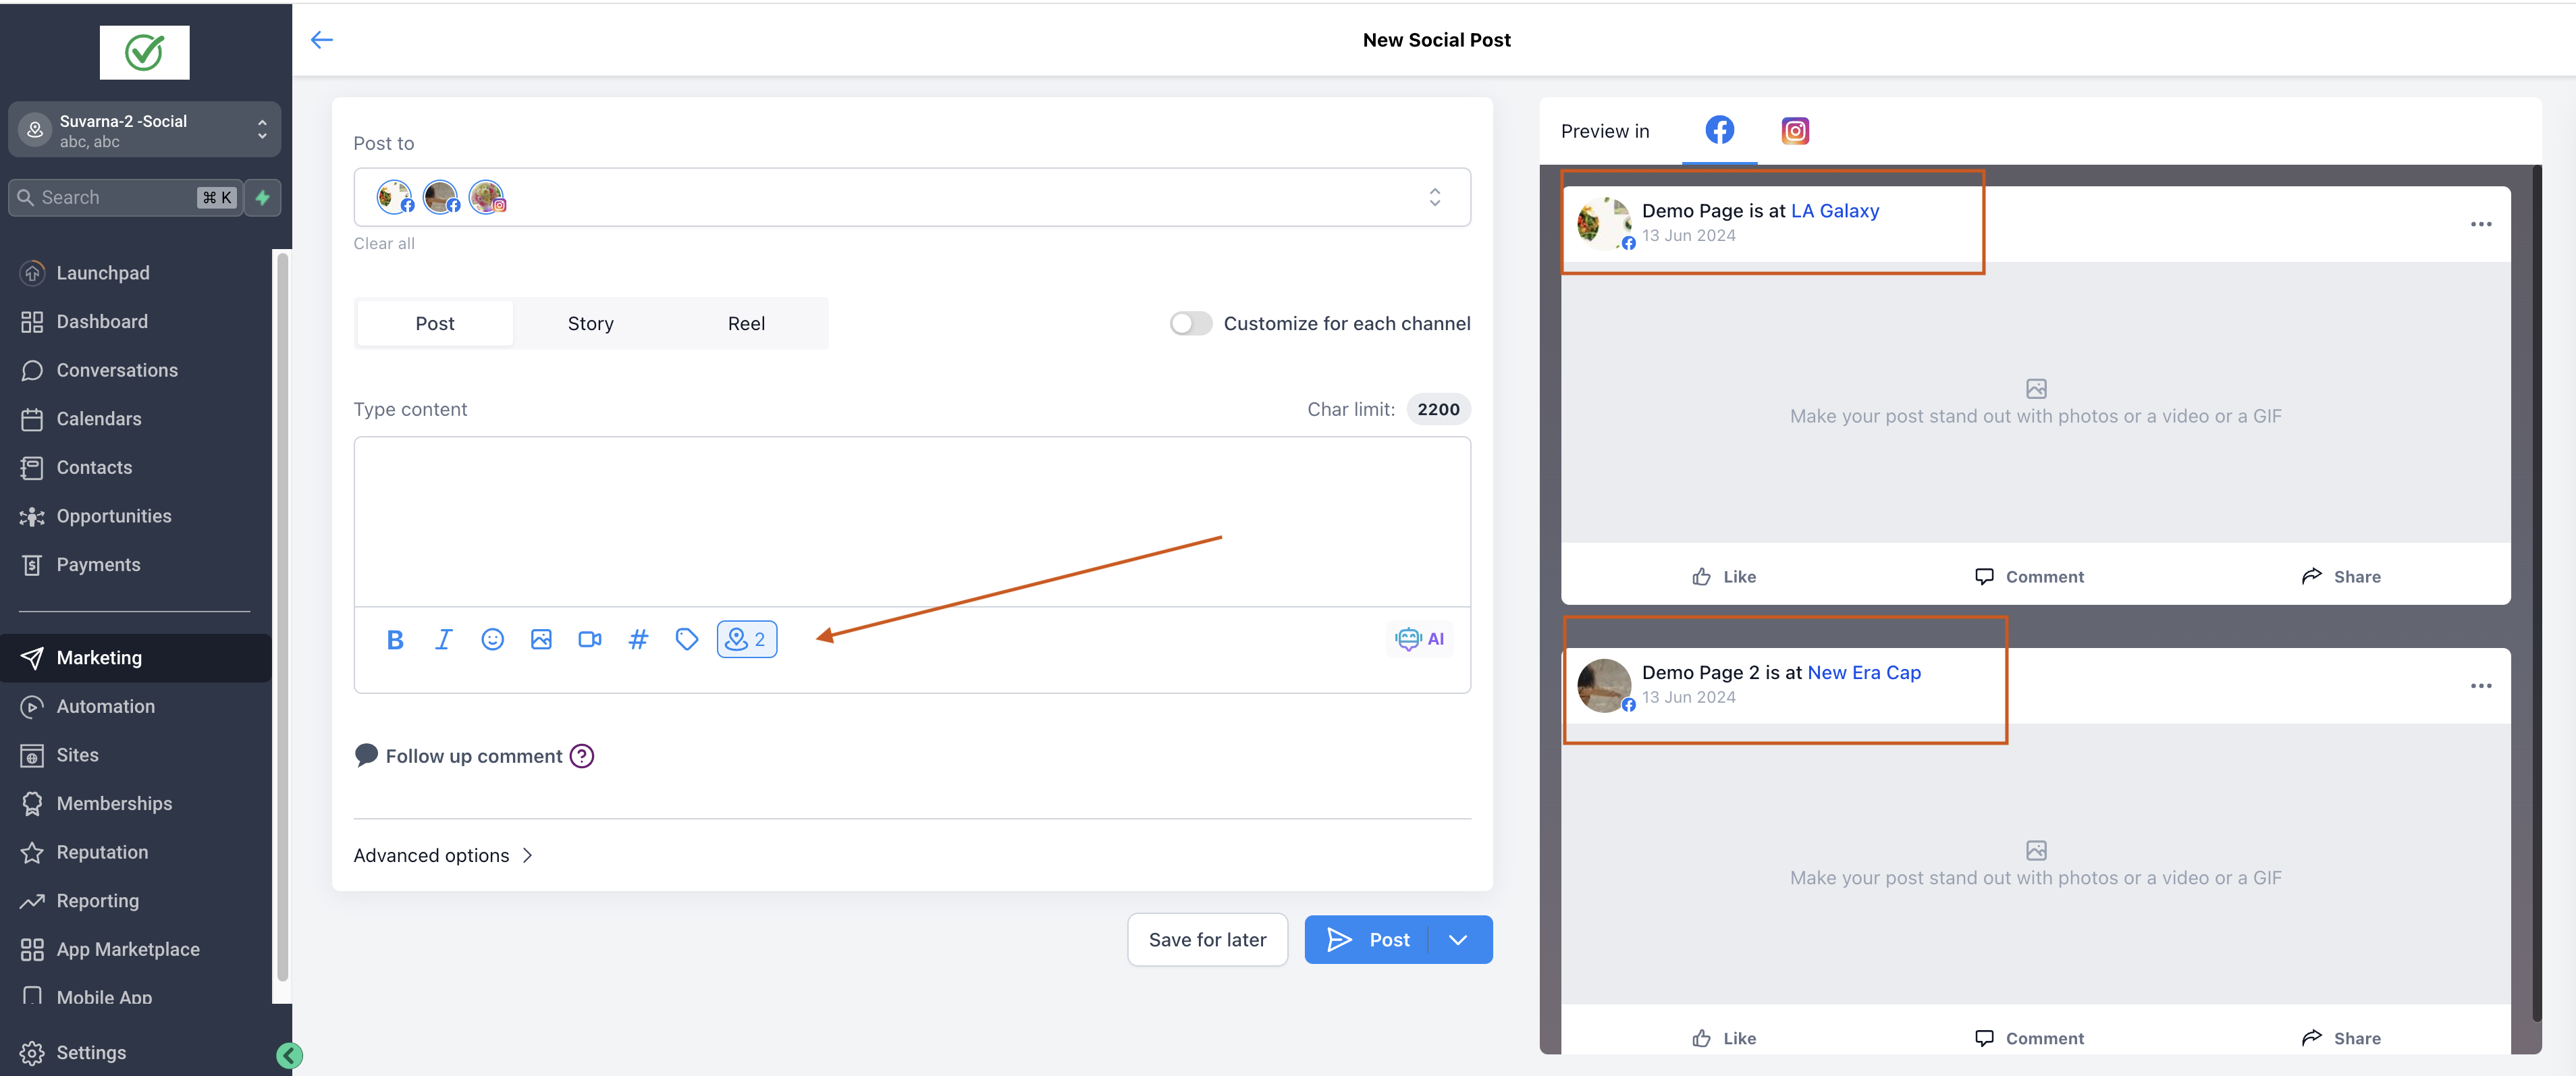
5. Review and Publish
Section titled “5. Review and Publish”Use the post preview pane to verify that the location tag appears accurately. Once everything looks good, you can proceed to publish or schedule your post as usual.